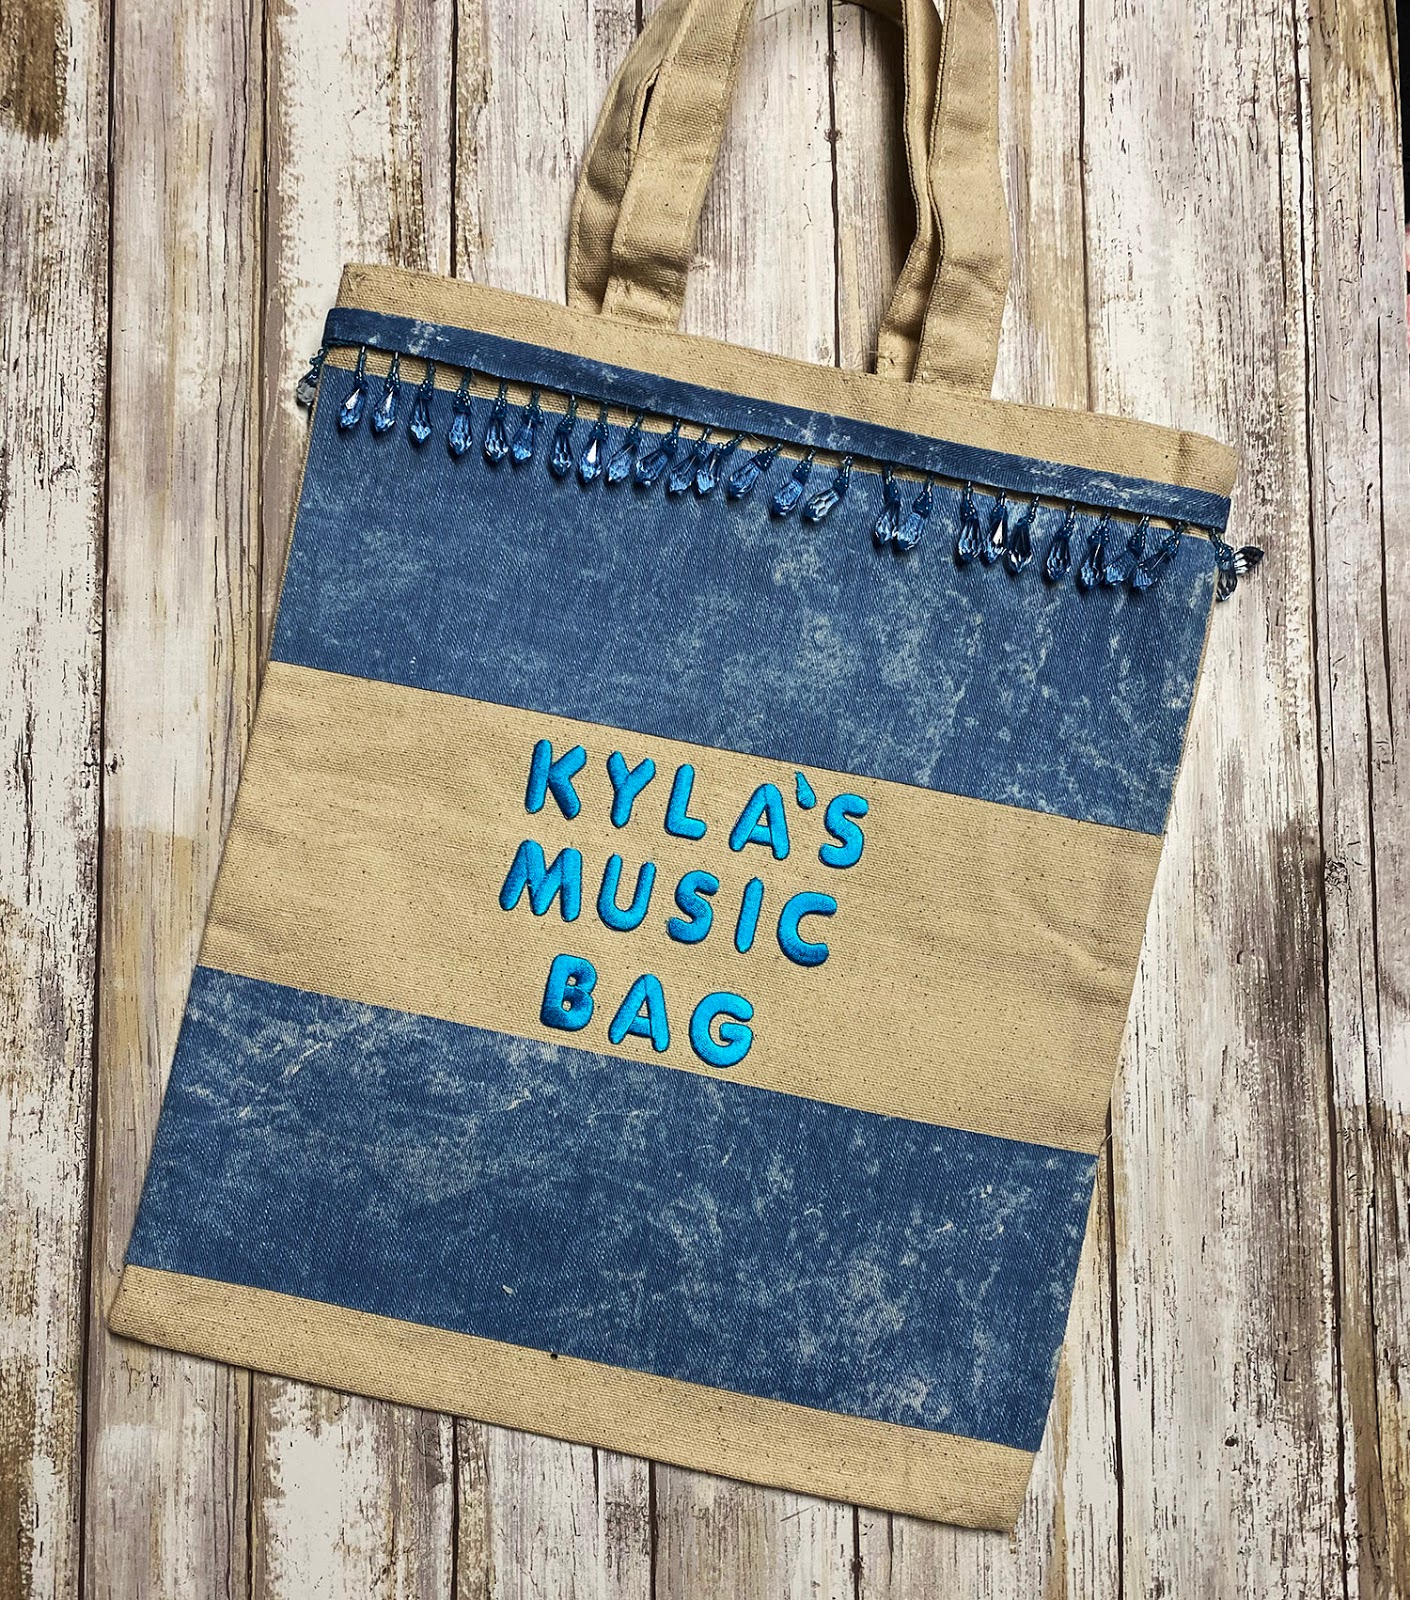
Personalized Music Tote Bag
Create a Personalized Tote to carry Music Books back and forth to Lessons. This will also help to keep you organized because you will always know where your music books are!
You will need:
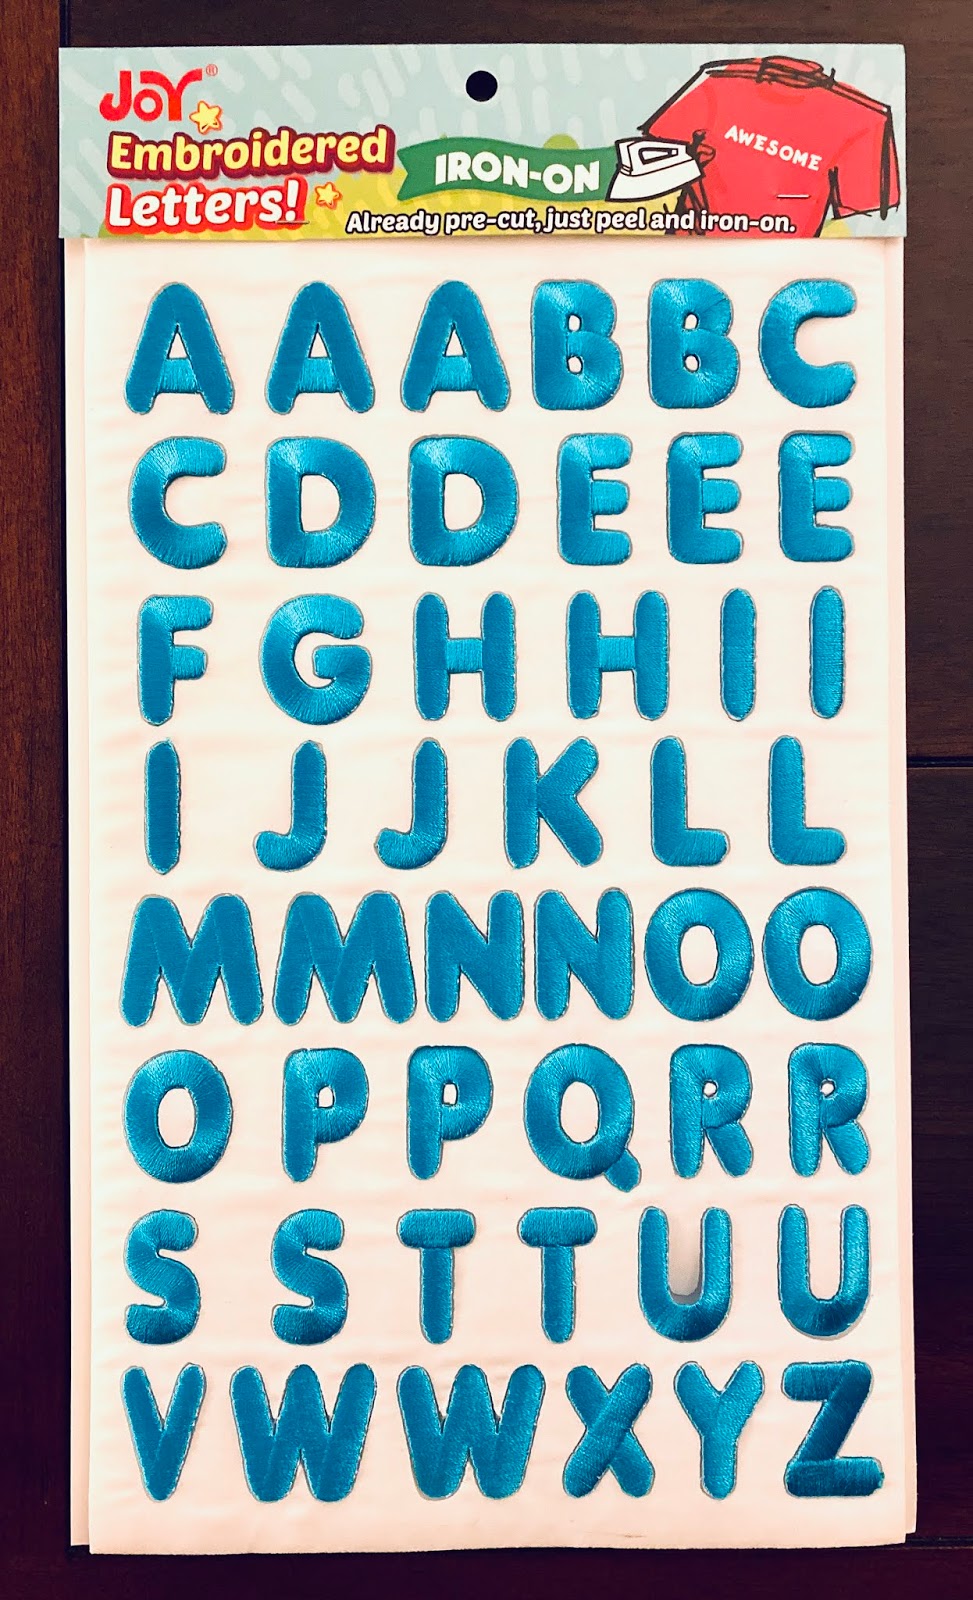
- Joy® Embroidered Letters, your choice
- Tote
- Fabric, 1/3 yard
- Heat and Bond, 1/3 yard
- Beaded Trim, 2/3 yard
- Fabric Tac
- Iron
Instructions:
1. Cut two. 6" pieces of fabric by the width of the tote. Following the manufacturer's instructions, apply heat and bond to the fabric pieces then attach to the front of the tote about 1" from the top and bottom edges, leaving space between the two pieces.
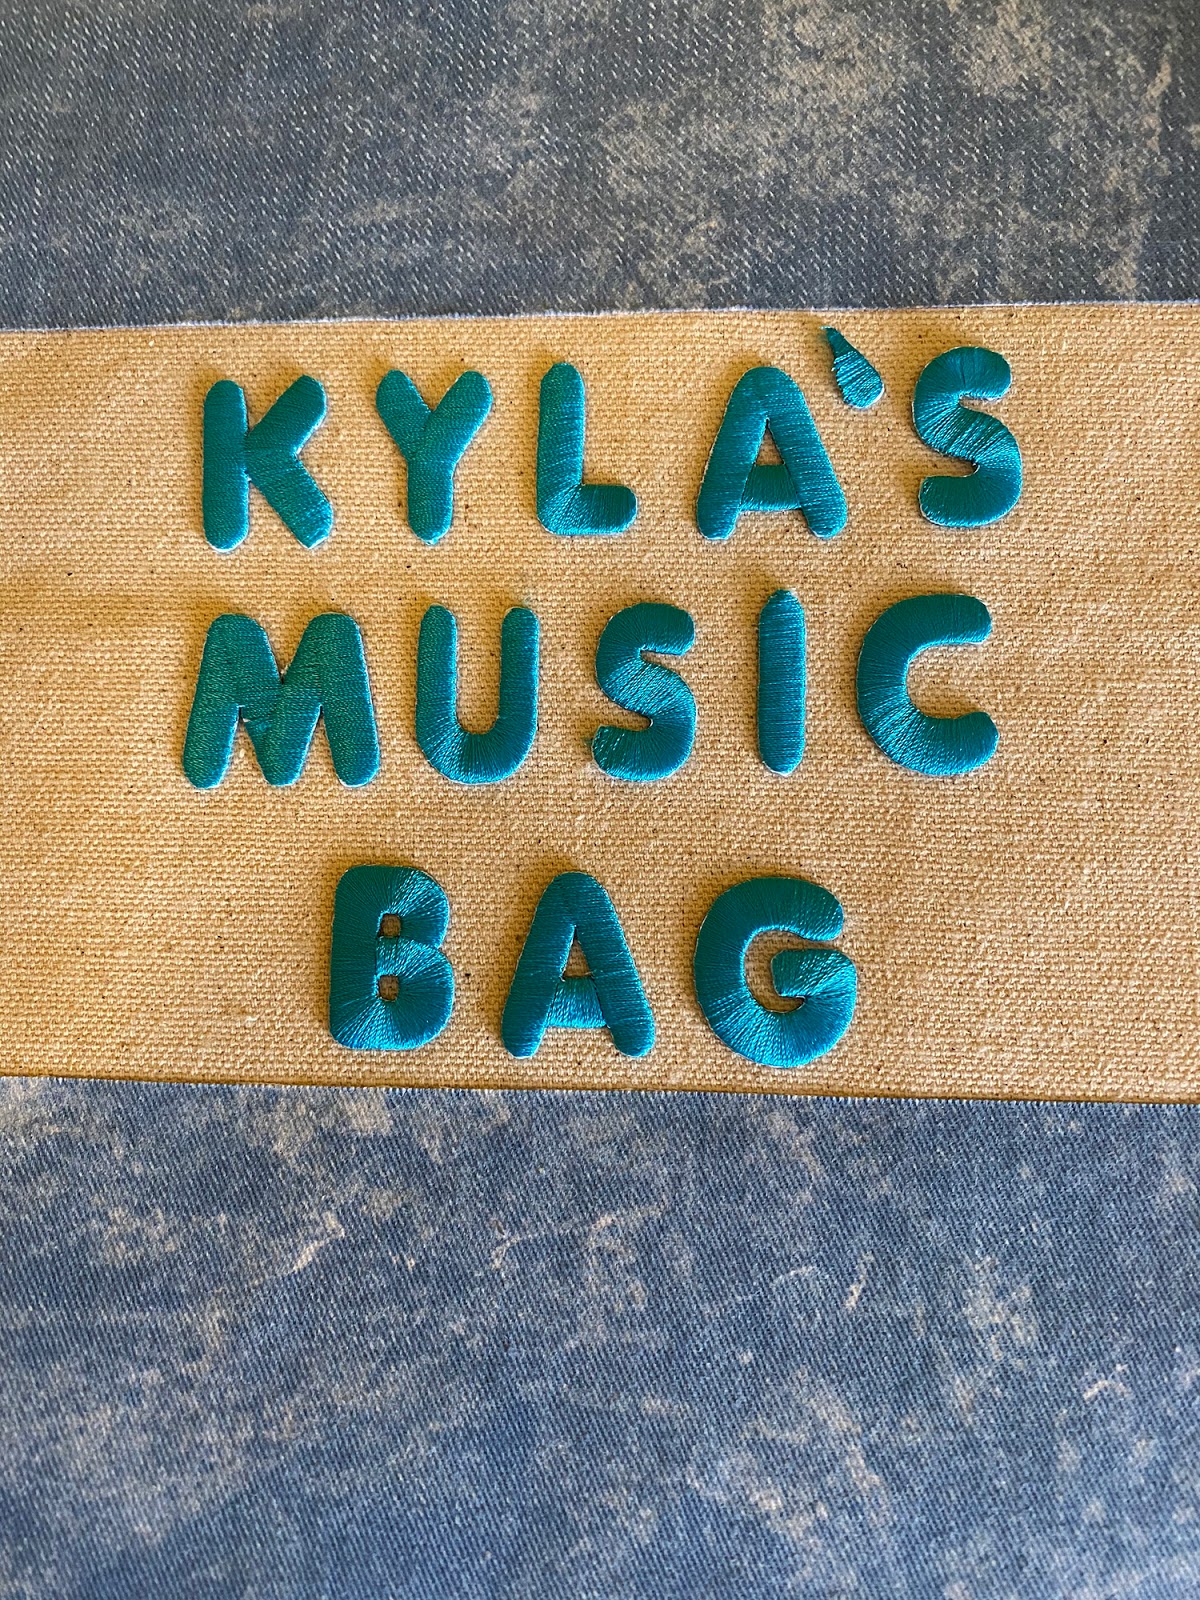
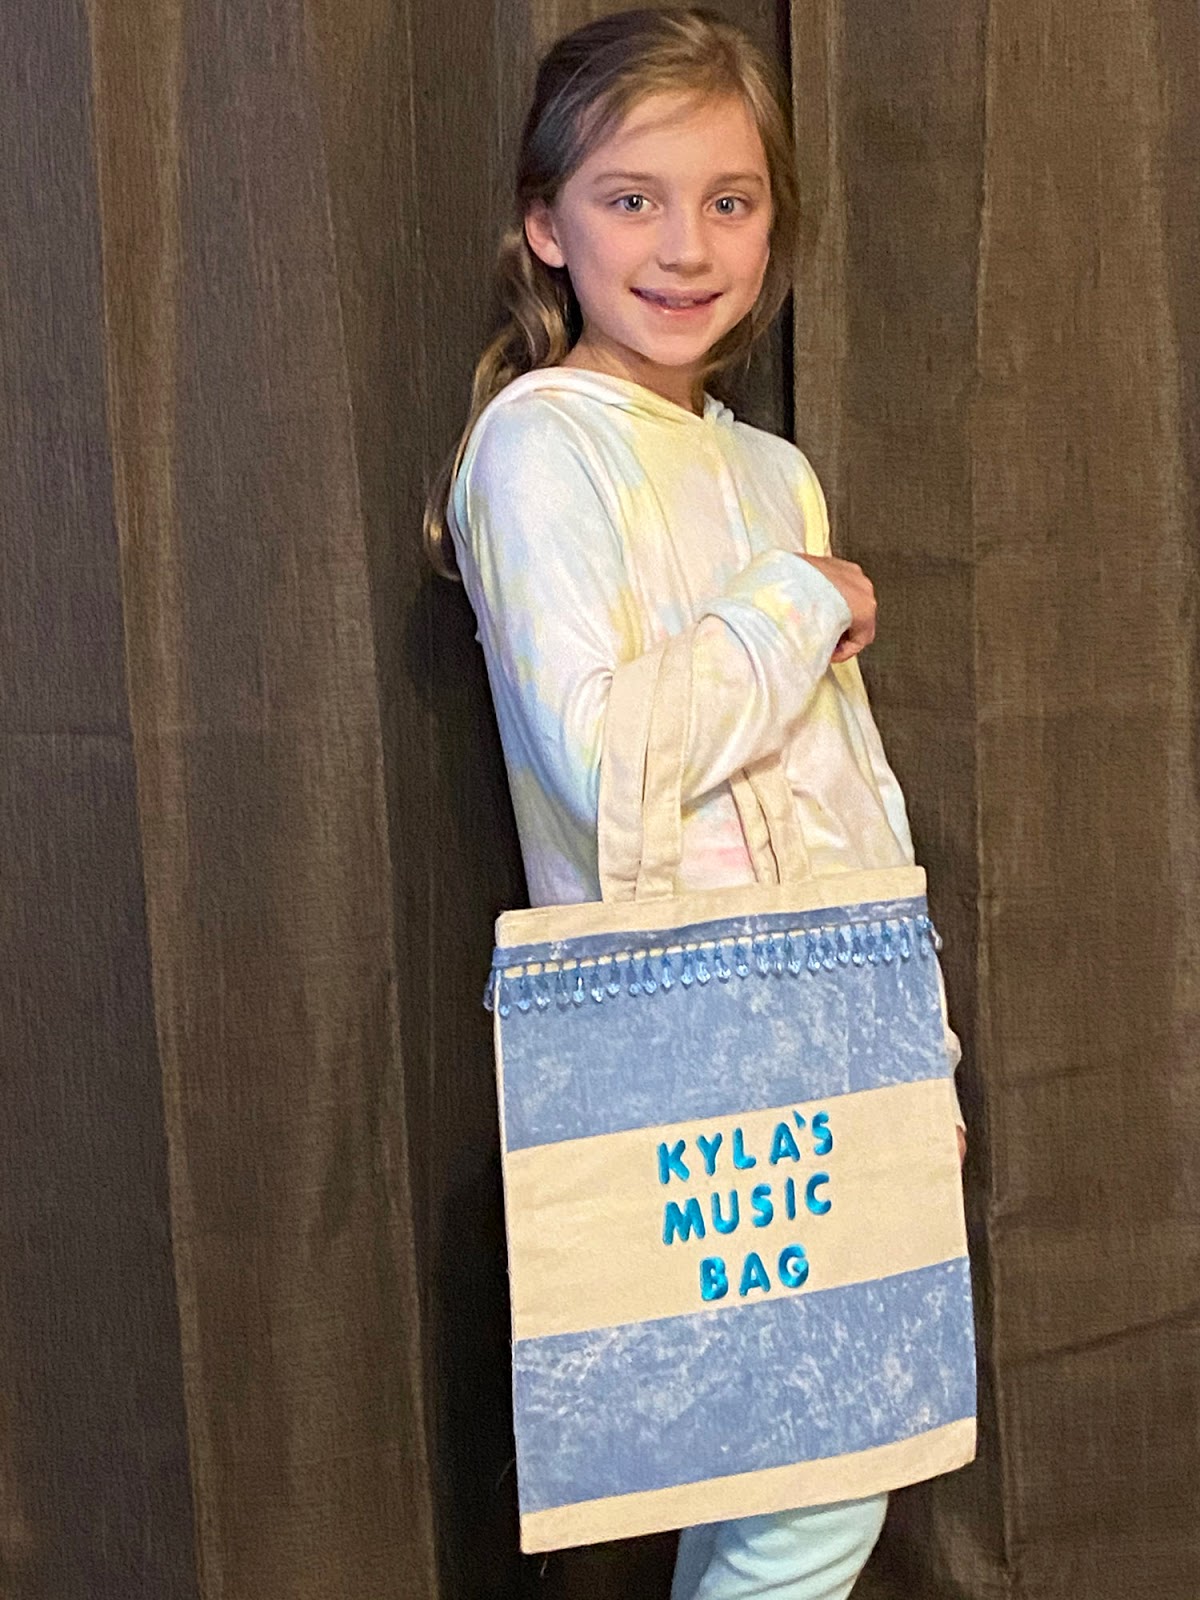
2. Place your choice of embroidered letters at the center of the tote. Center the name at the top of the space with MUSIC and BAG below.
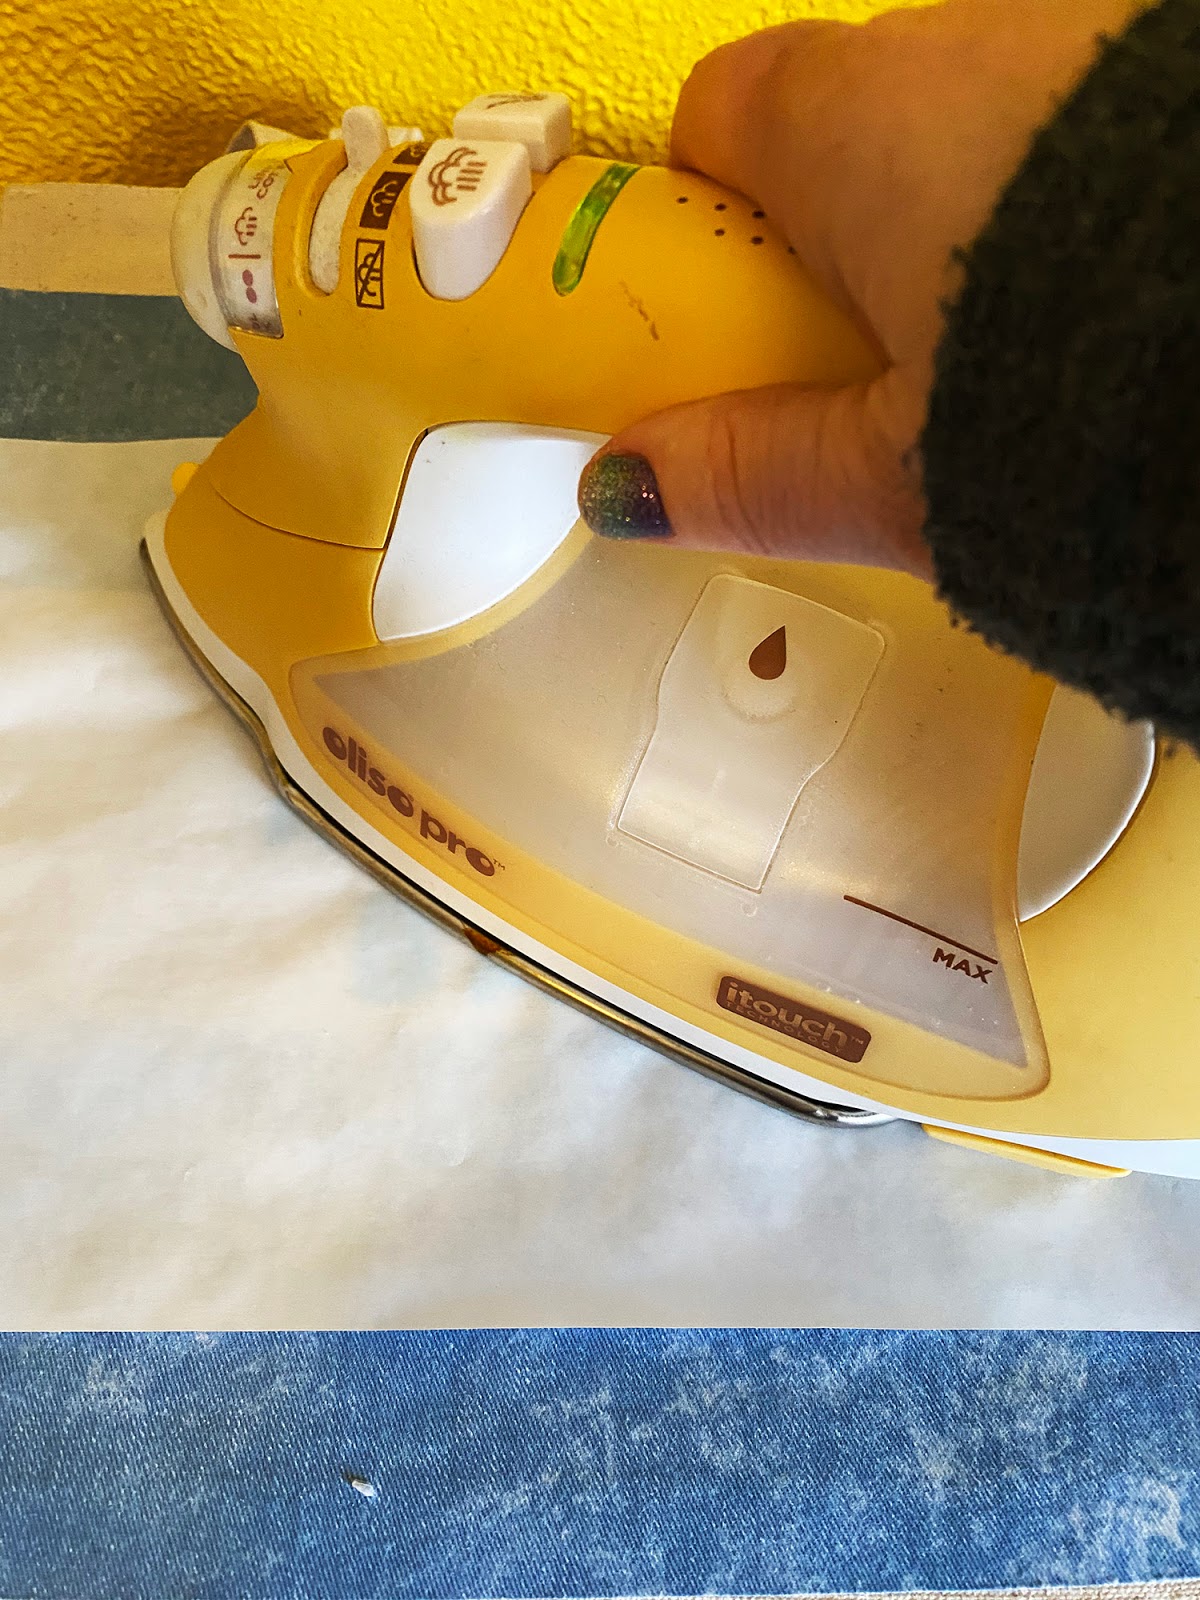
3. Cover with a pressing cloth then, following manufacturer's instructions, iron the letters in place.
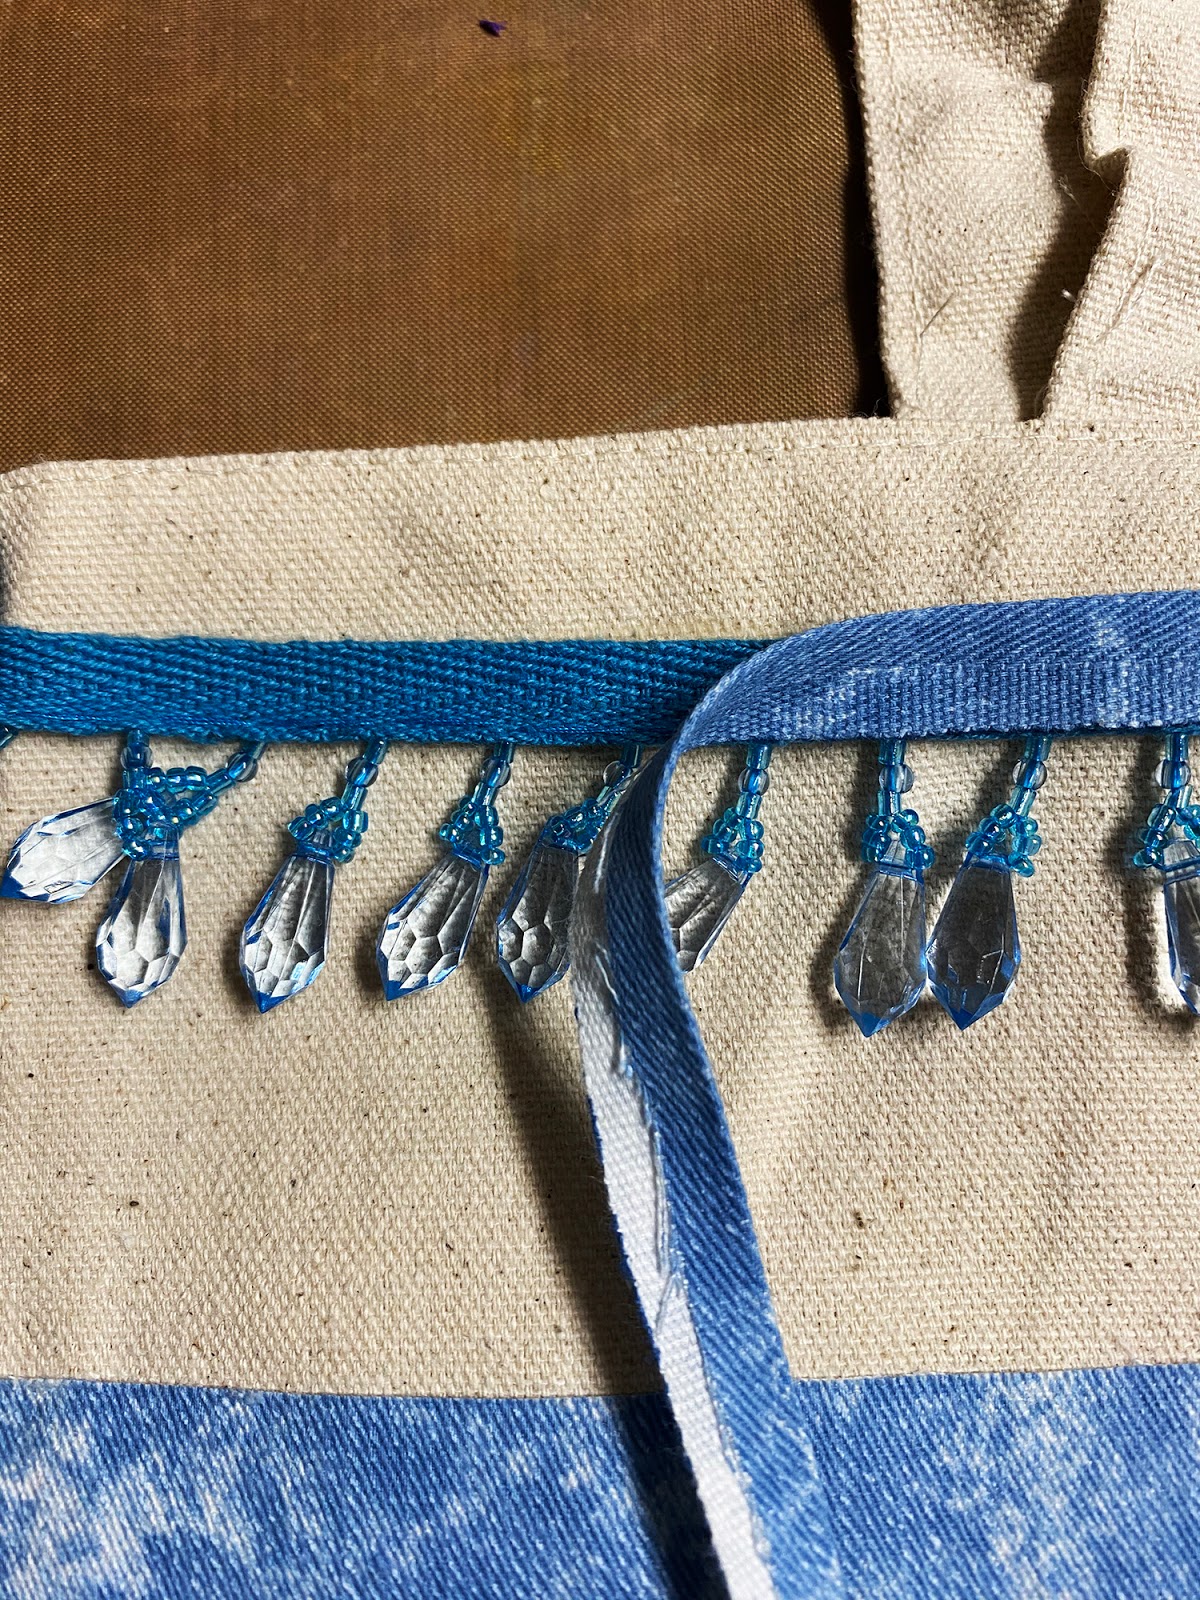
4. Glue the beaded trim around the top edge of the bag.
5. Cut a 3/4" wide piece of fabric the length of the bag. Fold in half, press firmly then glue over the top edge of the beaded trim to give it a finished look.
6. Give it to the recipient to enjoy!!
Look for Joy® Embroidered, iron-on letters in your favorite craft stores.
They are available in a large variety of fonts, sizes and colors.
Look at the smile on her face - she loves it!