FREE Standard Shipping with $50 Order
|
Minimum Order is $15
10% Discount on $300 Order
|
25% Discount on $600 Order

Christmas Crafting with Joy

Julie McGuffee
|
December 18, 2017

Deck the halls with boughs of holly and fill your home with Joy...


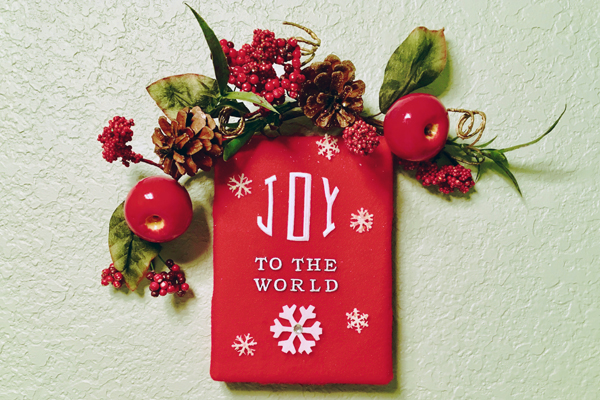
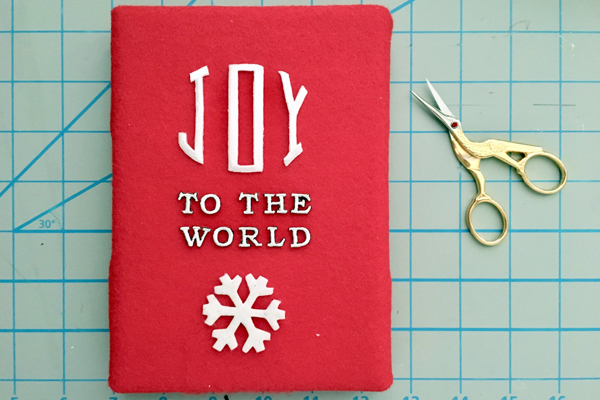
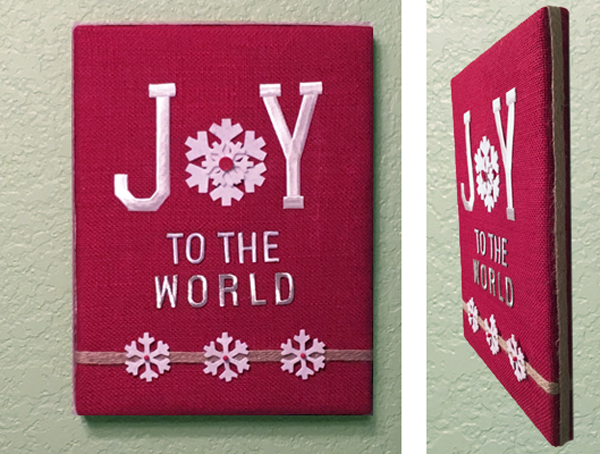
'Tis the season to be joyful and decorations are key.  These frames are easy to make - perfect for your own home or a thoughtful gift for a friend...... 

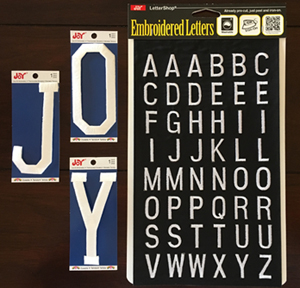
With Joy® embroidered letters you can create frames in any size.  These letters are available in different sizes, fonts, metallics and colors and the white ones can be custom colored with dye, markers, or fabric paint.  

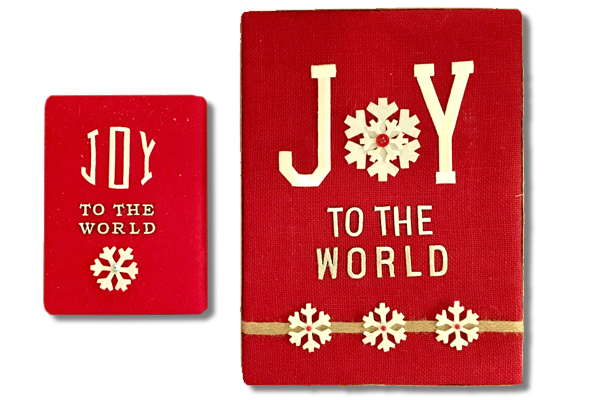
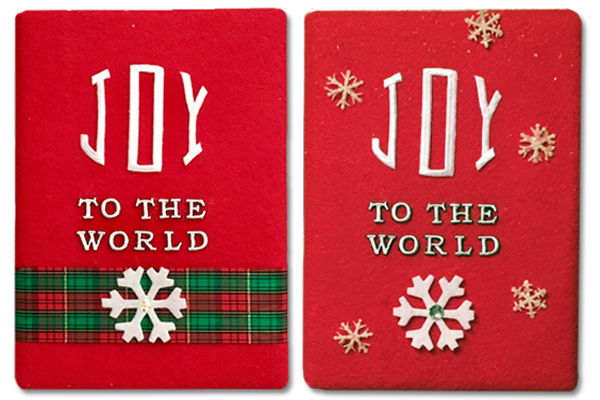
Here are a couple of ideas for inspiration - the same techniques were used for both....  Read more to see how easy they are to make - large or small, you can make them all! 
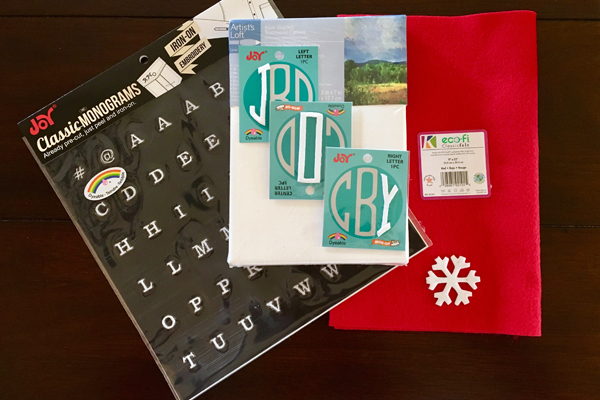
 

You'll need:

  • Joy® 3D Embroidered letters - Classic monograms, left, center and right monograms - J O Y
  • Canvas frame - Small or Large
  • Kunin® eco-fi felt - small frame; burlap - large frame
  • Felt snowflakes - small and/or large 
  • Iron
  • Fabric glue

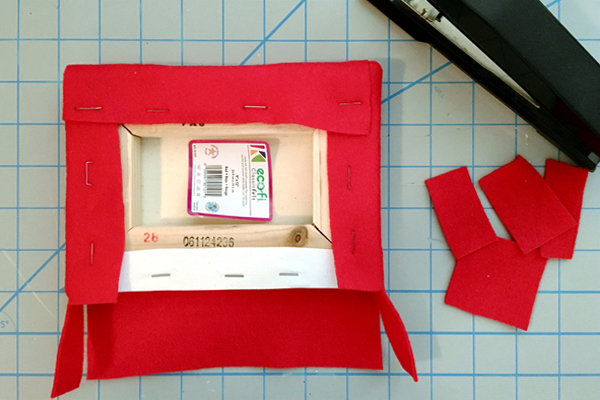
1.  To cover the frame, center the fabric on the front, wrap around to the back then staple in place.  Cut away extra fabric at each corner for a neat finish.

2.  Starting with the center letter position the letters and snowflake on the front.  Nudge the small ones in place with the tip of small sewing scissors, or toothpick.

3.  Following directions on the back of the package, iron the letters in place, one row at a time from top to bottom.  

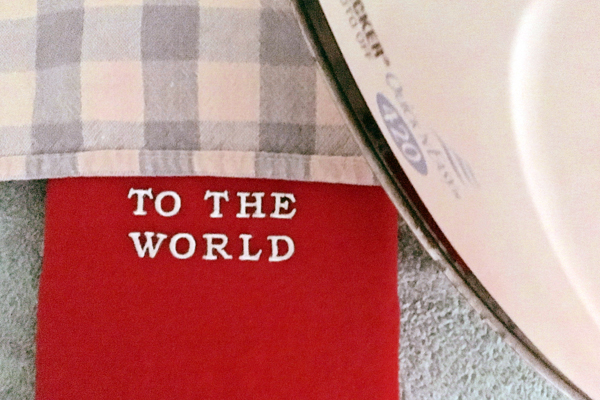
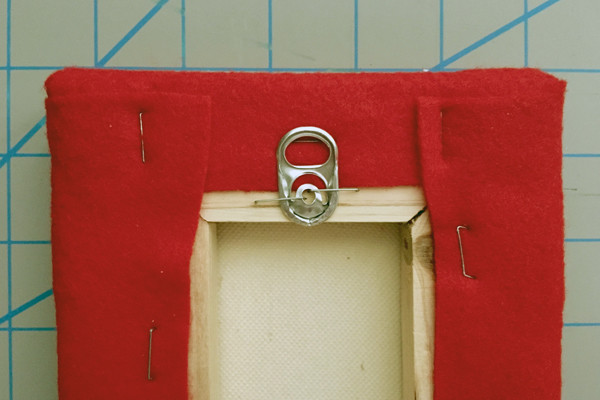
Note: It may be necessary to use a small amount of fabric glue to secure the tiny monogram letters to the felt. 4.  Staple a soda can tab to the back of the frame for a hanger if needed.

5.  To finish, add a tartan ribbon across the bottom if desired then staple the ends to the back.  Adhere the felt snowflake then add smaller ones and a gem to the center of the snowflake.  There are so many different ways to customize.

6.  To make the large plaque, you will need Joy individual 2" letters and a metallic silver letter sheet. Follow the instructions above. 

Note: After arranging the letters on the front of the frame, I substituted the letter "O" with a large snowflake then placed one of the smaller ones on top. 7.  Position 1/2" burlap ribbon across the frame about 1 1/2" from the bottom as shown, then staple the ends at the back to secure. 8. Wrap the burlap ribbon around the outer edge of the frame to finish. Add a small red button to the center of the large snowflake and a red quilt pin to the center of each small snowflake.  Bend the ends of each quilt pin back for safety.

You can find a wide variety of Joy embroidered letters at your favorite craft store. 

Leave a Reply

Your email address will not be published. Required fields are marked *

Recent Projects

Luck O' the Irish DIY Door Hanger

St. Patrick’s Day is just around the corner!  Celebrate the Luck O' the Irish with this colorful door décor that is a fun alternative to a traditional wreath.  You will need: Joy® Iron On Embroidered Letter sheet - Gold Script Kunin Classics™ Felt 9” x 12” Craft Cuts– Red, Orange, Yellow, Apple Green, Lagoon, Royal Blue, Orchid, Pirate Green, Neon Green, Gold and Goldenrod (one each) Kunin Premium™ Felt 9” x 12” Craft Cuts– White and Black (two each). Expo International – Claudia 2” Fan and Lattice Lace.  Ric Rac assorted Rayon – Red, Orange, Yellow, Green, Light Blue, Royal…

Rustic Happy Fall Y'all Pumpkin Sign

HAPPY FALL Y'ALL! I am always on the look out for cute items that can be upcycled to create one of a kind home decor pieces.  This rustic pallet pumpkin was just calling out to me from the Target dollar spot and with the addition of some Joy® iron-on embroidered letters, it quickly becomes a custom keepsake. Select a combination of white Joy® iron-on embroidered letters to spell out your message. To create the apostrophe, I carefully cut the leg from the capital letter Q with a pair of detail scissors. Place the embroidered letters on an old towel in a cardboard box…

Back to School Welcome Banner

Create a "Back to School" welcome banner for your favorite teacher's classroom! Materials: JOY® Embroidered Letters 9” x 12” sheets of Kunin Classicfelt -Black , Gray, Sandstone, Candy Pink and Gold Craft glue Glitter glue Cardstock Ruler, pencils, scissors 4-foot length of ribbon Instructions: Draw a simple pencil pattern (5 pieces as shown) on cardstock and cut out.   Trace and trim each pattern piece seven times on the appropriate color of felt. Glue the pencil pieces together, overlapping as shown and let dry. 4. Peel back liner paper from the JOY letters and attach to the center of each pencil, spelling…

Scrabble-Inspired Tote Bag

I am all about recycling, but most of the tote bags that the grocery stores sell are not very cute or crafty. So in honor of family game night, I created a Scrabble-inspired bag to tote around town! This project makes the perfect quick and easy handmade gift to create for Mom for Mother's Day! Decide what words you want to spell and how they'll connect, making sure the arrangement will fit on the front of your tote bag. Draw a grid of square tiles on graph paper to fit each of your letters. I selected the Joy 1.5" Cooper Style…

Happiness Pillow

Joy® Iron-on embroidered letters in white are great for creating any color you can imagine! You can use dye, markers and even acrylic paint! To Make this Happiness Pillow you'll need: Joy® Embroidered Iron-on Letters - Letter Shop White  Acrylic Paint and Paintbrush NEW Joy® Iron-on Embroidered Flower Appliqué    Canvas Pillow Blank Pillow Form or Polyfil Iron Instructions: 1. Paint each letter to create a rainbow of H-A-P-P-I-N-E-S-S.  Set aside and let dry. 2.  Insert cardboard into pillow blank then paint the pillow with white and light blue paint.  Let dry. 3. Set iron on cotton setting; approx. 350 degrees,…
closearrow-circle-o-downtagtagsminus-circlefacebook-squaretruckpinterest-squareinstagrammenu
0
    0
    Shopping Cart
    Your cart is emptyReturn to Shop