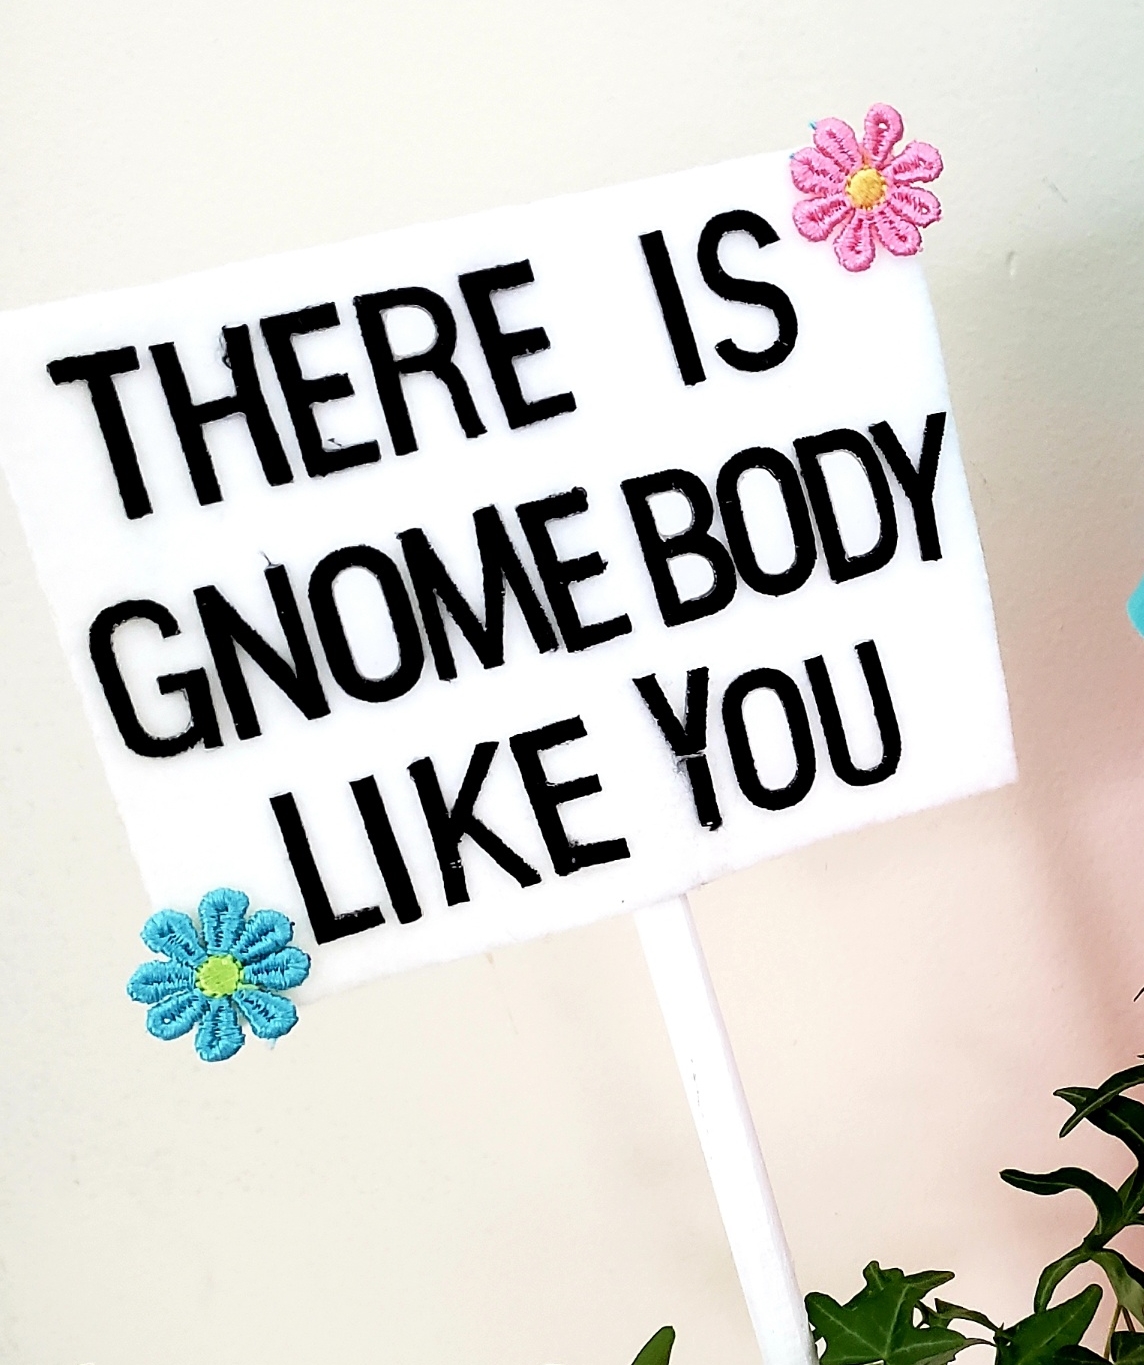
There is GNOMEBODY Like You
Gnomes always make me think of gardens and Spring. There are many cute sayings too and my favorite is "There is Gnomebody Like You". Of course this is easy to create with Joy® Iron-on Letters.

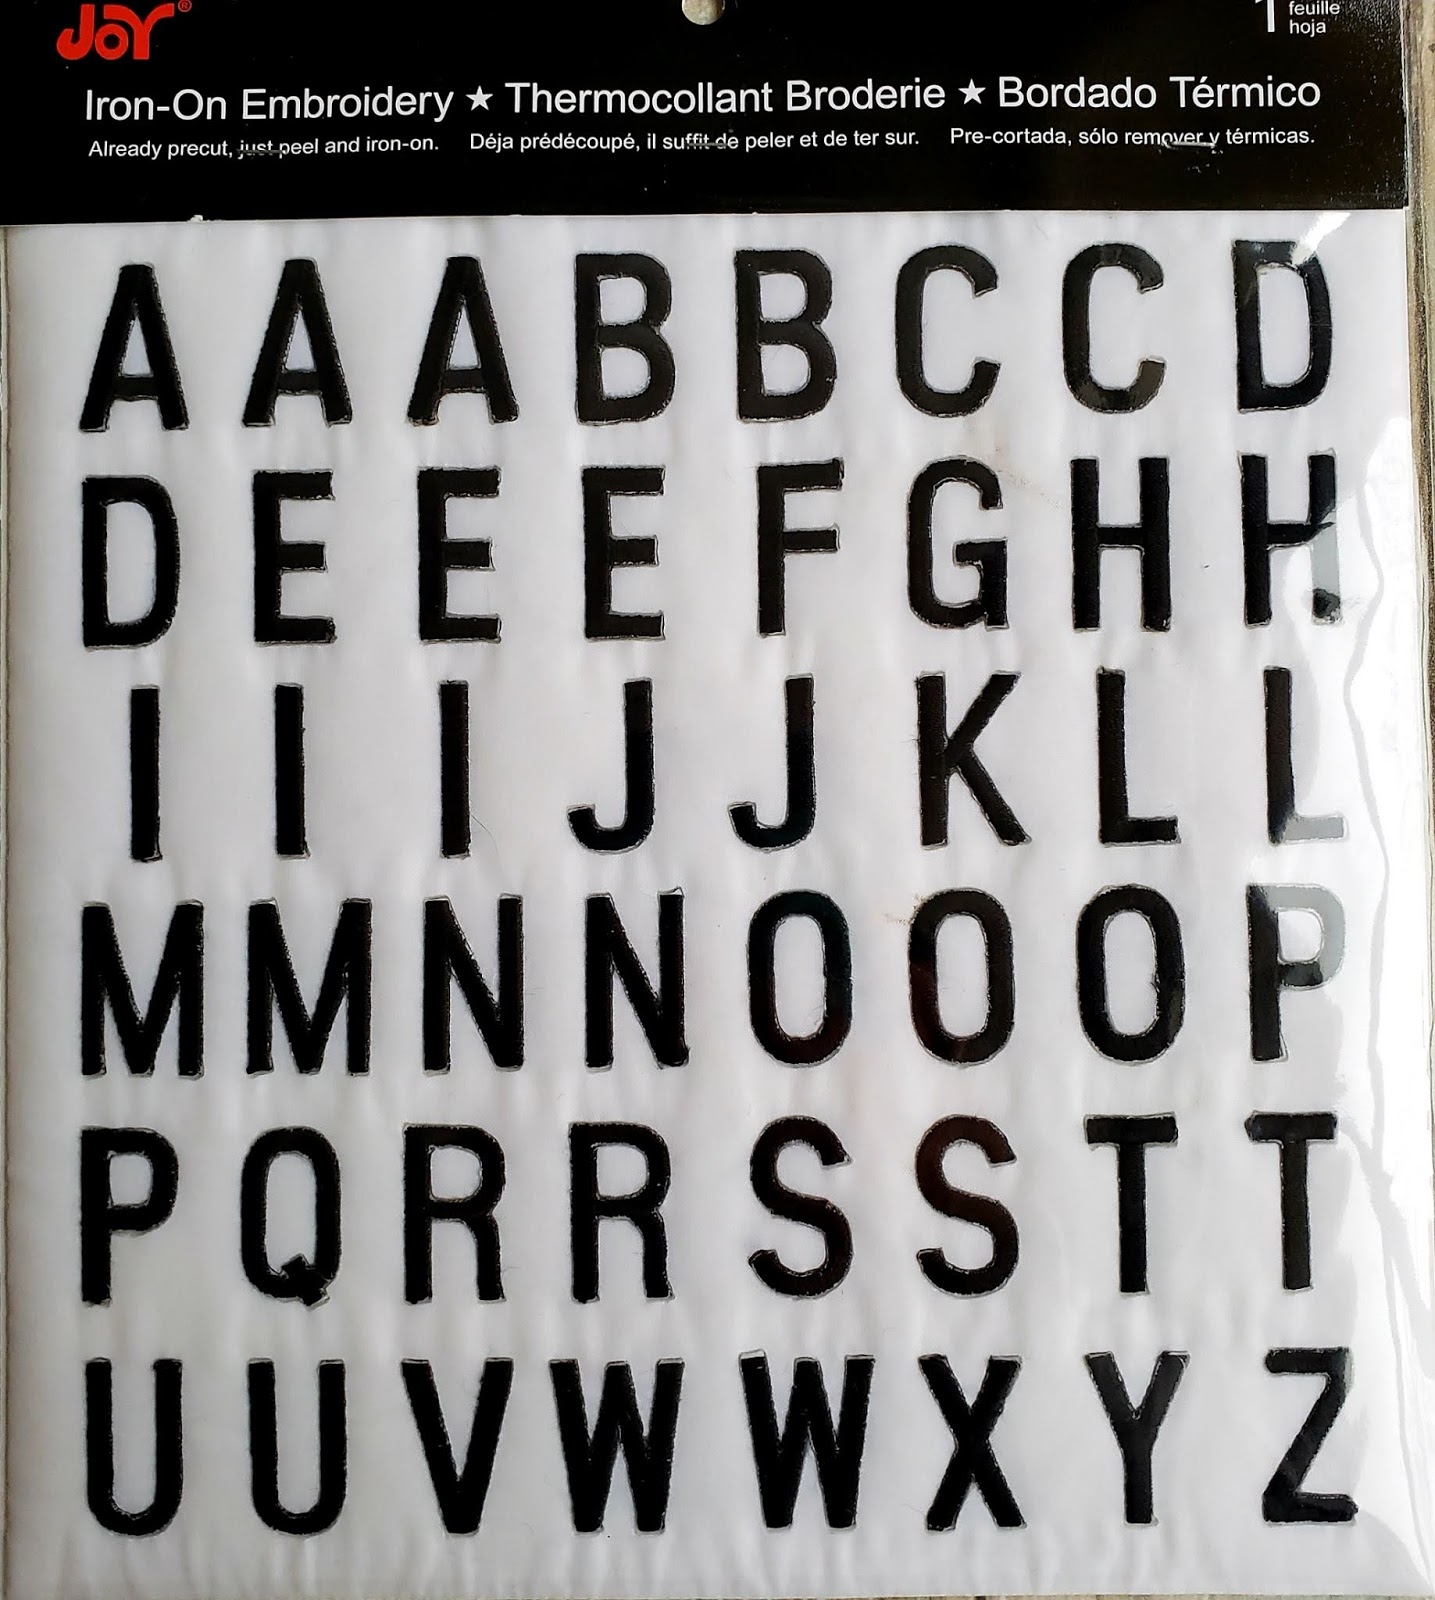
These are the letters used for the sign although if you like lower case fonts, there are many choices with JOY Iron-on letters.
You will need:
- Joy® Iron-on embroidered letter sheet
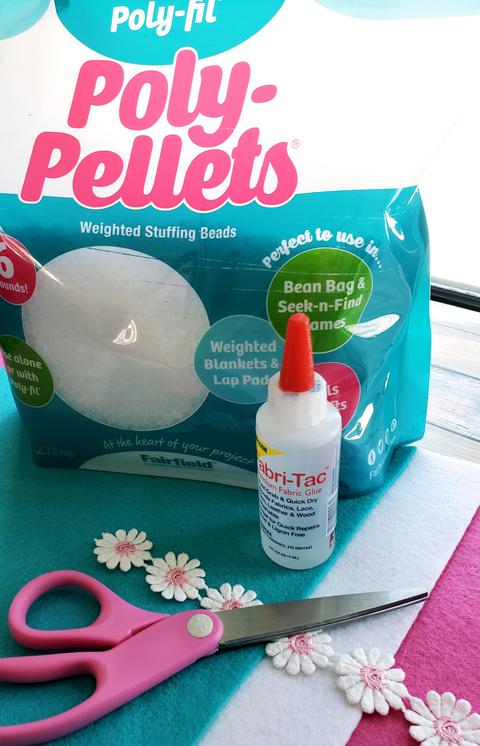
- Poly-fil Poly Pellets Fairfield World
- Poly-fil Premium Fairfield World
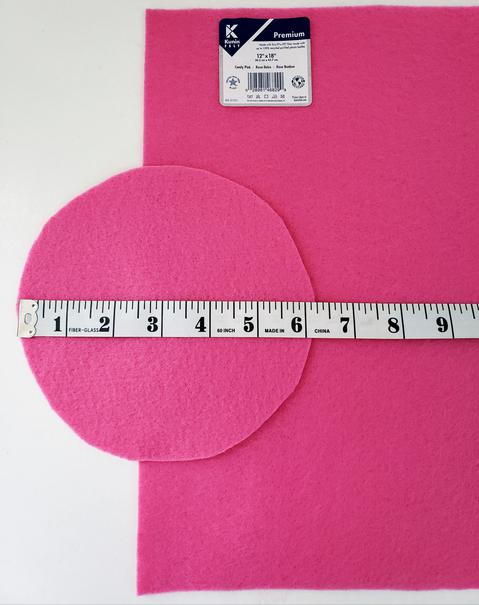
- 12" x 18" craft cut Premium Kunin Felt: 2 Candy Pink, 1 Lagoon, 1 White
- 9" x 12" craft cut Classic Kunin Felt: 1 White
- Fabri-tac Adhesive by Beacon
- 1/2 yard daisy trim
- Pink dot or pink, ivory felt scraps
- Paper, Marker, Pencil, Scissors, Measuring Tape, brush
- 12" piece of Wood Dowel
- White Craft Paint
Instructions: A. Make the Sign:
- Paint the dowel white.
- Fold the 9" x 12" piece of white in half lengthways, then cut along the fold.
- Position, then adhere* the letters to one piece of felt. *Iron the letters in place following manufacturer's directions, or use glue.
- With edges aligned, glue the felt pieces together with the dowel sandwiched between.
- Cut daisies from the piece of trim to embellish.
B. Make the Gnome:
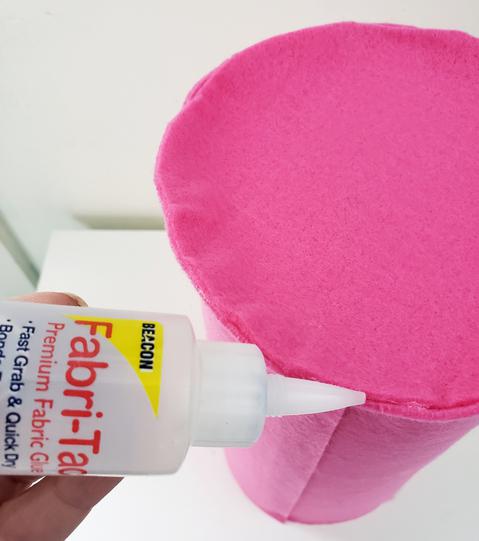
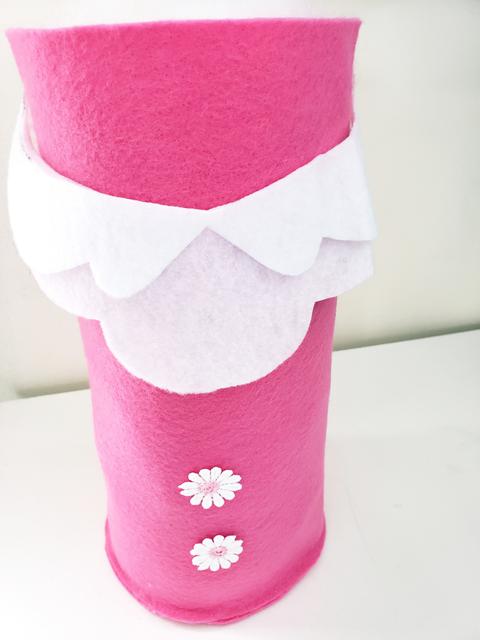
1. Using a small 6" plate as a template, cut a circle from pink felt. Fold the second piece of felt into a cylinder. Overlap edges 1/4" then glue to secure.
2. Glue circle to one end of cylinder. Work slowly, pressing firmly in place as you go, 1/2" at a time.
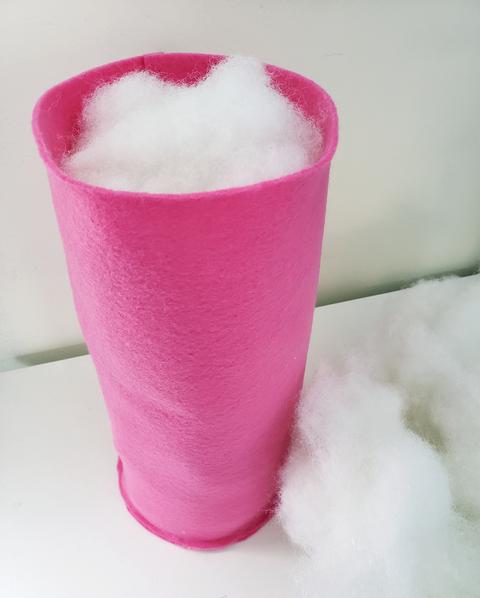
3. Place a large, open ziplock bag in bottom of cylinder then fill with Poly-Pellets, about 1/3 of the way up. Fill remainder of cylinder with the Fiber Fill.
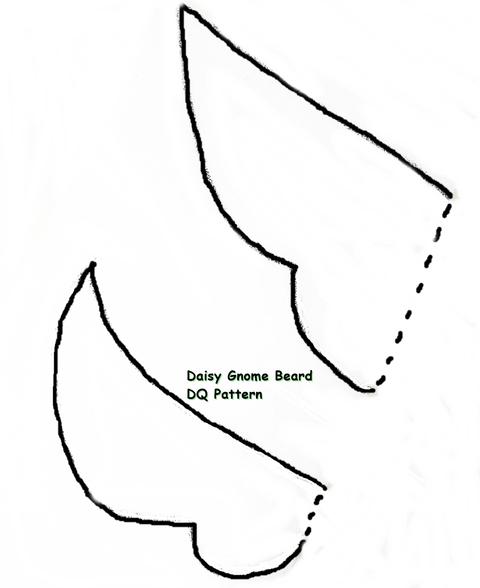
4. Print the patterns. Place on folded white felt with dotted edges against the fold. Cut one beard and one mustache shape.
5. Cut two, 3/4" circles from the ivory scrap then glue together for the nose.
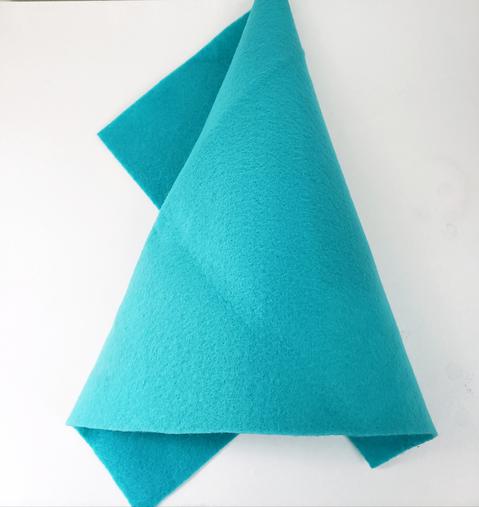
6. To make the hat, roll the lagoon felt piece into a cone shape. Adjust until it sits on top of the cylinder, overlapping the top about 2". Cut off excess along upper side. Glue at the back to secure the shape, then trim across lower edge to make it even.
7. Stuff the top of the hat leaving about 4" unstuffed at the bottom.
8. Place hat on top of the cylinder. Pull down so it overlaps the top about 1 1/2" - 2".
9. Glue the beard and mustache pieces in place making sure the top edges are covered by the bottom edge of the hat. Glue the nose at the center of the mustache. 10. Cut two daisies from the trim, then glue to the body for buttons.
11. Adjust the hat as needed then glue in place.
1. Decorate the hat with a pink, felt mushroom shape and additional daisies to finish.
Enjoy your Gnome and remember "There is GNOMEBODY Like You."
Joy® iron-on, embroidered letter sheets and letters are available in a variety of colors, sizes and fonts at your local craft stores.