Felt Anniversary Heart
Not just for Valentine's Day, a heart is also the perfect project for a special anniversary!

You will need:
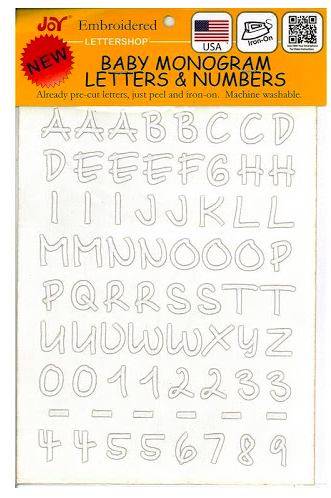
- Joy® Embroidered Baby Monogram Letters and Numbers
- red, white, and pink felt
- hand sewing thread, sturdy needle
- pinking shears and fabric shears
- grosgrain ribbon
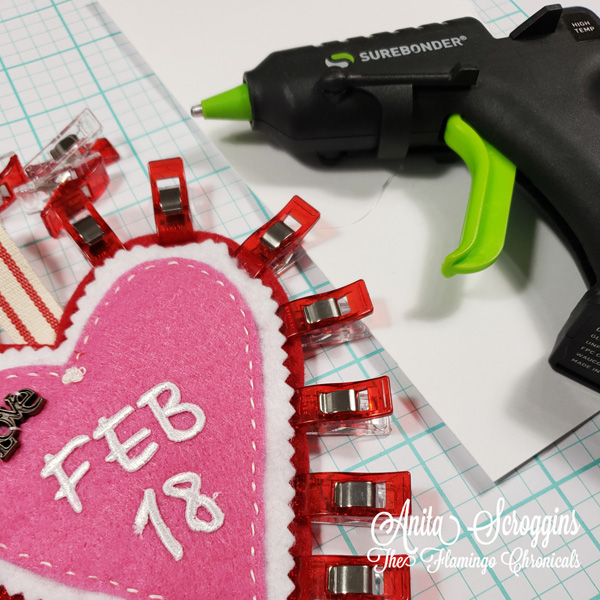
- hot glue gun
- small buttons
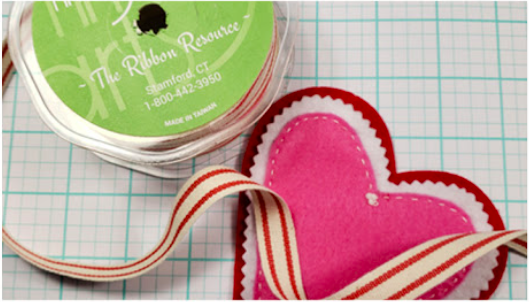
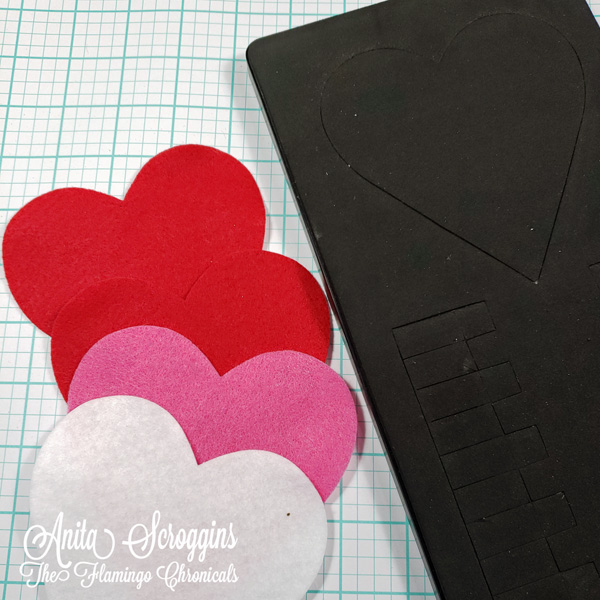
Instructions: 1. Cut 2 red, 1 white and 1 pink felt heart. Use a die, or simply trace around a heart pattern. Trim the white heart with pinking shears to make it a little smaller than the red heart. Trim the pink heart with regular shears so it is slightly smaller than the white heart.
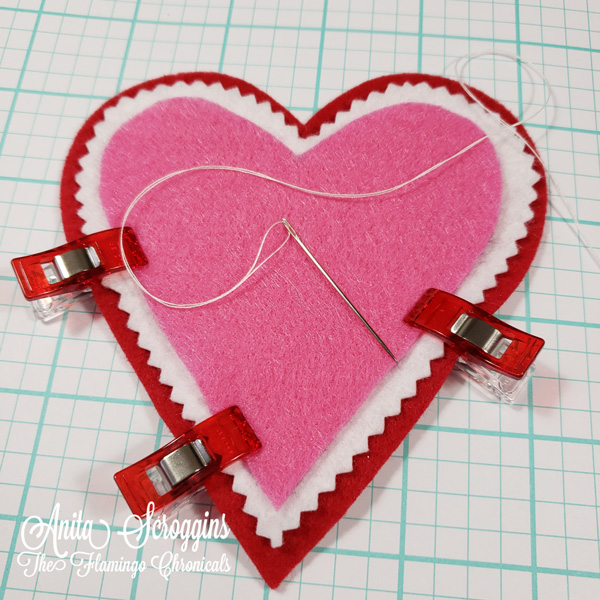
2. Layer, then sew the red, white and pink hearts together as shown, using a small straight stitch.
3. Adhere the iron-on letters to the top heart following the instructions on the package. 4. Sew decorative buttons in place if desired. 5. Using hot glue, adhere a small, grosgrain ribbon loop to the second red heart, then glue both of the red hearts together. Leave a small opening if desired, then fill with chocolate "kisses", or a special gift for the one you love!
Look for Joy® iron-on embroidered letters, numbers and floral appliqués at your favorite craft store.
They're available in different sizes, colors and fonts, suitable for every occasion.