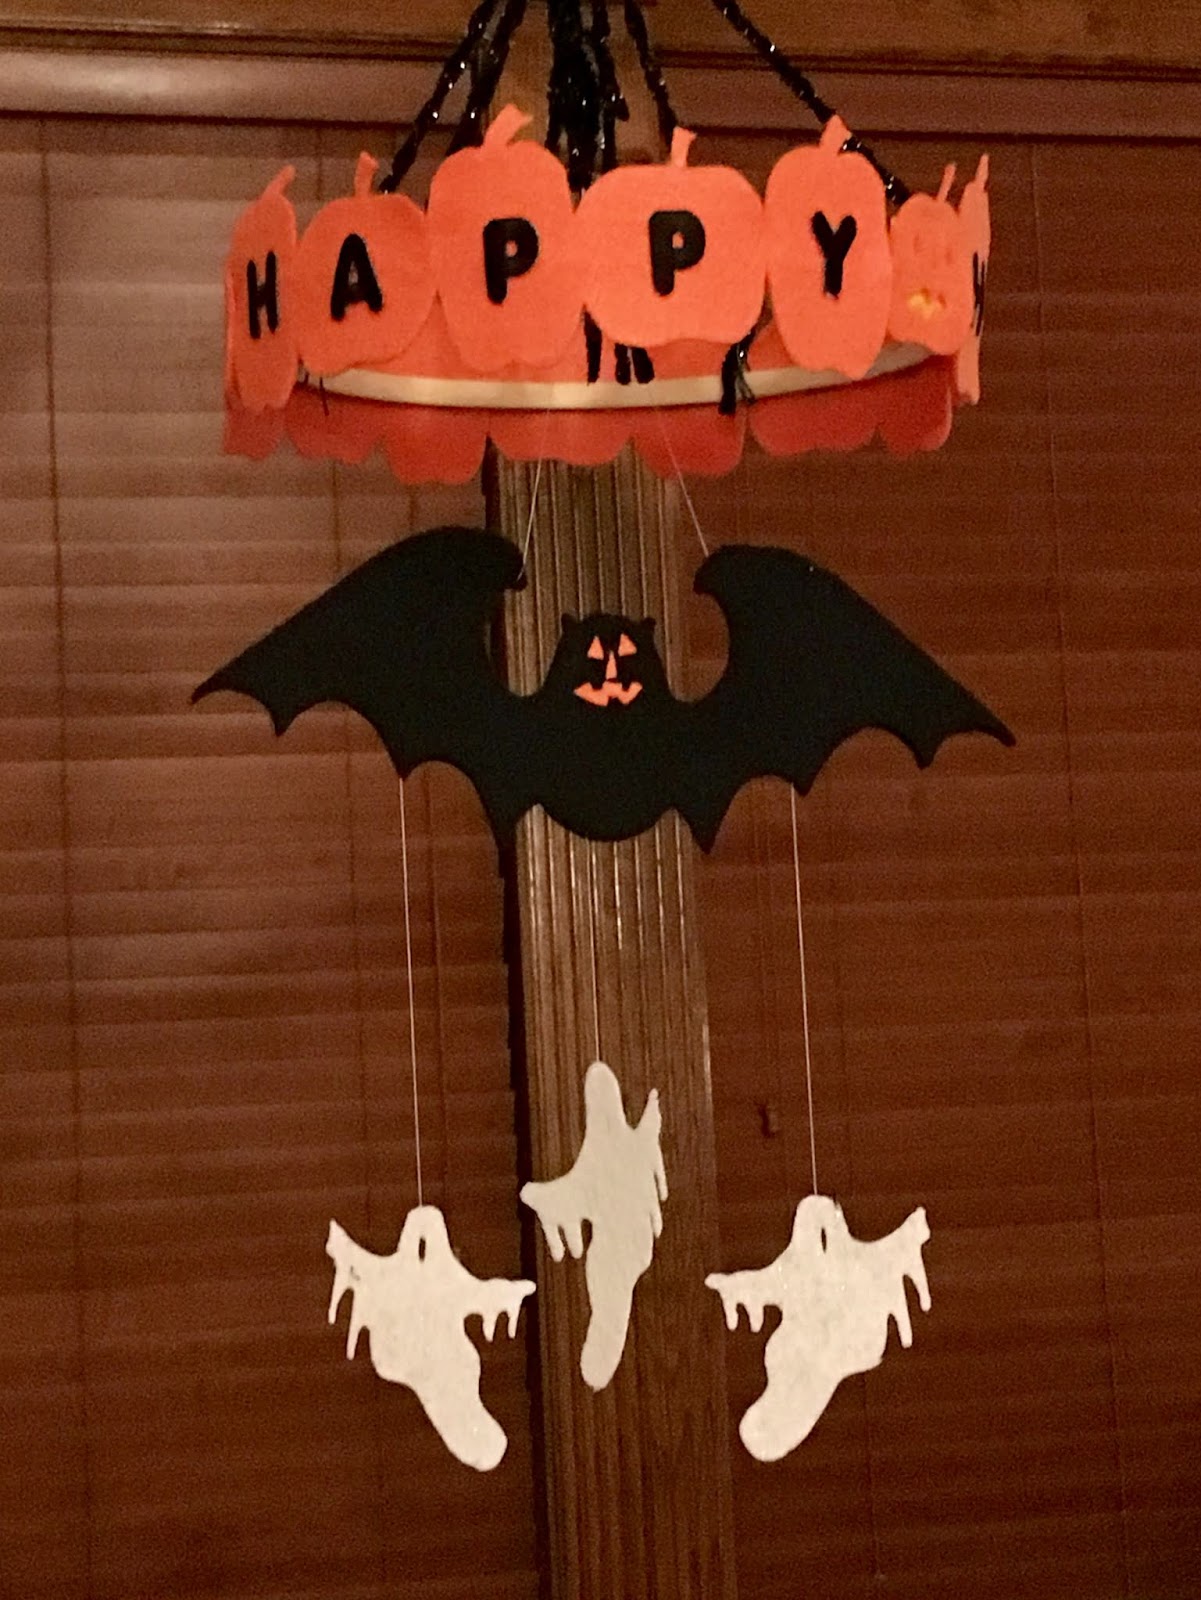
Happy Halloween Chandelier
Second only to Christmas, Halloween is one of the most popular times of the year to decorate a home and host parties for family and friends! Let's start the fun with a decorative chandelier to hang over your table of goodies....
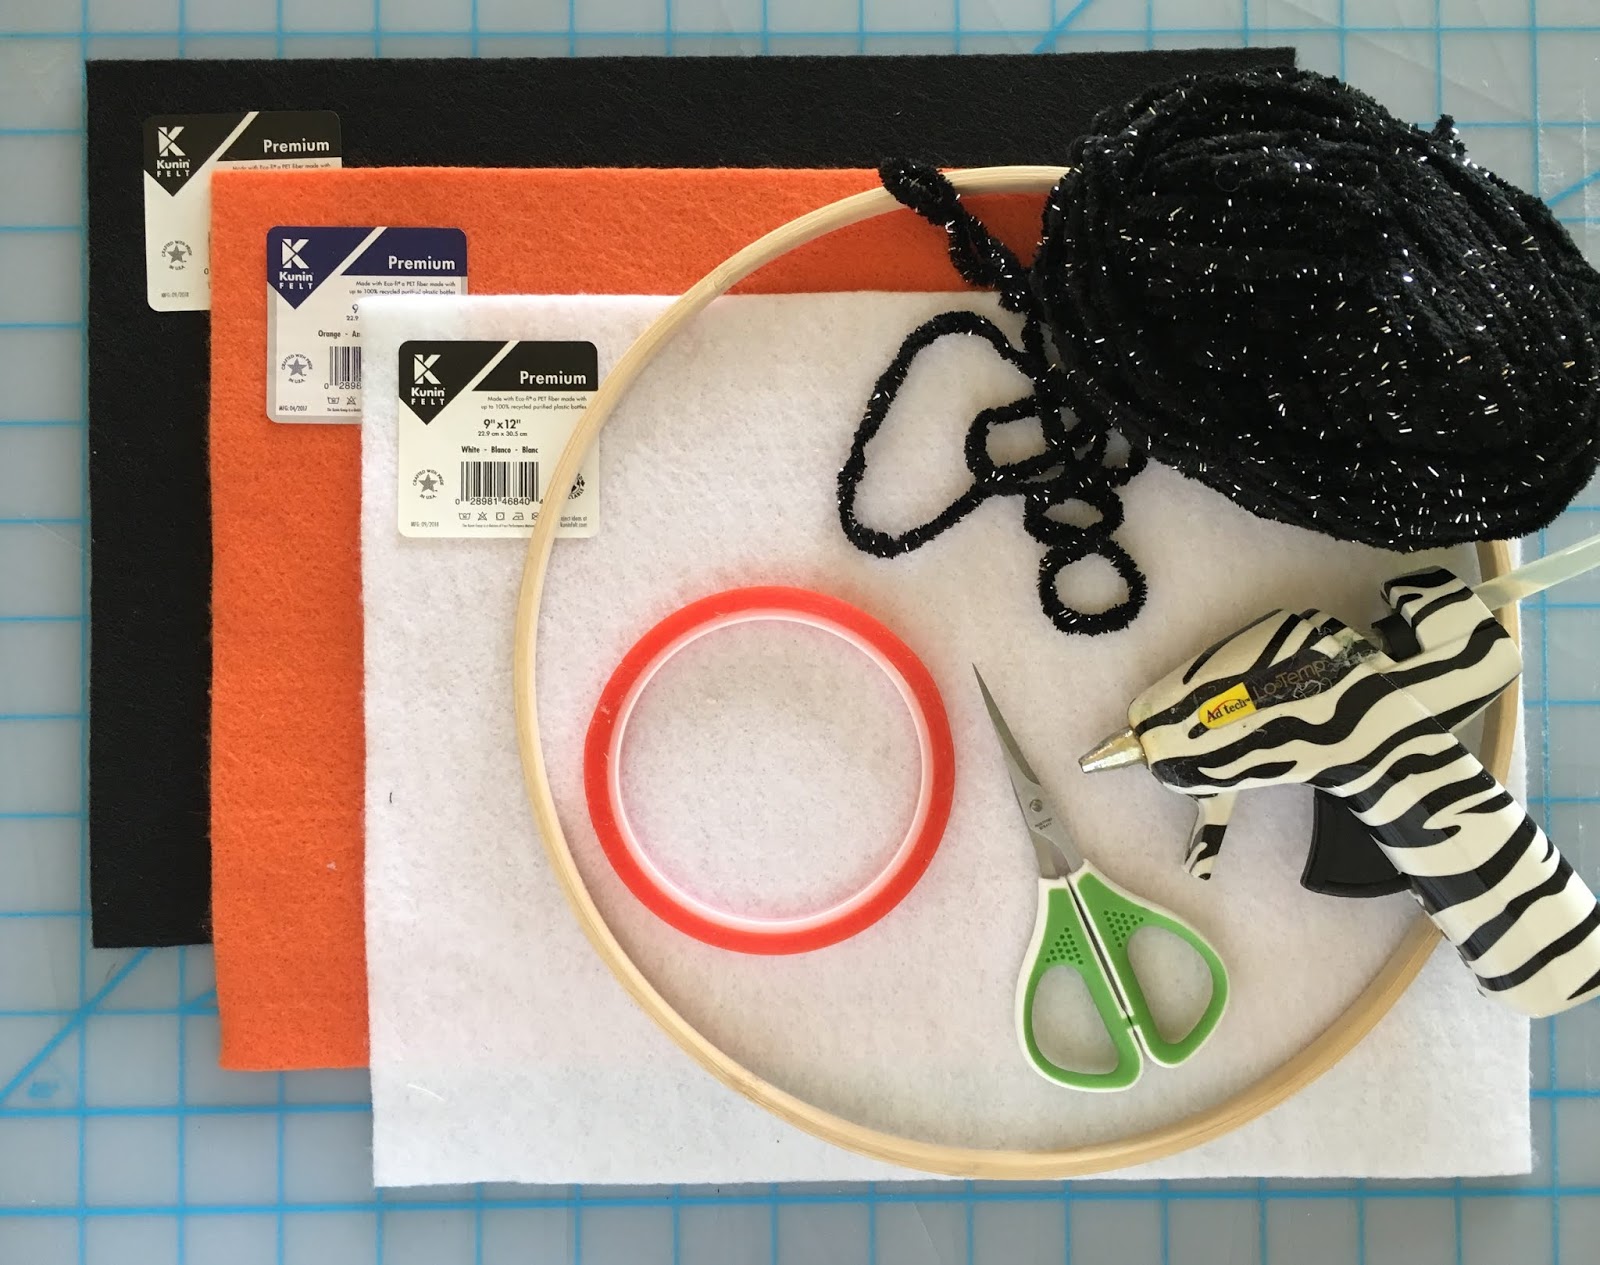
You will need:
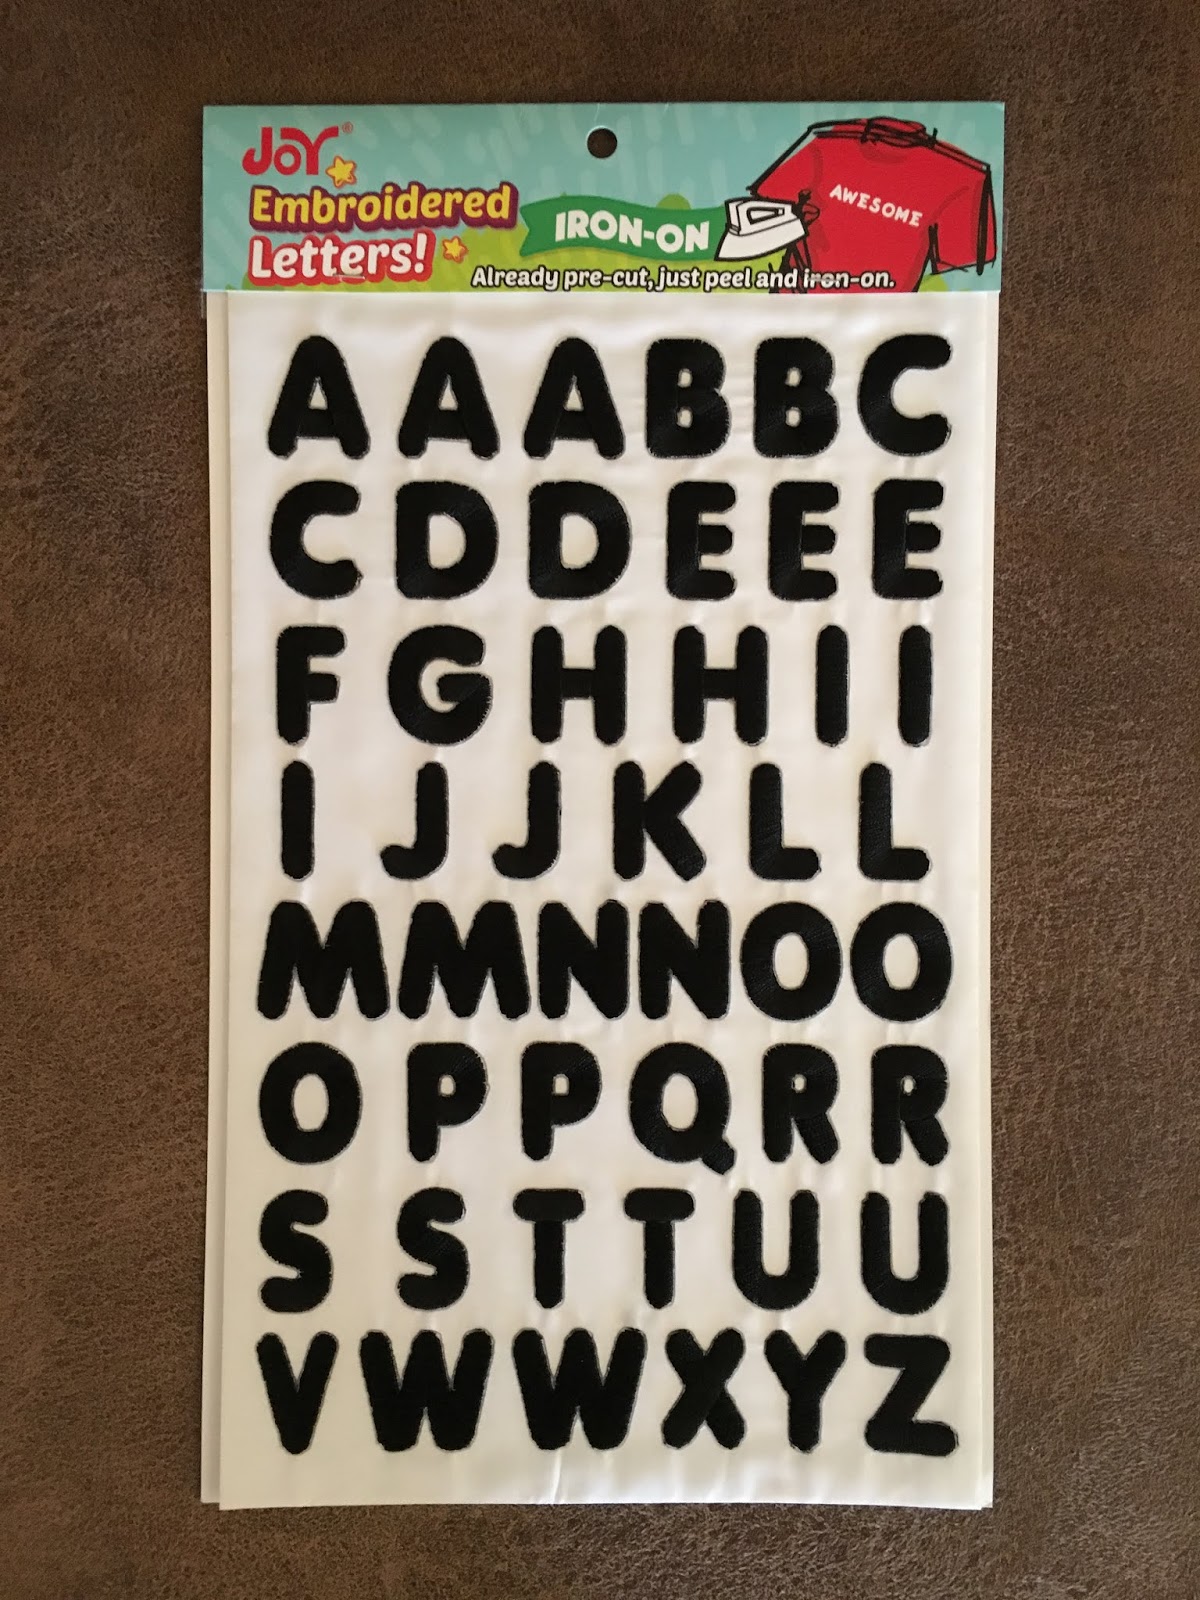
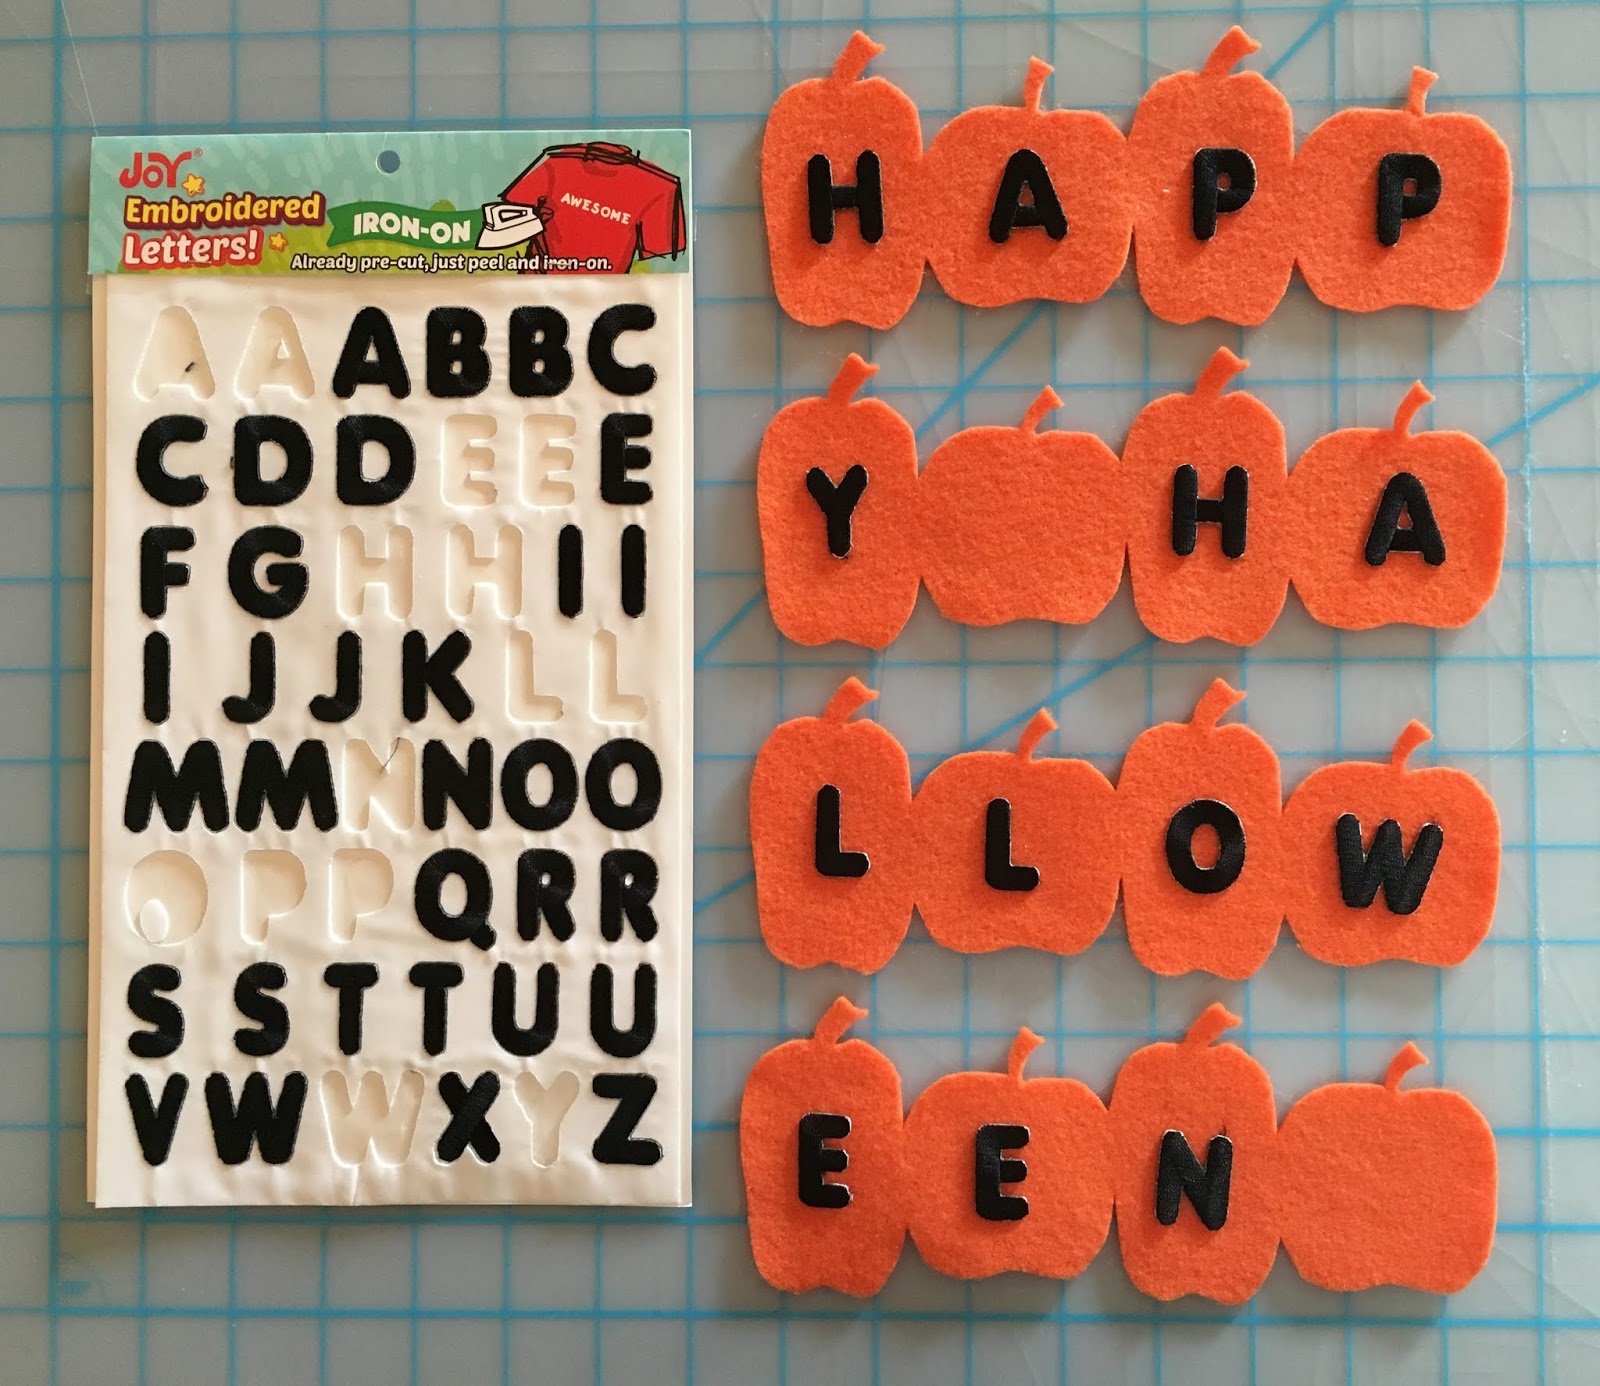
Joy® embroidered iron-on letter sheet - Black
Kunin® Premium Felt 9" x 12" Craft Cuts - Orange, Black & White
Embroidery Hoop - 10"
Iron and pressing cloth
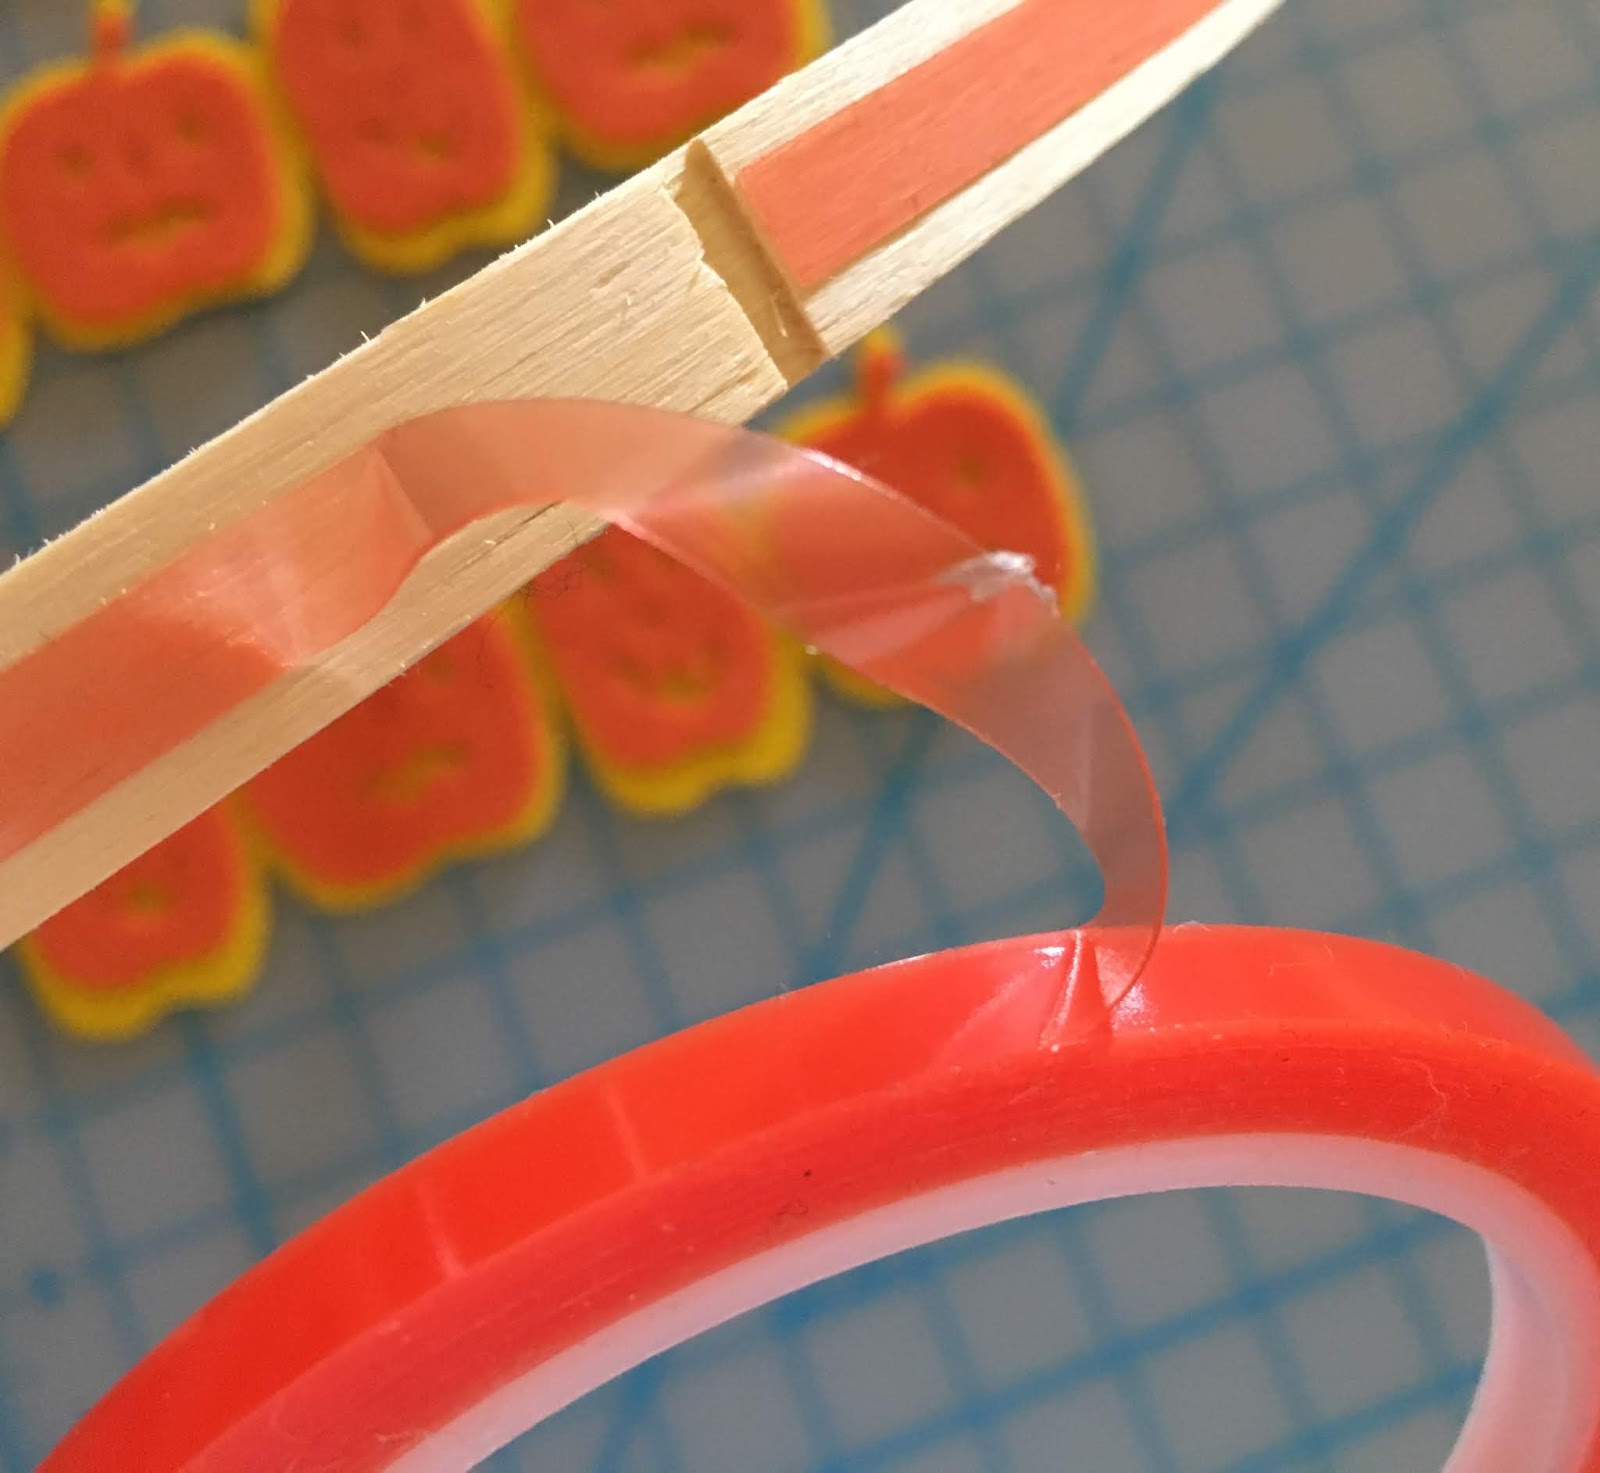
Double-sided tacky tape - 1/8"
Lo-temp glue gun
Tacky glue
Yarn, or cord - Black
Needle and thread
Scissors
Patterns - Pumpkin A, Pumpkin B, Bat and Ghost
Instructions:
1. Download the patterns using links (click on each shape) provided and cut the shapes. These patterns can also be uploaded to cut a digital cutting machine. e.g. Cricut® Maker.
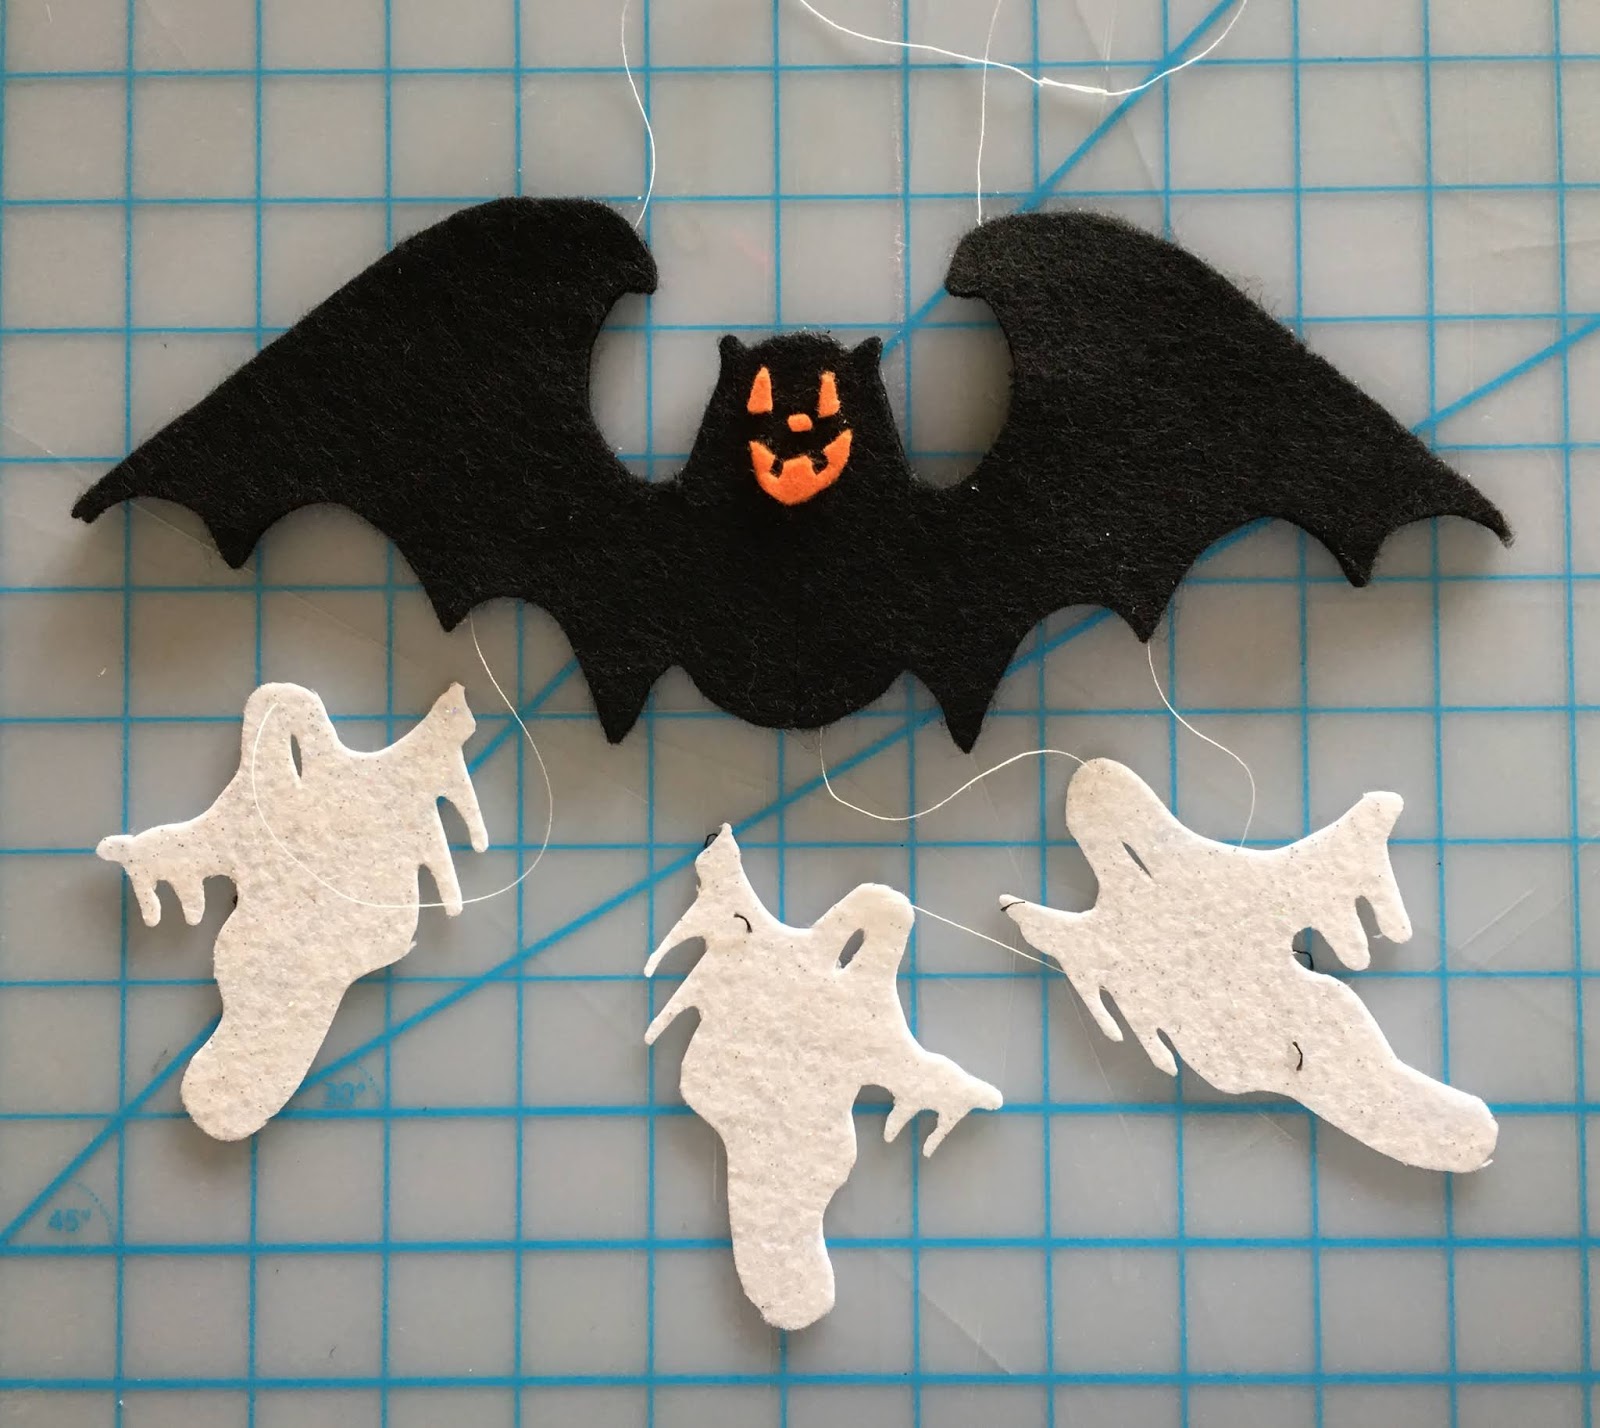
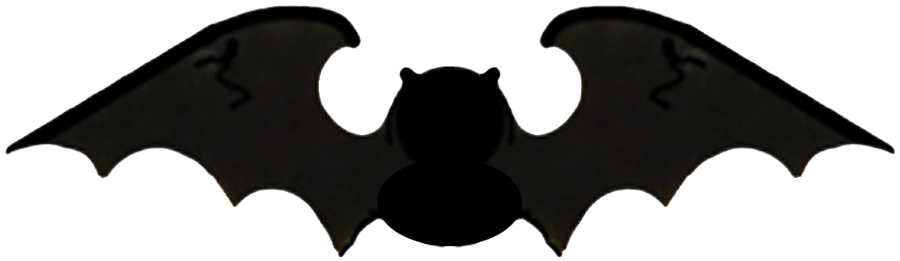 Bat x 2 (10" wide)
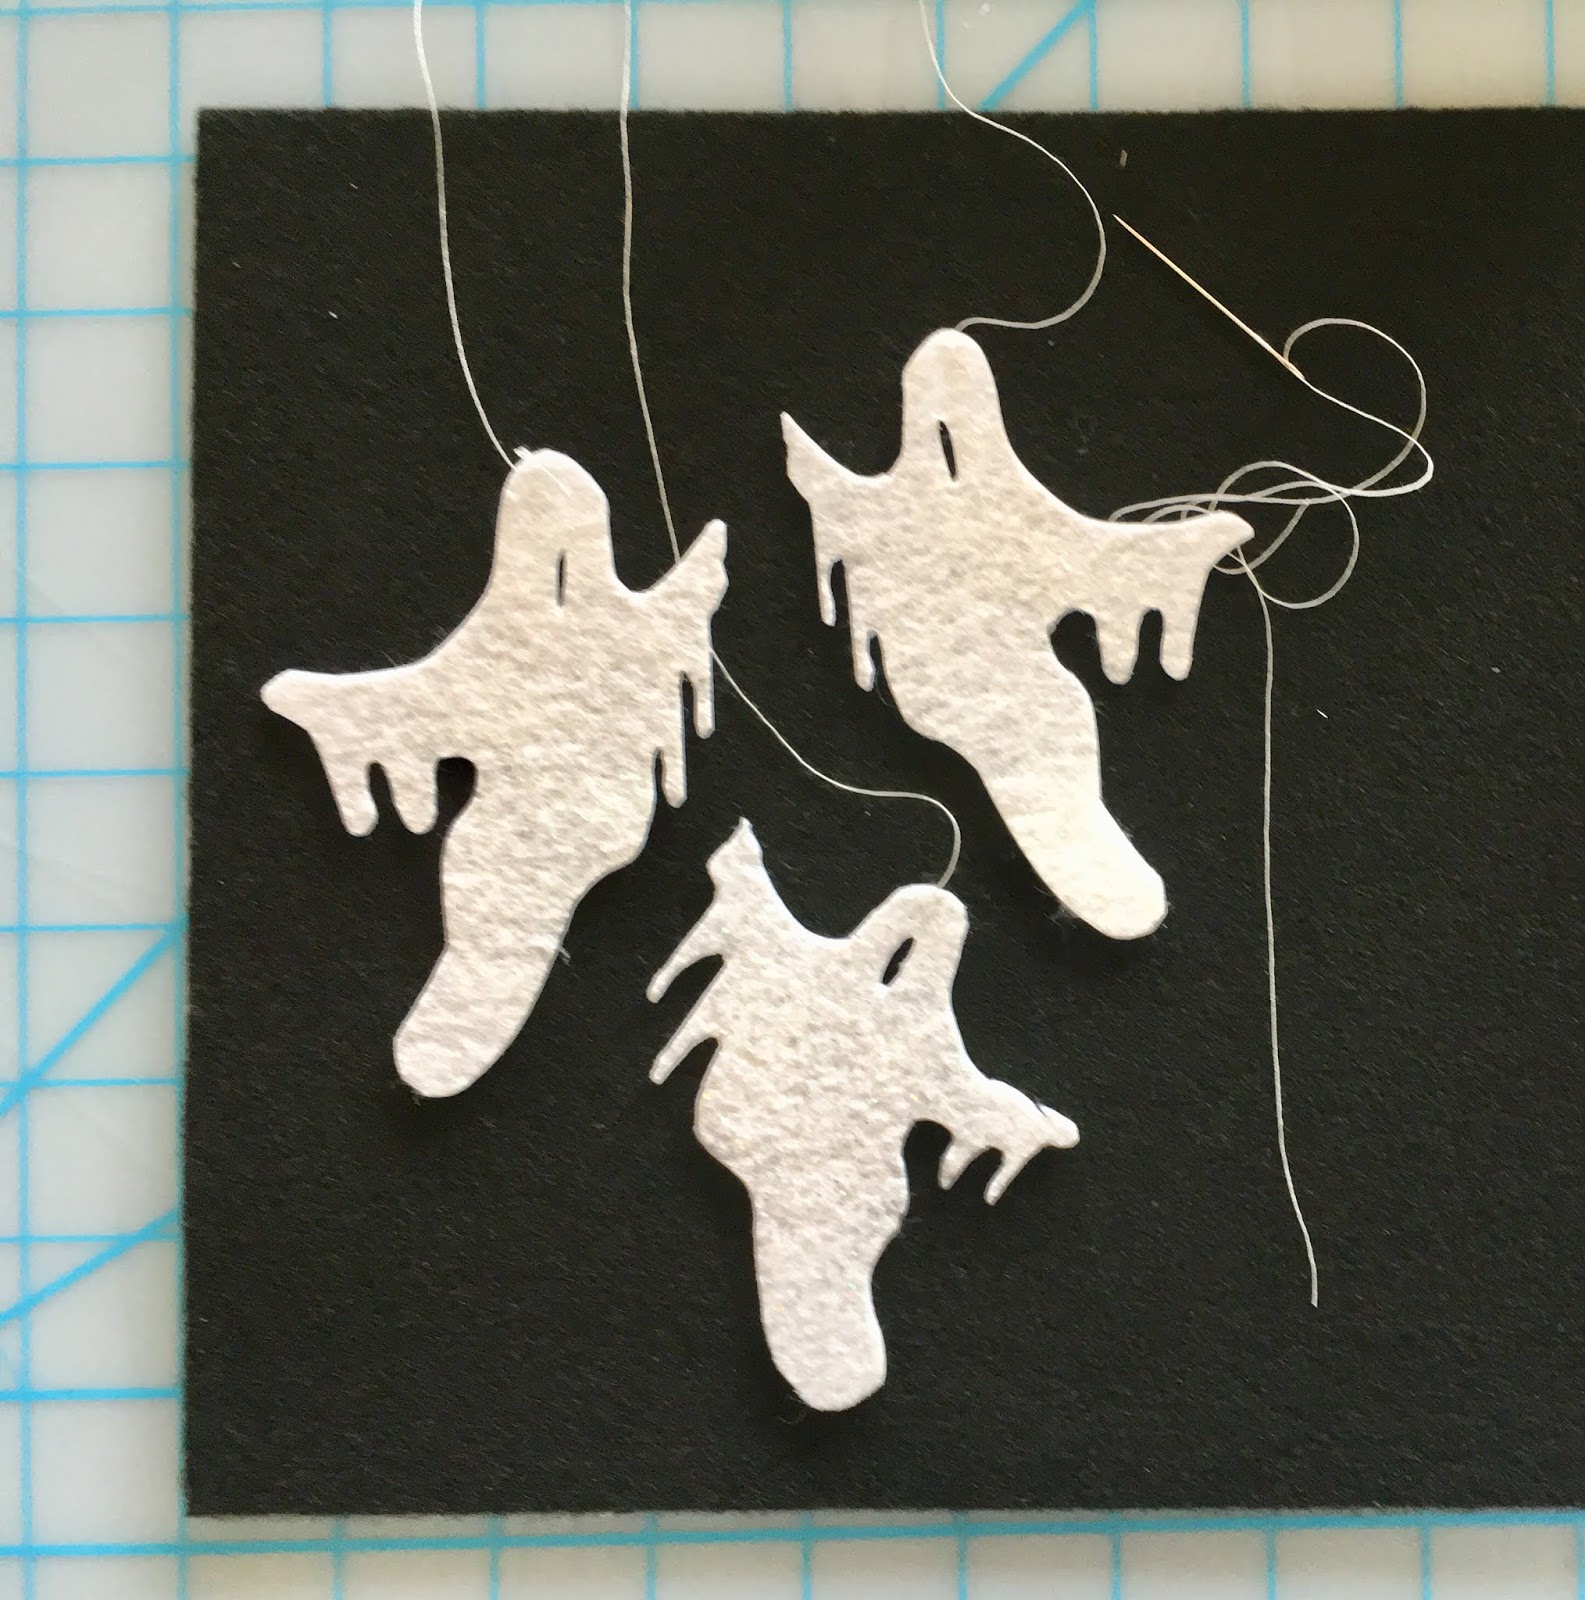
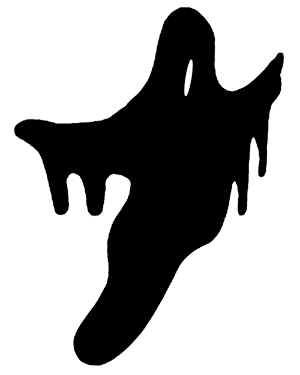 Ghost x 3 (5" tall)
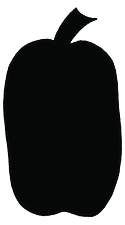
 Pumpkin A (1 3/4" w & B 2 1/4" w) x 8 each
2. Use the pumpkin patterns to cut a 32" border to wrap around the outside of the inner hoop. Place the pumpkin patterns next to each other on the felt alternating the designs, then trace around them. Create four short borders of 4 pumpkin shapes (2 of each style) across the width of the piece of felt.
3. Remove the letters to spell H A P P Y H A L L O W E E N from the letter sheet, then place the letters in order on the border. Following manufacturer's directions on packaging, cover one section of the border at a time with a pressing cloth then adhere the letters.
4. Separate the embroidery hoops. Adhere the tape around the outside of the inner hoop. Then press each border section, in order, onto the hoop.
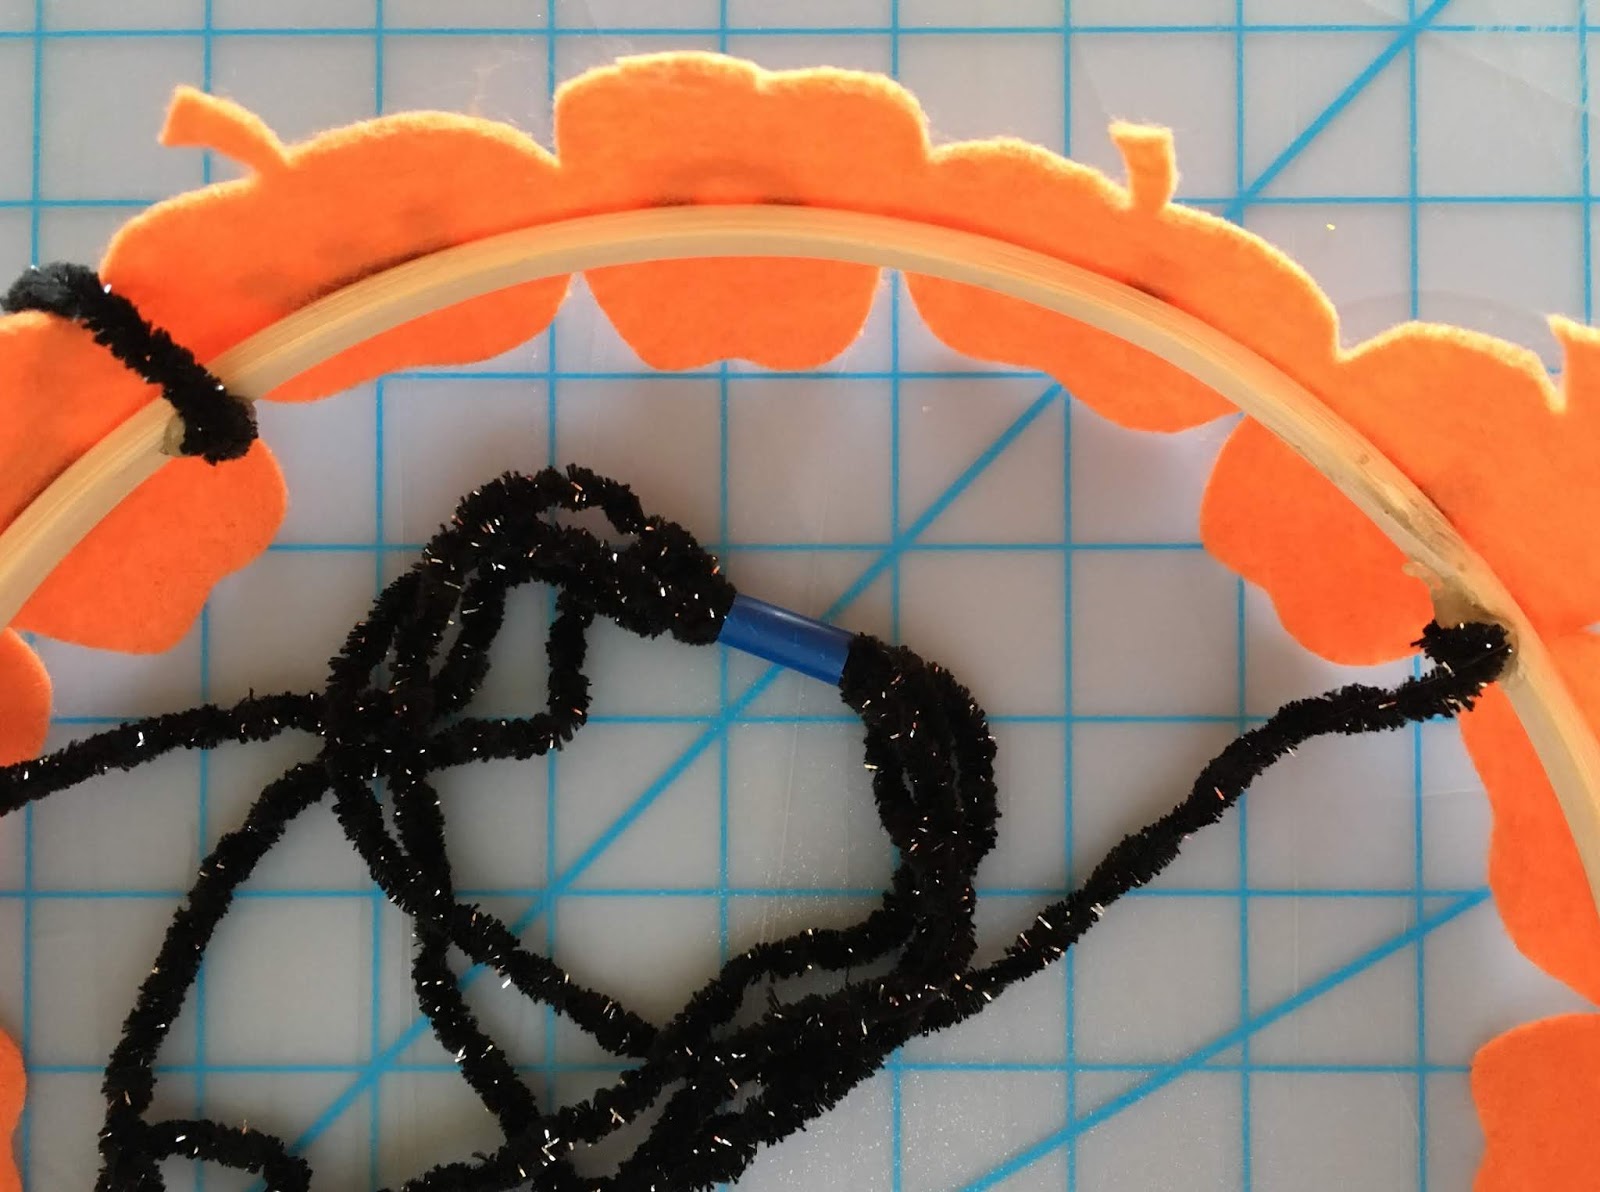
5. Cut four, 18" pieces of yarn, or cord. Make a knot at one end of each piece. Trim the yarn up to the knot, then glue the knotted ends to the inside of of the hoop with lo-temp glue. Use the point where the border sections meet as a placement guide. Gather the opposite ends of the yarn together then thread through a 1/2" piece of large straw. This will help to hold the pieces of yarn together while you adjust the lengths until the chandelier hangs level. Knot the opposite ends together. Hang over an "S" hook, or open up a large paper clip to use as a hanger if needed.
6. Cut three, 12" pieces of thread. Knot one end then, using the needle, attach a piece of thread to the top of each ghost.
7. With edges aligned, glue the bat shapes together with tacky glue. Use a craft stick to spread the glue across the felt. Attach the ghosts shapes to the bat by sandwiching the ends of the thread between the layers. Attach two additional lengths of thread at the top of the bat. Let dry, then hang the bat from the center of the chandelier. Cut tiny shapes for the nose, eyes and mouth to glue on the face the bat.
HAPPY HALLOWEEN!
Joy® embroidered, iron-on letter sheets can be found at your favorite craft stores!