FREE Standard Shipping with $50 Order
|
Minimum Order is $15
10% Discount on $300 Order
|
25% Discount on $600 Order

Easy Crafts for Easter!

Julie McGuffee
|
April 7, 2019

Decorations are quick’n easy when you use iron-on embroidered letters!

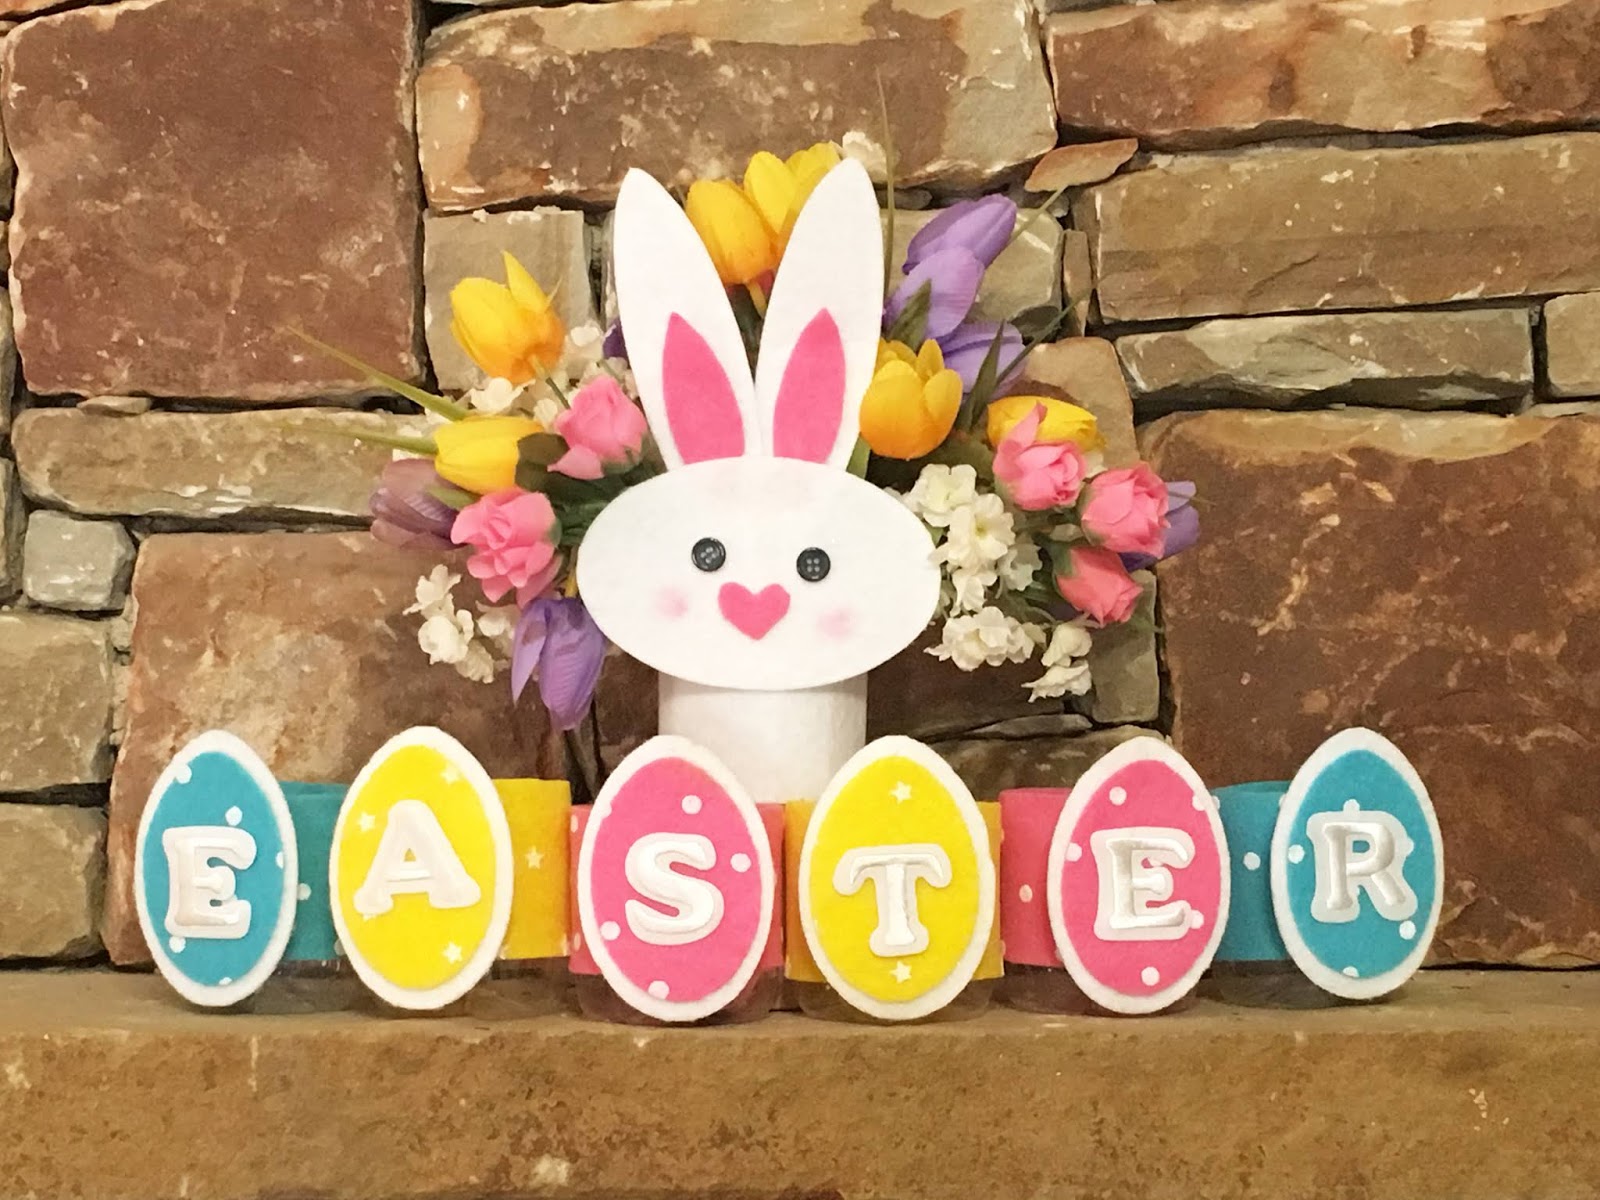
With a Cricut® Maker, you can make an unlimited supply of shapes for lots of creative and crafty ideas. Easter egg shapes for example, can be used to decorate garlands, wreaths, gift bags, tags, cards, napkin rings and so much more….. 

You will need:

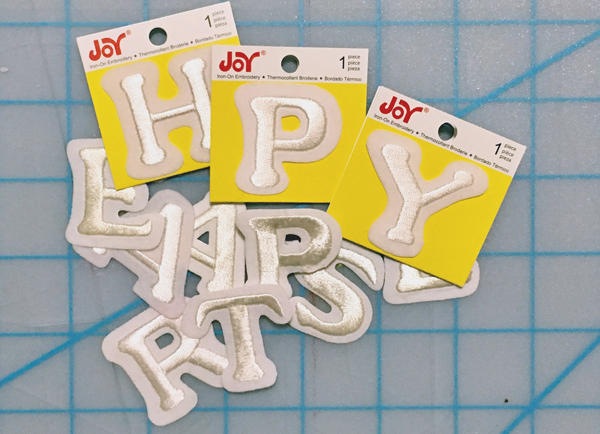
  • Joy® Iron-on Embroidered letters – 2 each A, E, P and H Y S T R

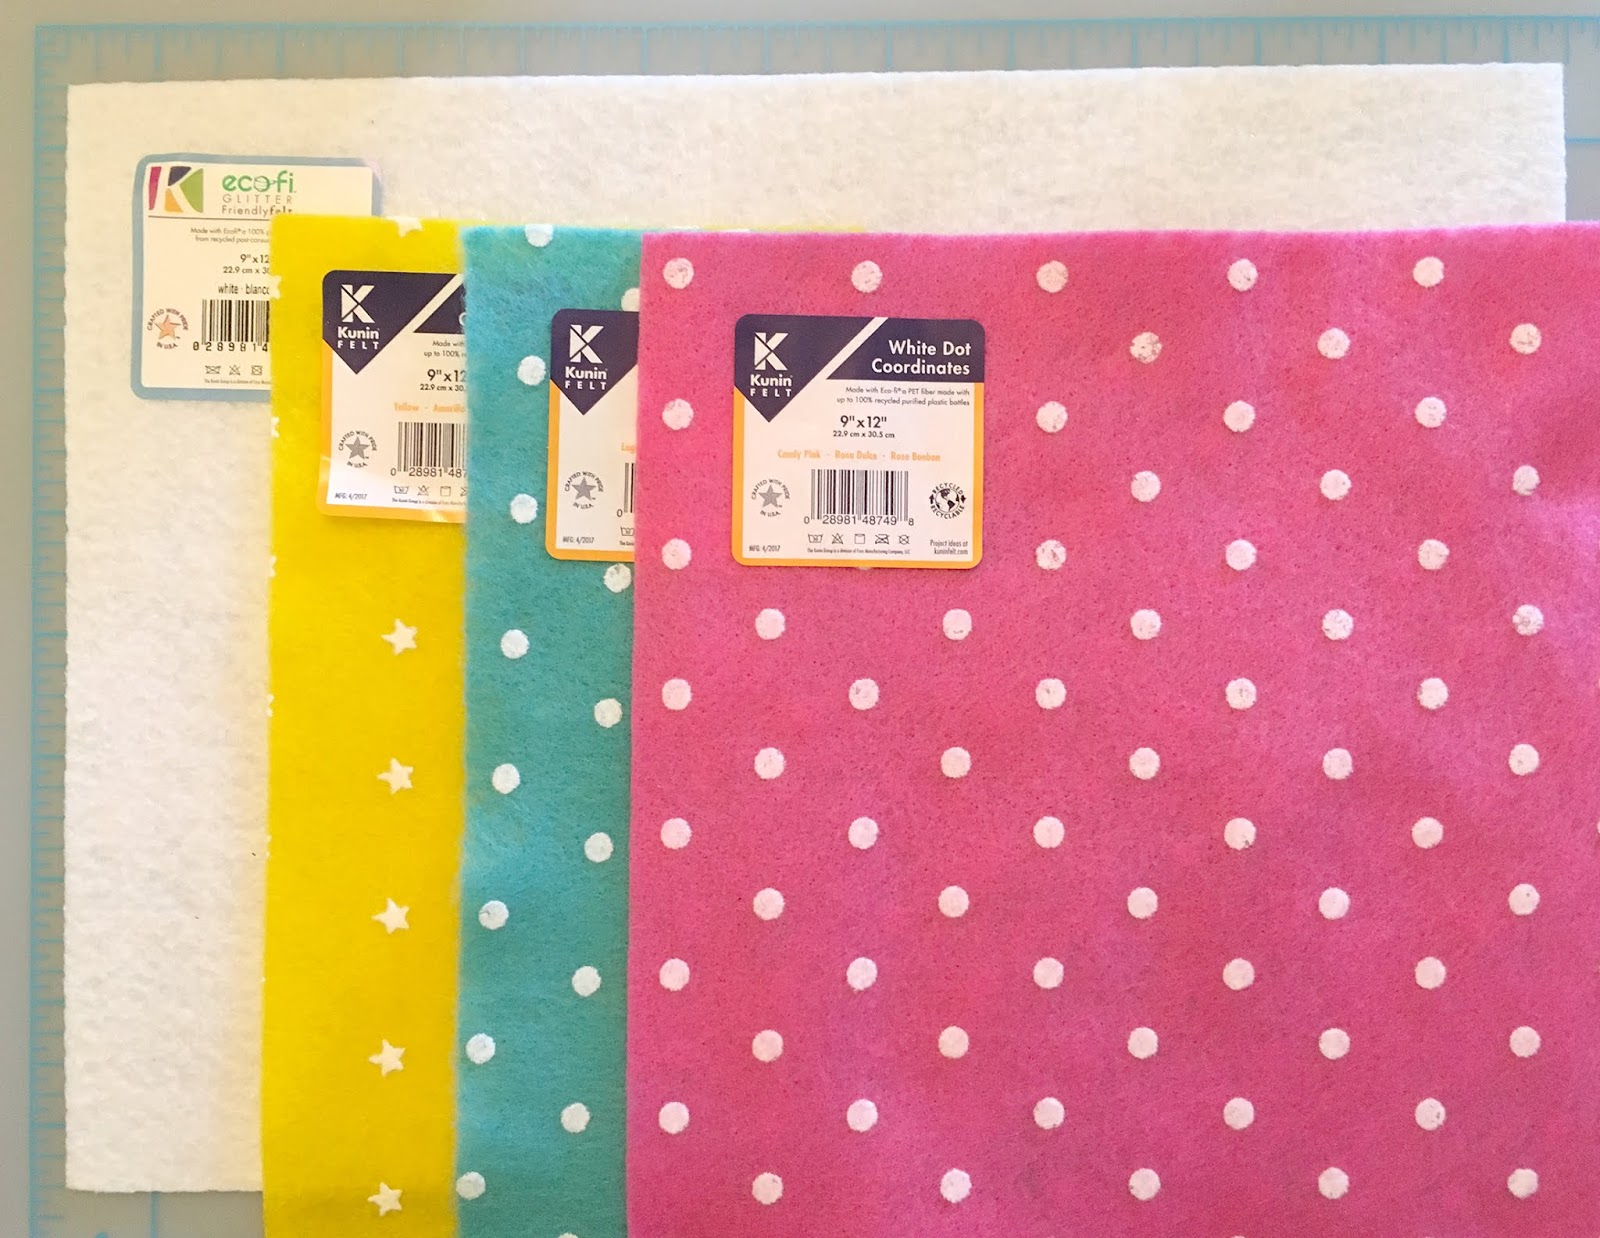
  • Kunin® Dot/Star Coordinates or Classic Felt, 9” x 12” – 2 each Candy Pink, Yellow & Lagoon
  • Kunin® Friendly Glitter, or Premium Felt, 9” x 12” – White 
  • Cricut® Maker™ with Rotary blade
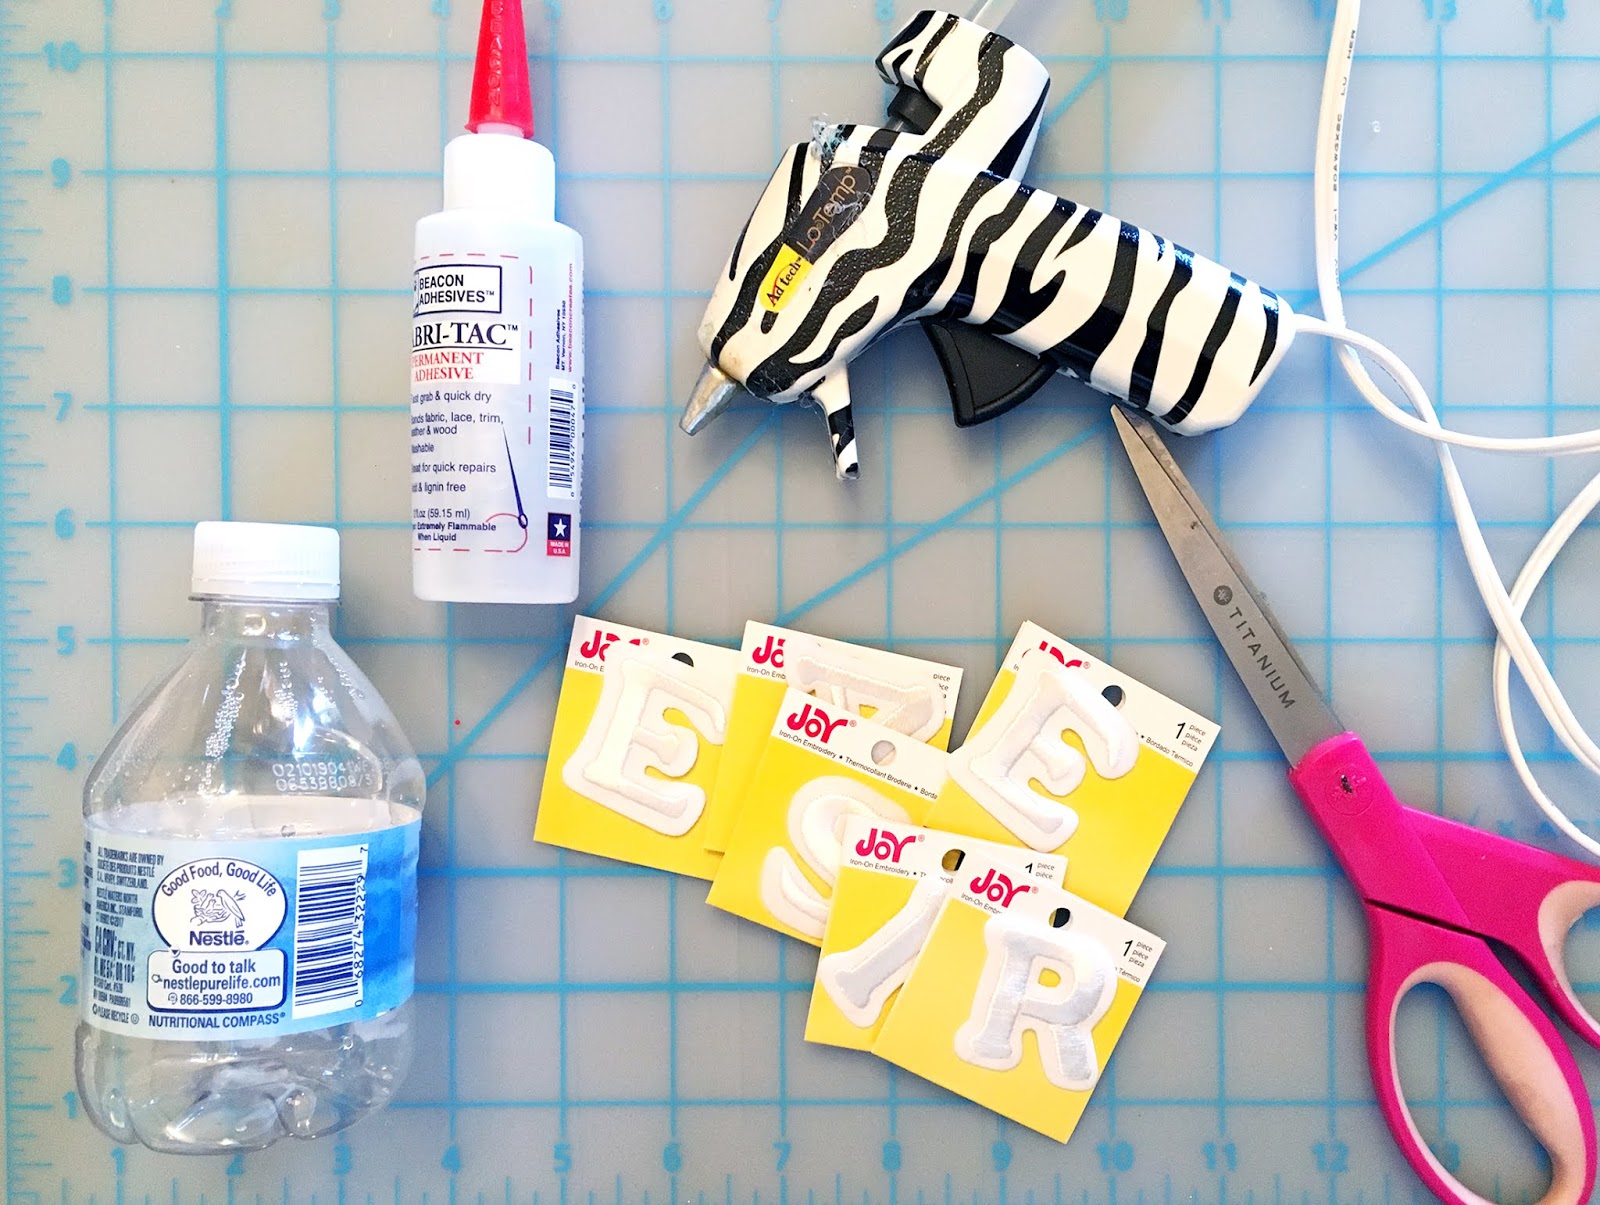
  • 12 plastic water bottles
  • 2 small black buttons
  • Tacky glue & lo-temp glue gun
  • Iron


Instructions:

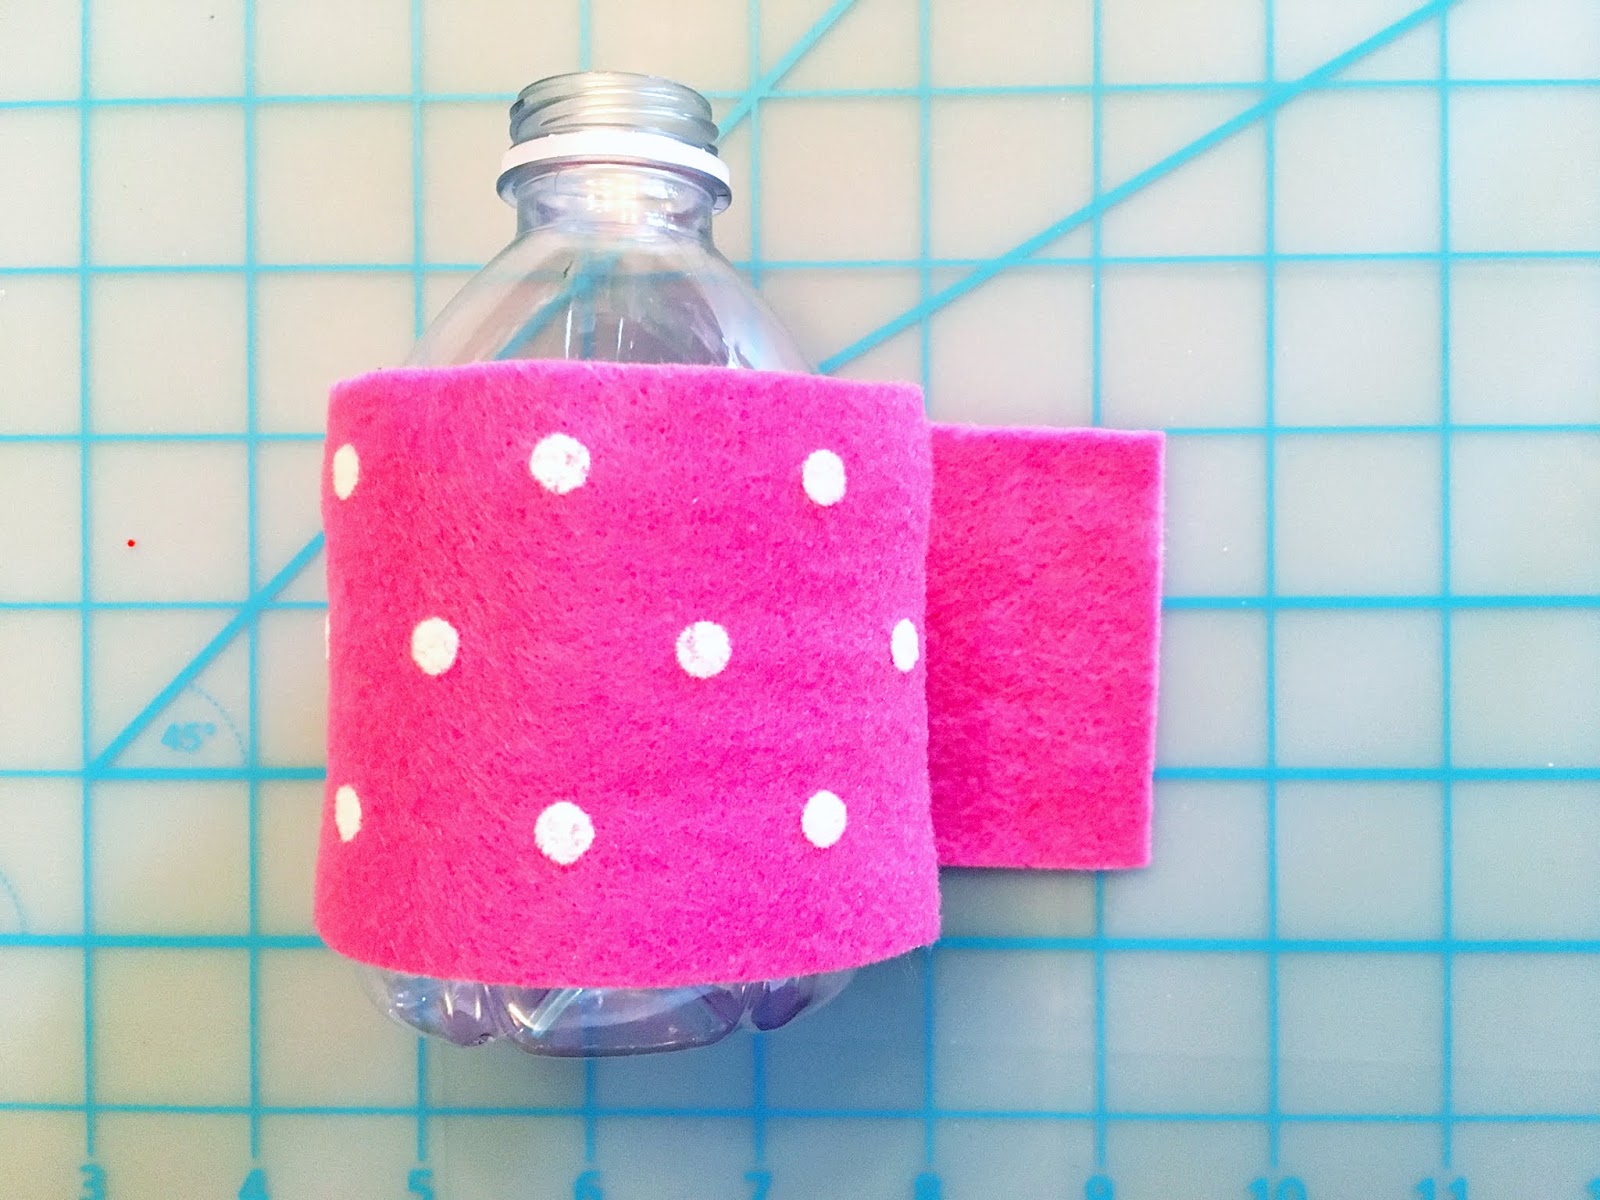
1.  Cut 4 each, 3” x 9” strips of yellow and pink felt and 3 strips of lagoon felt.  Wrap each piece around the bottom of a plastic bottle, overlap the ends then glue to secure.

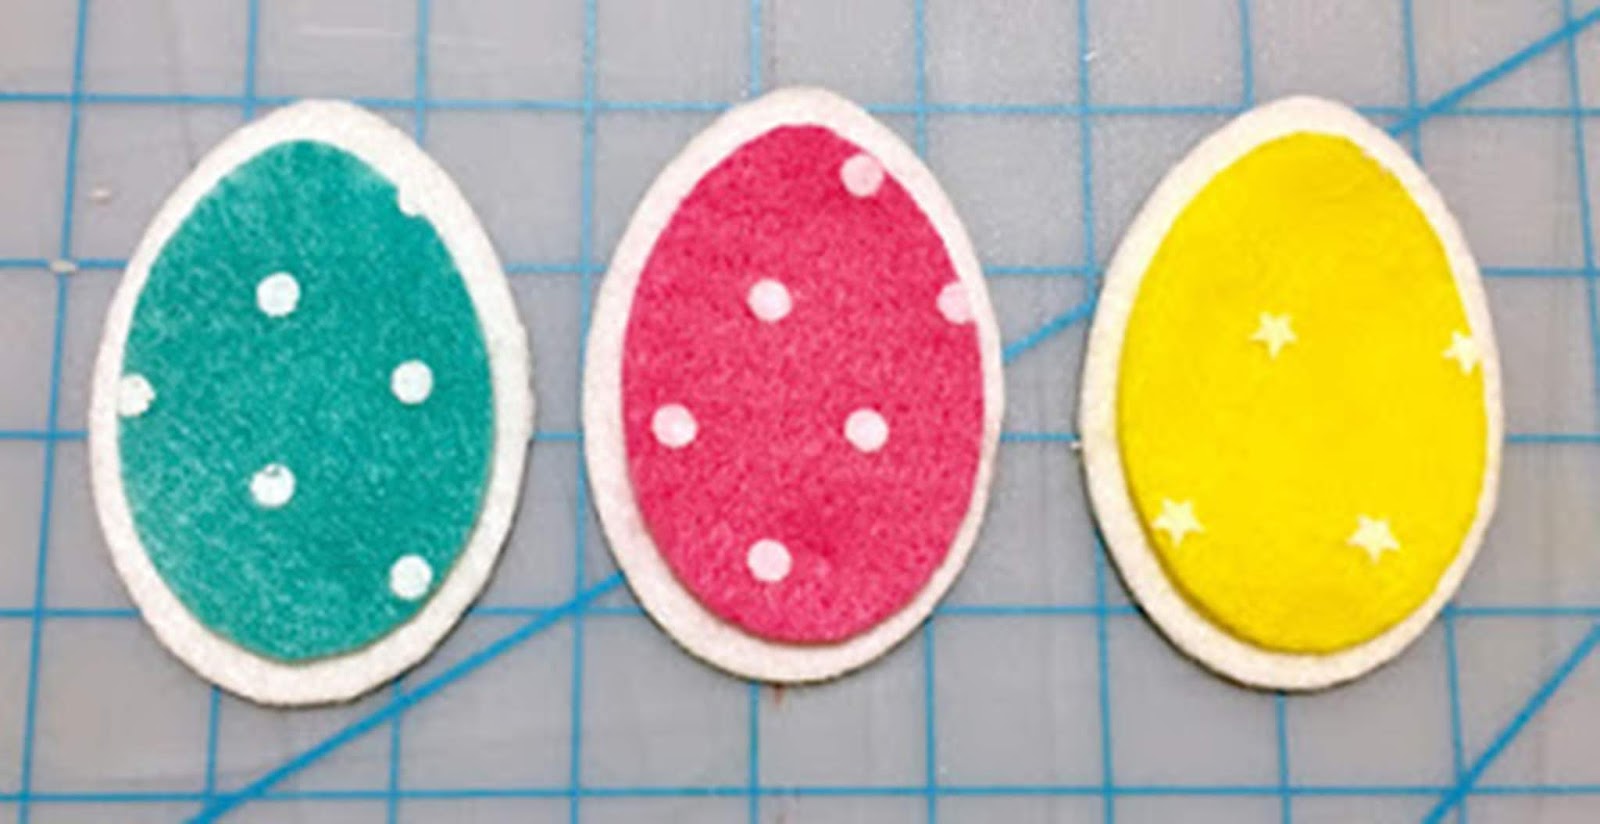
2. Cut 11, 3 ¼” white glitter egg shapes using the “felt acrylic” setting and rotary blade on your Cricut® Maker. Re-size the egg shape to 3” then cut 4 yellow, 4 pink and 3 lagoon shapes.  Center, then glue a colored egg shape onto a white glitter shape. You can use with either the dot pattern facing upward, or the plain side.

You can download the egg pattern here:

3.  Peel the waxy white backing from each letter to expose the adhesive then press in place on the front of the egg.  Note:  Arrange the eggs in color order first before adding the letters. Glue the egg onto the band on the bottle. 

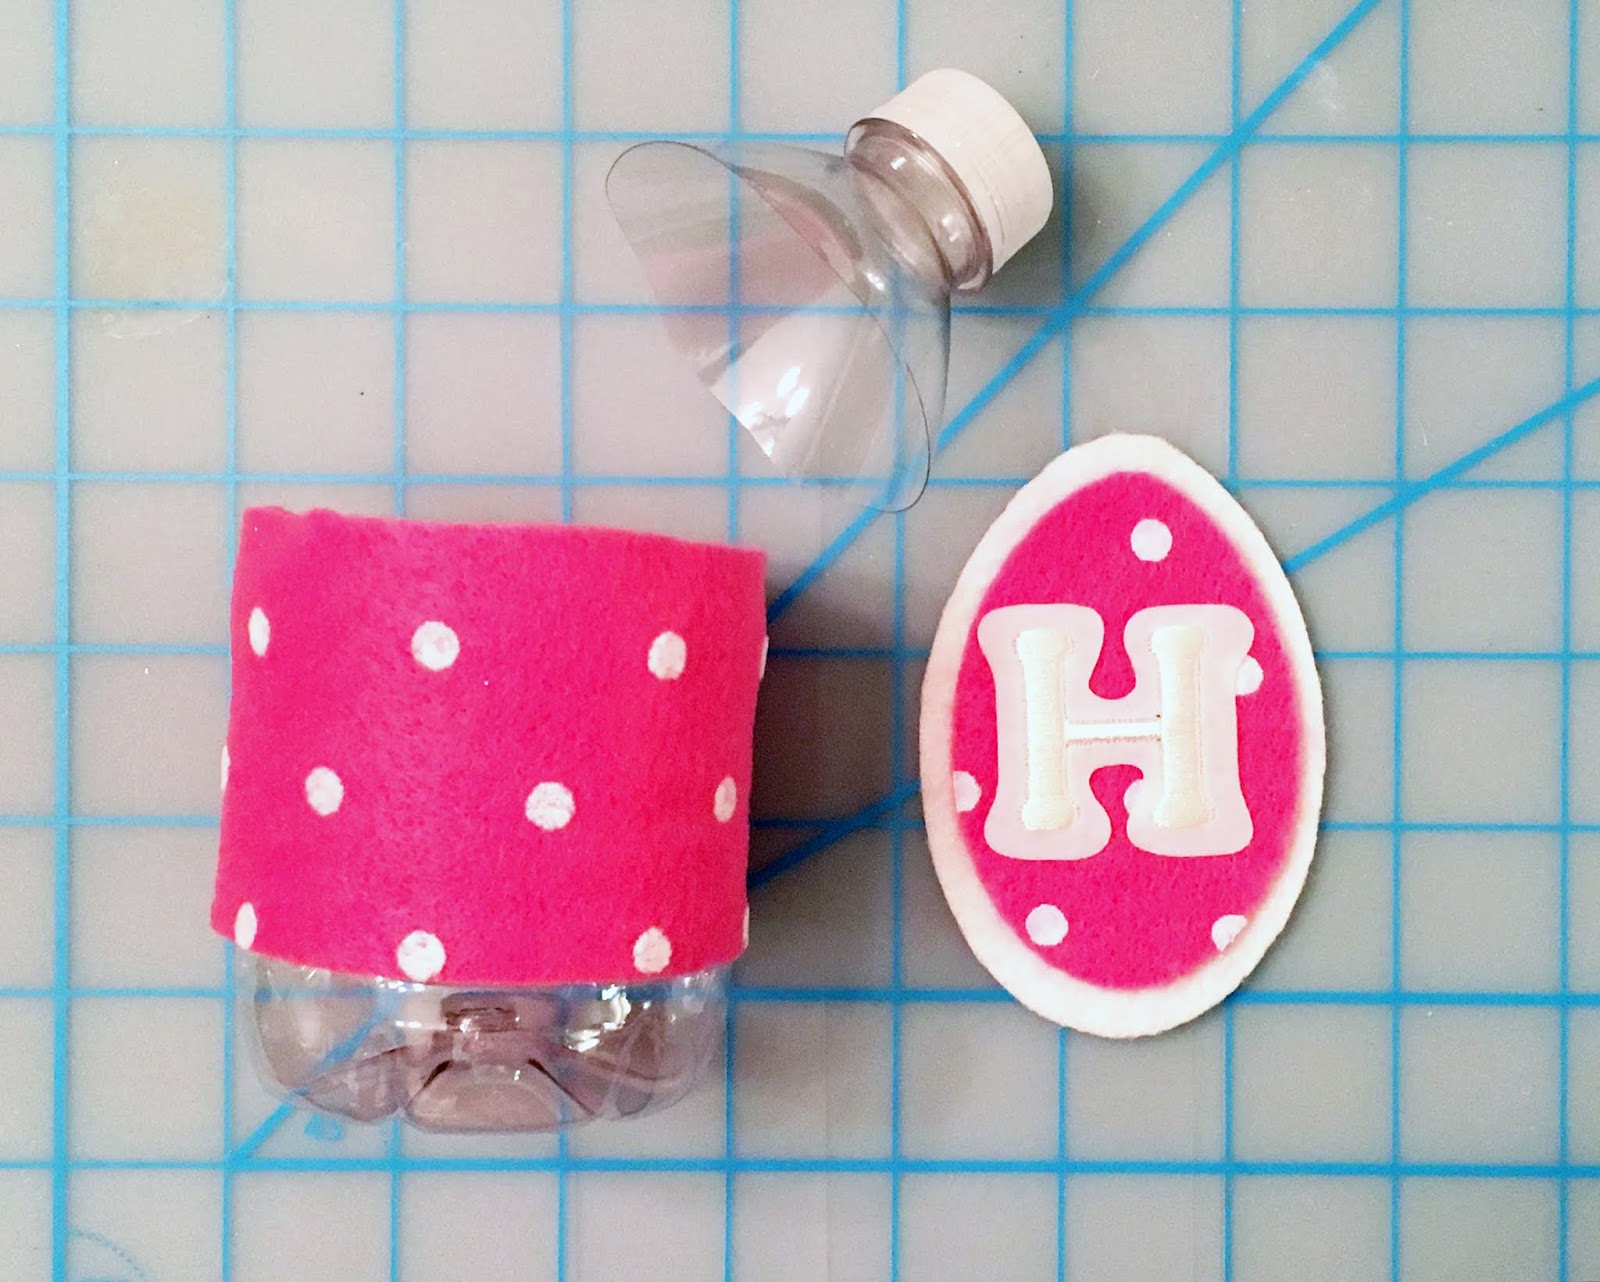
4. Carefully cut away the top of the bottle even with the top of the felt band to use as a small container for jelly eggs, or a large Easter Egg filled with goodies.  You can also leave the bottle as is and use as a small vase to create a row of single flower stems for a table top decoration – it’s waterproof!

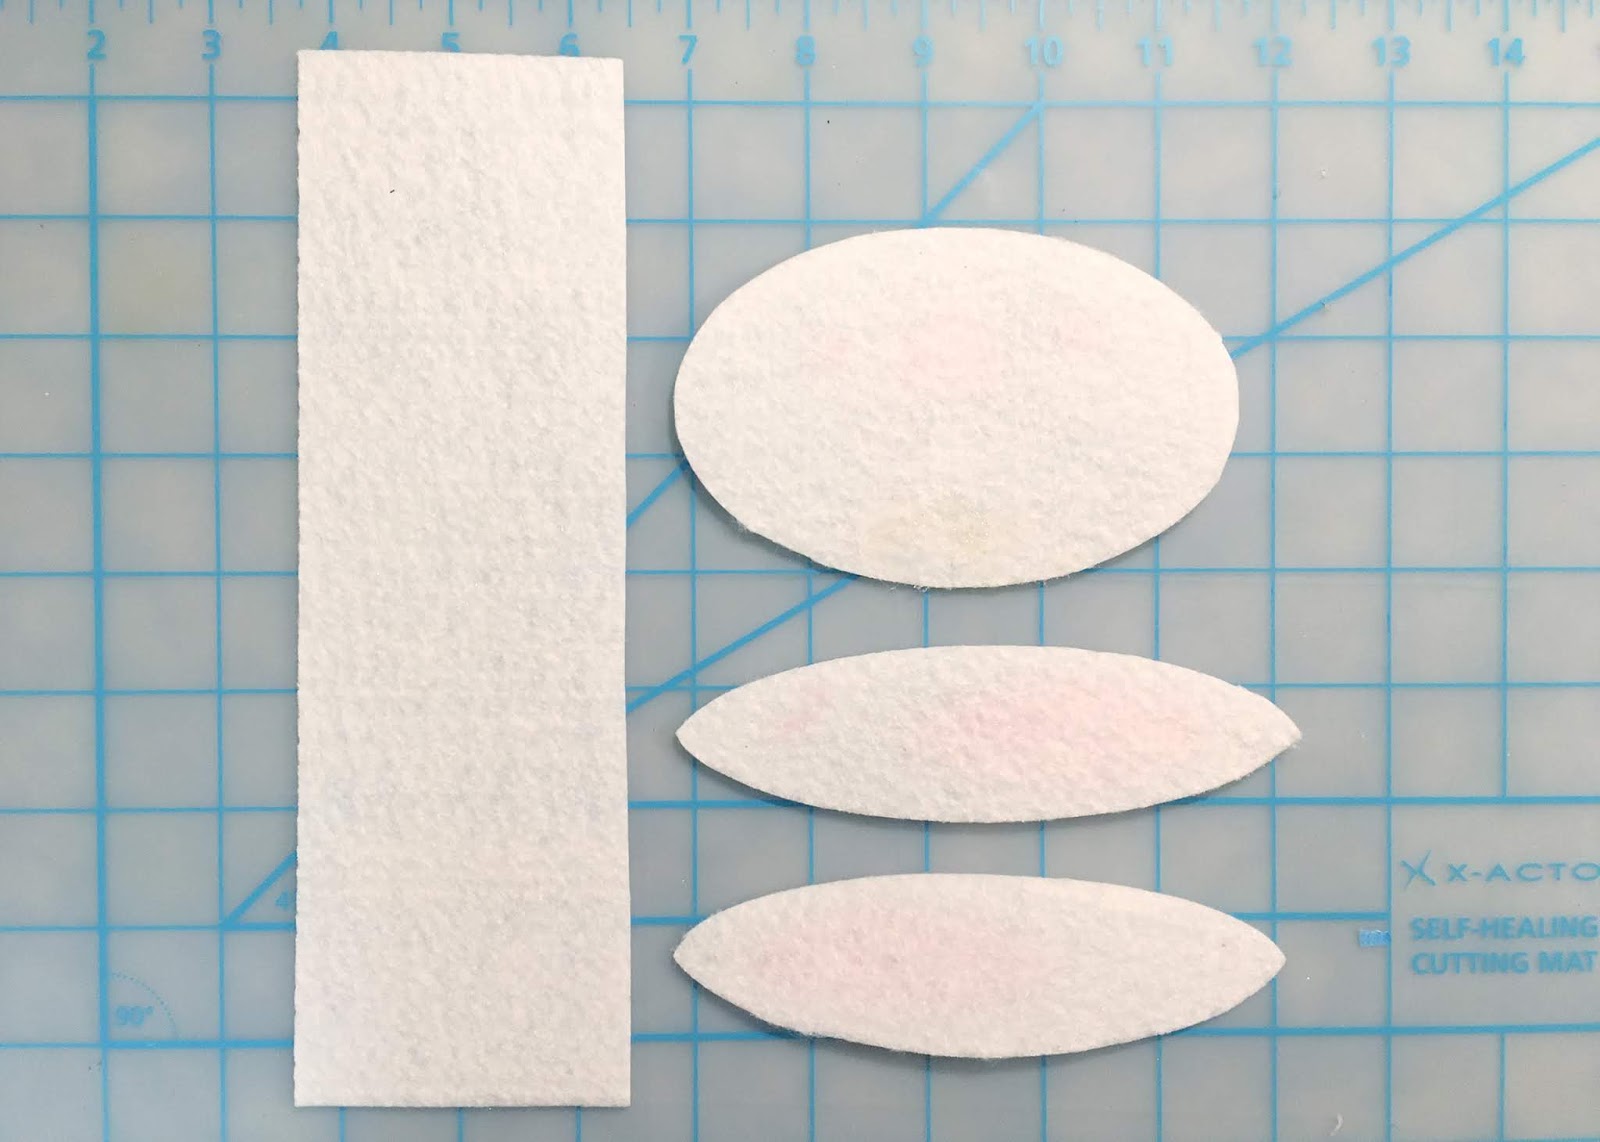
5. Rabbit “Vase” Centerpiece– Easter decorations wouldn’t be complete without an Easter Rabbit. Cut a  4” x 9” piece of white glitter felt then glue around the base of a plastic bottle.  Cut a 5” x 3” oval  for the head and 2 elongated ovals for the ears. You can cut these using the “shapes” feature in Cricut Design Space, or draw  your own simple patterns on the back of the felt, then cut out with scissors.  


6. Cut 2 smaller ear shapes from pink felt then glue to the front of each ear.  Cut then glue a 1” heart shape to the center of the “head” for a nose then glue the buttons on either side of the nose for eyes. Use a little powder blush for the cheeks if desired. Glue the ears to the back of the head then glue the head to the bottle.  Fill the bottle with Spring flower picks to finish.  

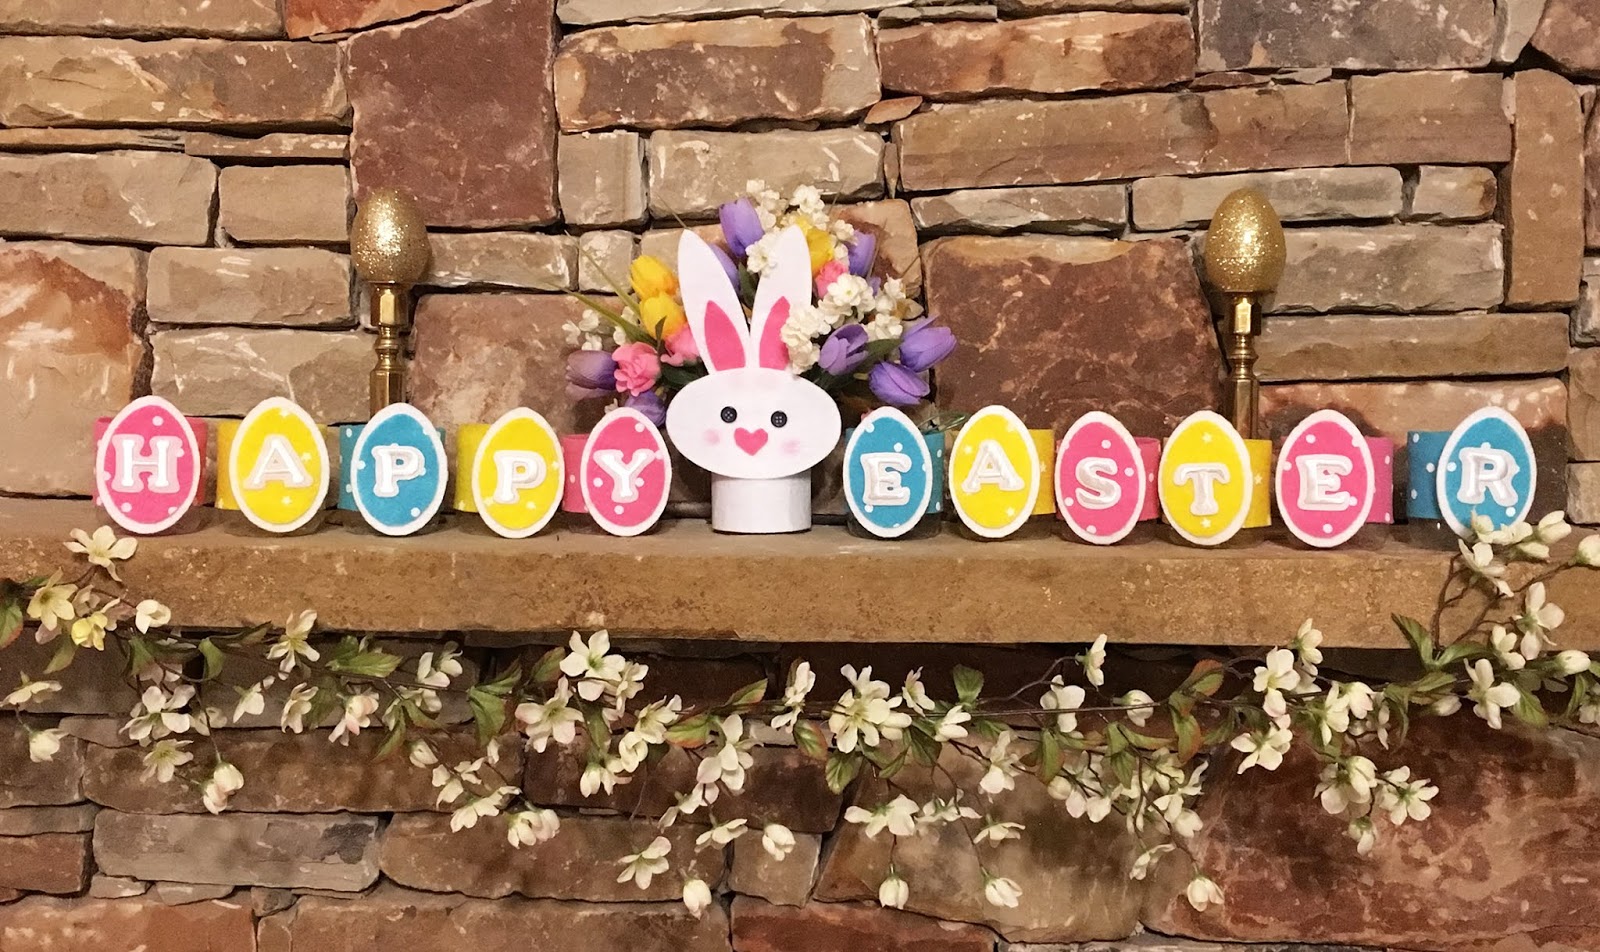
Hoppy Easter ev'ry bunny!

You can find Joy® iron-on embroidered letters at your favorite craft stores

Leave a Reply

Your email address will not be published. Required fields are marked *

Recent Projects

Luck O' the Irish DIY Door Hanger

St. Patrick’s Day is just around the corner!  Celebrate the Luck O' the Irish with this colorful door décor that is a fun alternative to a traditional wreath.  You will need: Joy® Iron On Embroidered Letter sheet - Gold Script Kunin Classics™ Felt 9” x 12” Craft Cuts– Red, Orange, Yellow, Apple Green, Lagoon, Royal Blue, Orchid, Pirate Green, Neon Green, Gold and Goldenrod (one each) Kunin Premium™ Felt 9” x 12” Craft Cuts– White and Black (two each). Expo International – Claudia 2” Fan and Lattice Lace.  Ric Rac assorted Rayon – Red, Orange, Yellow, Green, Light Blue, Royal…

Rustic Happy Fall Y'all Pumpkin Sign

HAPPY FALL Y'ALL! I am always on the look out for cute items that can be upcycled to create one of a kind home decor pieces.  This rustic pallet pumpkin was just calling out to me from the Target dollar spot and with the addition of some Joy® iron-on embroidered letters, it quickly becomes a custom keepsake. Select a combination of white Joy® iron-on embroidered letters to spell out your message. To create the apostrophe, I carefully cut the leg from the capital letter Q with a pair of detail scissors. Place the embroidered letters on an old towel in a cardboard box…

Back to School Welcome Banner

Create a "Back to School" welcome banner for your favorite teacher's classroom! Materials: JOY® Embroidered Letters 9” x 12” sheets of Kunin Classicfelt -Black , Gray, Sandstone, Candy Pink and Gold Craft glue Glitter glue Cardstock Ruler, pencils, scissors 4-foot length of ribbon Instructions: Draw a simple pencil pattern (5 pieces as shown) on cardstock and cut out.   Trace and trim each pattern piece seven times on the appropriate color of felt. Glue the pencil pieces together, overlapping as shown and let dry. 4. Peel back liner paper from the JOY letters and attach to the center of each pencil, spelling…

Scrabble-Inspired Tote Bag

I am all about recycling, but most of the tote bags that the grocery stores sell are not very cute or crafty. So in honor of family game night, I created a Scrabble-inspired bag to tote around town! This project makes the perfect quick and easy handmade gift to create for Mom for Mother's Day! Decide what words you want to spell and how they'll connect, making sure the arrangement will fit on the front of your tote bag. Draw a grid of square tiles on graph paper to fit each of your letters. I selected the Joy 1.5" Cooper Style…

Happiness Pillow

Joy® Iron-on embroidered letters in white are great for creating any color you can imagine! You can use dye, markers and even acrylic paint! To Make this Happiness Pillow you'll need: Joy® Embroidered Iron-on Letters - Letter Shop White  Acrylic Paint and Paintbrush NEW Joy® Iron-on Embroidered Flower Appliqué    Canvas Pillow Blank Pillow Form or Polyfil Iron Instructions: 1. Paint each letter to create a rainbow of H-A-P-P-I-N-E-S-S.  Set aside and let dry. 2.  Insert cardboard into pillow blank then paint the pillow with white and light blue paint.  Let dry. 3. Set iron on cotton setting; approx. 350 degrees,…
closearrow-circle-o-downtagtagsminus-circlefacebook-squaretruckpinterest-squareinstagrammenu
0
    0
    Shopping Cart
    Your cart is emptyReturn to Shop