FREE Standard Shipping with $50 Order
|
Minimum Order is $15
10% Discount on $300 Order
|
25% Discount on $600 Order

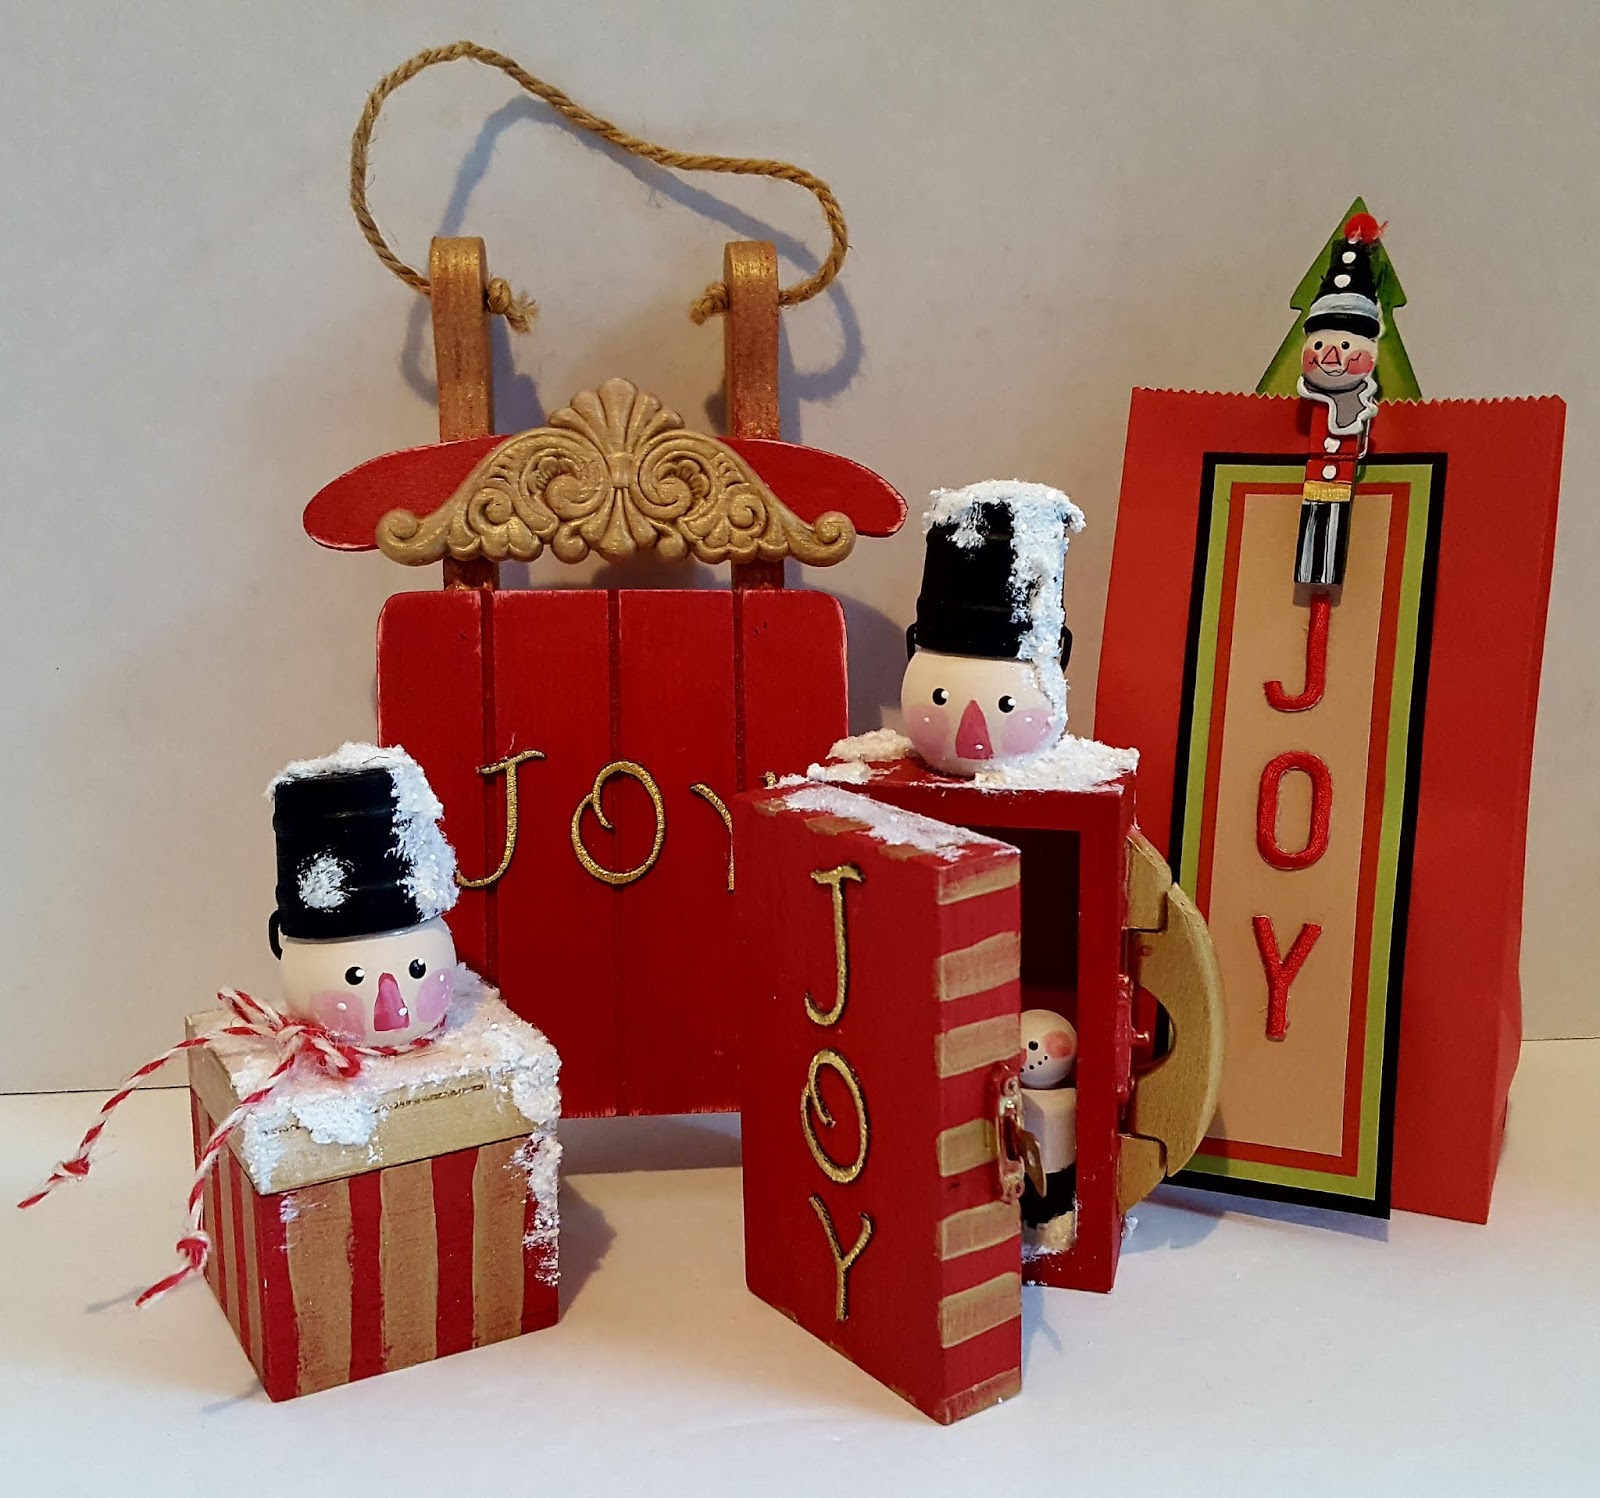
Joyful Christmas Decorations and Gifts

PriMarilynLy Paper
|
November 21, 2018

The holidays are upon us!  

Look what you can do with simple wood pieces, paint and Joy embroidered letters!

You will need:

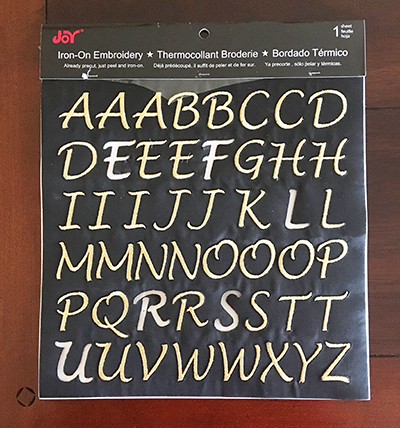
Joy® Iron-On Embroidered letter sheets - Gold and Red

Various wood pieces:  

    mini trunk, sleigh, small hinged boxes, pails (for hats), ball knobs (heads), 

    filigree with flat back, small peg person

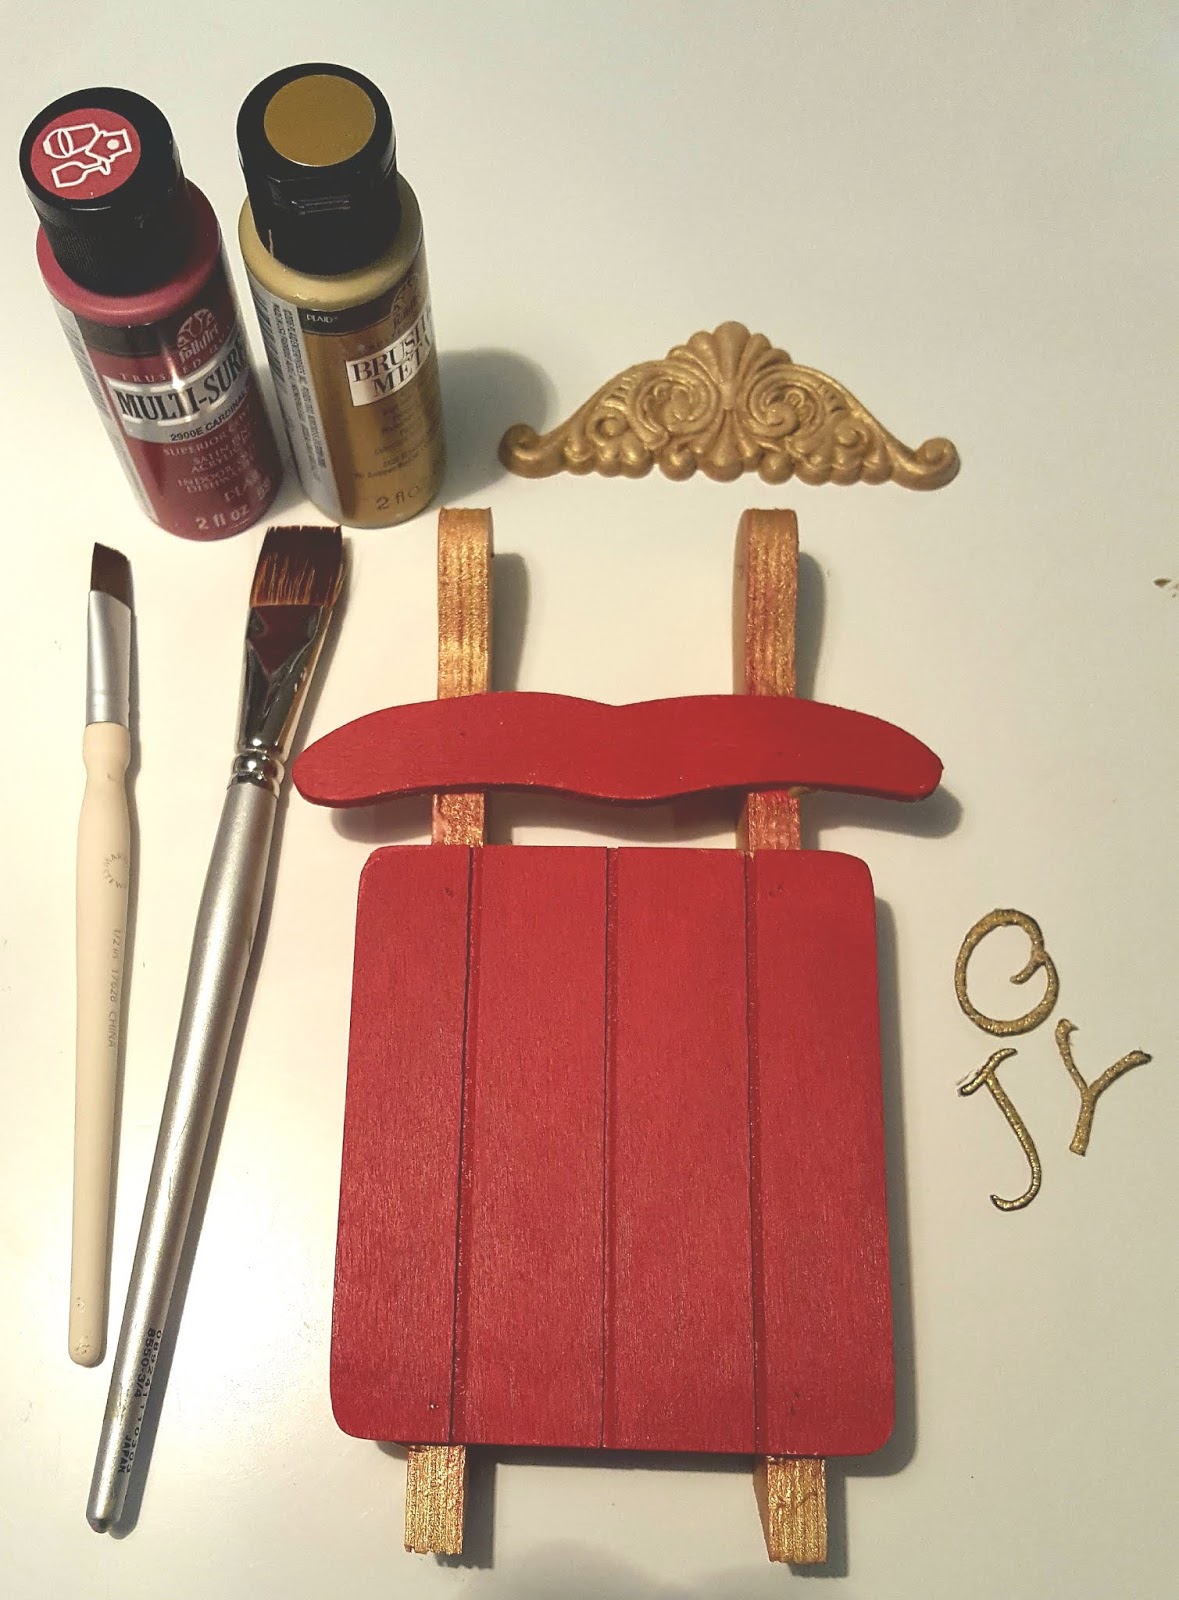
Craft Paint:  red, metallic gold, light peach, black, white

Paintbrushes:  Flat and a small round brush

Snow-Tex 

Clear glitter

Mini tree

Glue gun & glue sticks

Red & white bakers' twine

Rhinestone embellishments

Water container, paper towels and palette

Small gift sack

Cardstock - Black, green, red, beige

Decorative clothespin (for bag closure and holding bookmark)

Instructions:

1. Sand the larger wood pieces (sleigh & wood boxes) to remove any rough spots then wipe to remove sanding dust.  Paint red.

2. Paint:

    Ball knobs (heads) - light peach,

    Small peg - white and the

    Pails (hats) - black,

    Filigree (for sleight) - gold Allow all pieces to dry thoroughly.

3. Referring to photo, use a stylus, or toothpick to make 2 black dots on each head for eyes and the red nose.  Brush a little powder blush, or chalk on the cheeks.  Add a tiny white dot to each eye, the none and the top of each cheek to highlight. 

4.  Apply gold metallic stripes around the edge of the box if desired with a 1/4" flat brush.  

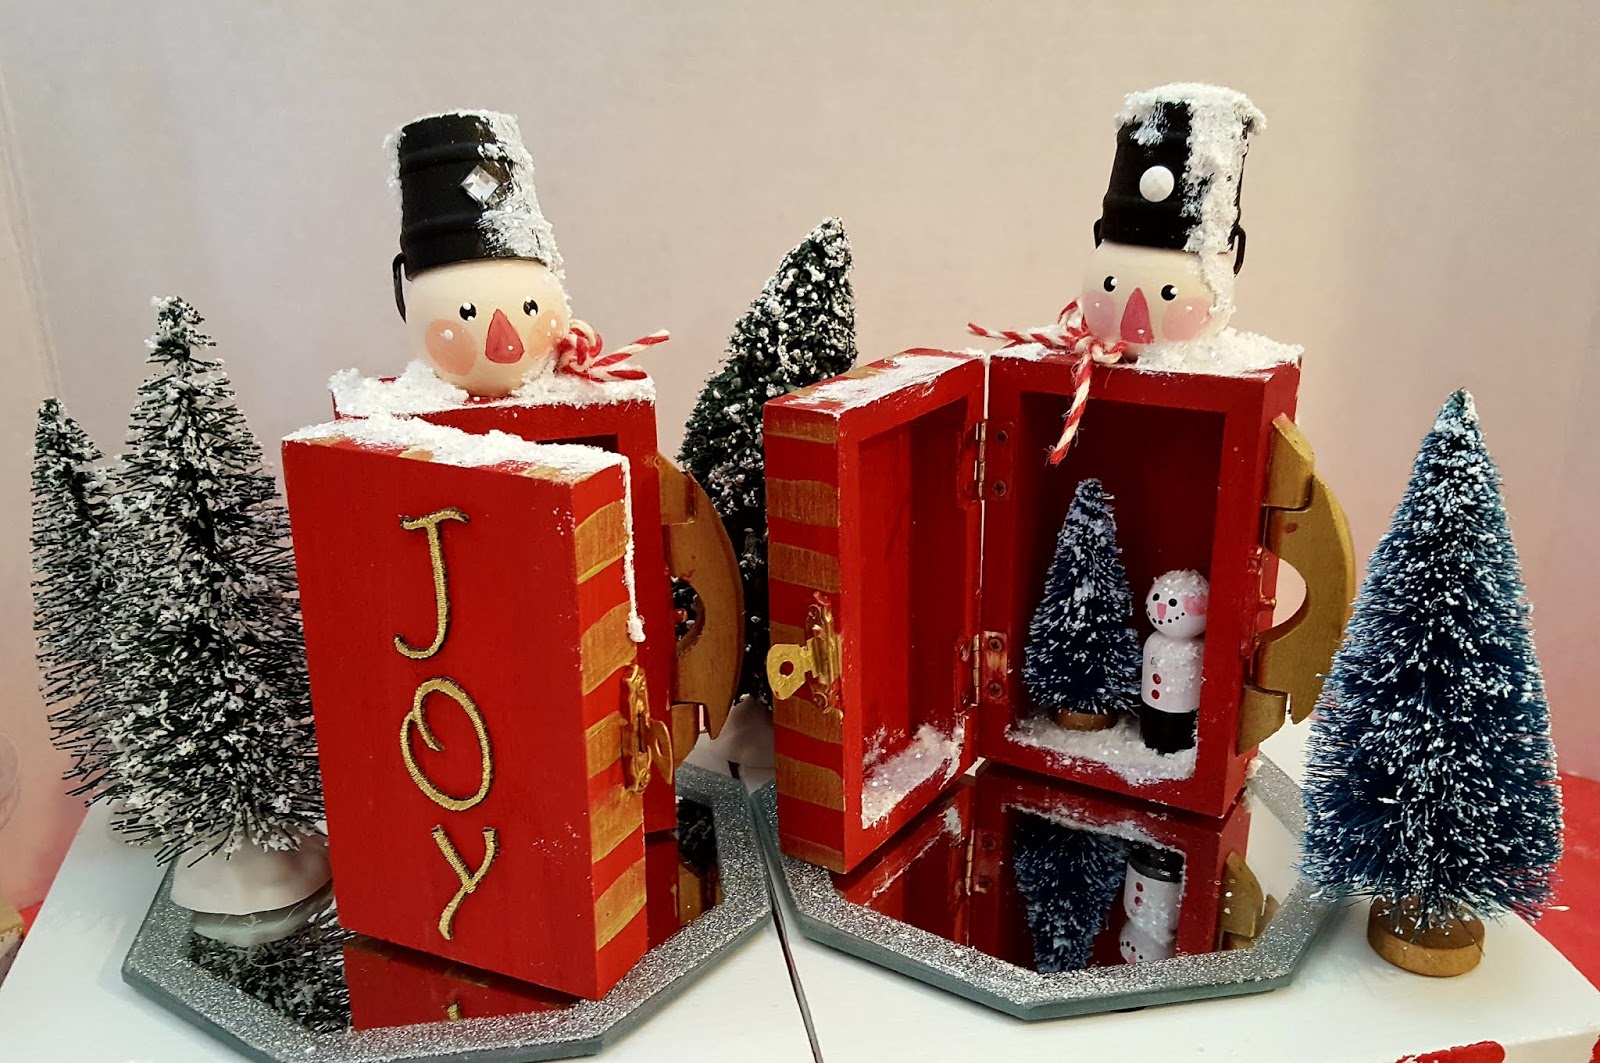
5. Adhere the letters to the front of the sleigh and mini trunk/box. Glue a pail to the top of each head for the hat, then glue a head to the box and mini trunk as shown.  Embellish the outside with snow and glitter.

Optional:  Glue the small snowman and tree to the inside of the mini trunk to create a decorate piece.  Add more snow and glitter for extra sparkle.

Gift bag and bookmark

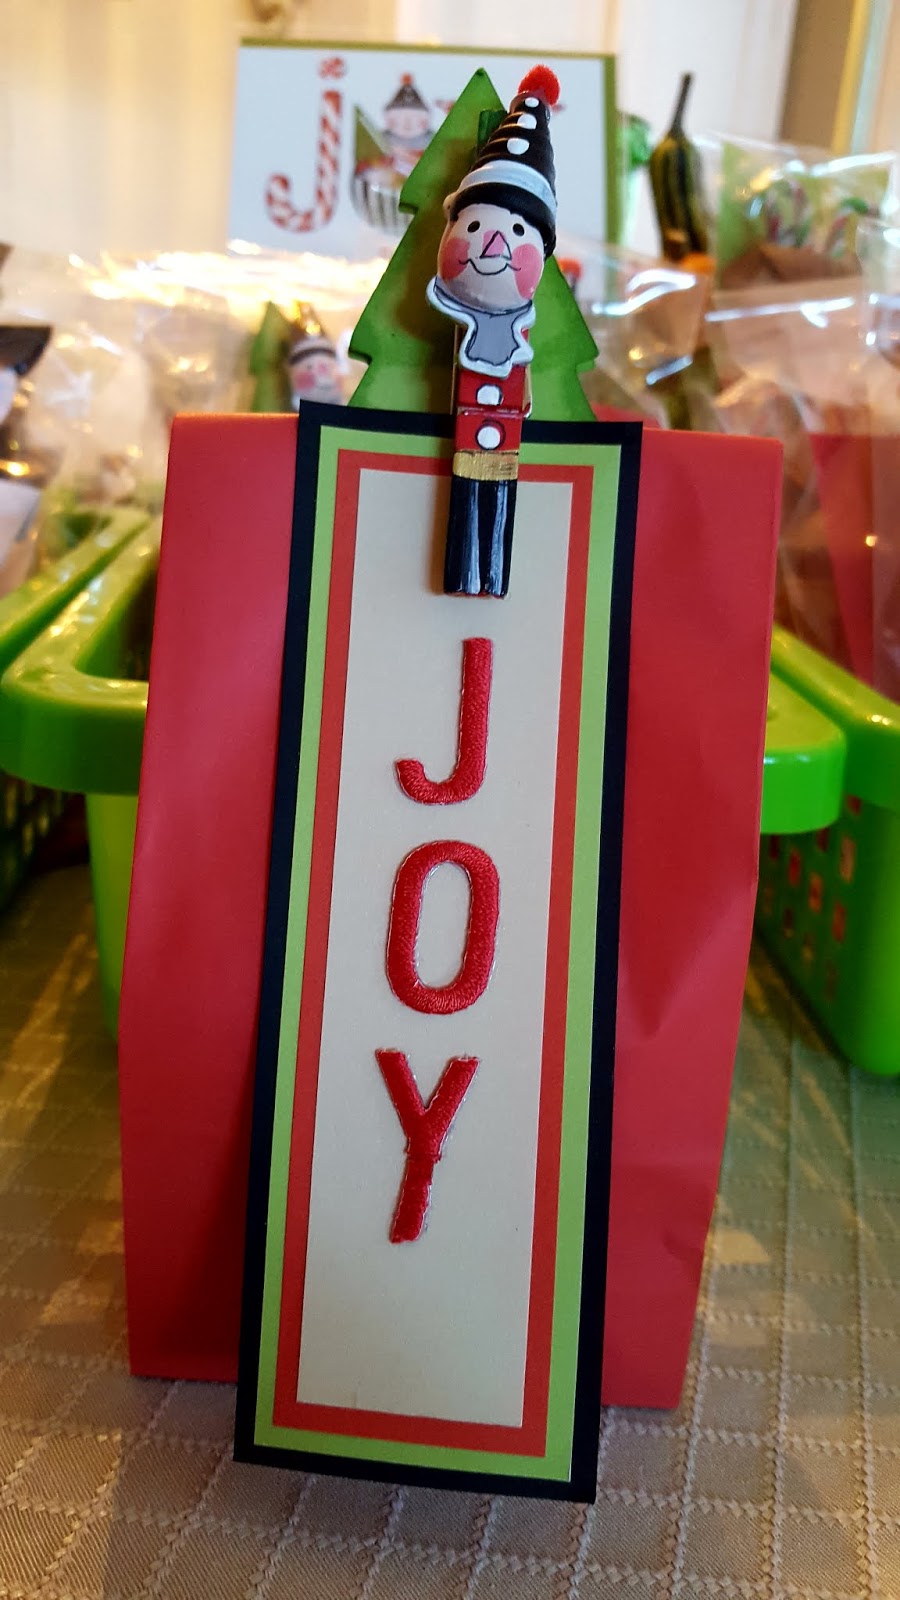
1. Cut the cardstock as follows:  

    Black - 6" x 2"; 

    Green - 5-3/4" x 1-3/4"; 

    Red - 5-1/2" x 1-1/2"; 

    Beige -5-1/4" x 1-1/4".

2.  Layer the pieces as shown then glue together. 

3.  Glue the letters to the front of the bookmark.

4.  Clip the bookmark to the front of the gift sack with the decorative clothespin.

Choose your favorite paint colors and even change the design according to available wood pieces.  Decorated clothespins can be found at the craft store together with a variety of stickers that can be used to decorate the clothespin closure.

You will also find Joy®, iron-on embroidered letters in different colors, fonts and sizes at your local craft store in the wearables department.  Be inspired and enjoy!

Leave a Reply

Your email address will not be published. Required fields are marked *

Recent Projects

Luck O' the Irish DIY Door Hanger

St. Patrick’s Day is just around the corner!  Celebrate the Luck O' the Irish with this colorful door décor that is a fun alternative to a traditional wreath.  You will need: Joy® Iron On Embroidered Letter sheet - Gold Script Kunin Classics™ Felt 9” x 12” Craft Cuts– Red, Orange, Yellow, Apple Green, Lagoon, Royal Blue, Orchid, Pirate Green, Neon Green, Gold and Goldenrod (one each) Kunin Premium™ Felt 9” x 12” Craft Cuts– White and Black (two each). Expo International – Claudia 2” Fan and Lattice Lace.  Ric Rac assorted Rayon – Red, Orange, Yellow, Green, Light Blue, Royal…

Rustic Happy Fall Y'all Pumpkin Sign

HAPPY FALL Y'ALL! I am always on the look out for cute items that can be upcycled to create one of a kind home decor pieces.  This rustic pallet pumpkin was just calling out to me from the Target dollar spot and with the addition of some Joy® iron-on embroidered letters, it quickly becomes a custom keepsake. Select a combination of white Joy® iron-on embroidered letters to spell out your message. To create the apostrophe, I carefully cut the leg from the capital letter Q with a pair of detail scissors. Place the embroidered letters on an old towel in a cardboard box…

Back to School Welcome Banner

Create a "Back to School" welcome banner for your favorite teacher's classroom! Materials: JOY® Embroidered Letters 9” x 12” sheets of Kunin Classicfelt -Black , Gray, Sandstone, Candy Pink and Gold Craft glue Glitter glue Cardstock Ruler, pencils, scissors 4-foot length of ribbon Instructions: Draw a simple pencil pattern (5 pieces as shown) on cardstock and cut out.   Trace and trim each pattern piece seven times on the appropriate color of felt. Glue the pencil pieces together, overlapping as shown and let dry. 4. Peel back liner paper from the JOY letters and attach to the center of each pencil, spelling…

Scrabble-Inspired Tote Bag

I am all about recycling, but most of the tote bags that the grocery stores sell are not very cute or crafty. So in honor of family game night, I created a Scrabble-inspired bag to tote around town! This project makes the perfect quick and easy handmade gift to create for Mom for Mother's Day! Decide what words you want to spell and how they'll connect, making sure the arrangement will fit on the front of your tote bag. Draw a grid of square tiles on graph paper to fit each of your letters. I selected the Joy 1.5" Cooper Style…

Happiness Pillow

Joy® Iron-on embroidered letters in white are great for creating any color you can imagine! You can use dye, markers and even acrylic paint! To Make this Happiness Pillow you'll need: Joy® Embroidered Iron-on Letters - Letter Shop White  Acrylic Paint and Paintbrush NEW Joy® Iron-on Embroidered Flower Appliqué    Canvas Pillow Blank Pillow Form or Polyfil Iron Instructions: 1. Paint each letter to create a rainbow of H-A-P-P-I-N-E-S-S.  Set aside and let dry. 2.  Insert cardboard into pillow blank then paint the pillow with white and light blue paint.  Let dry. 3. Set iron on cotton setting; approx. 350 degrees,…
closearrow-circle-o-downtagtagsminus-circlefacebook-squaretruckpinterest-squareinstagrammenu
0
    0
    Shopping Cart
    Your cart is emptyReturn to Shop