FREE Standard Shipping with $50 Order
|
Minimum Order is $15
10% Discount on $300 Order
|
25% Discount on $600 Order

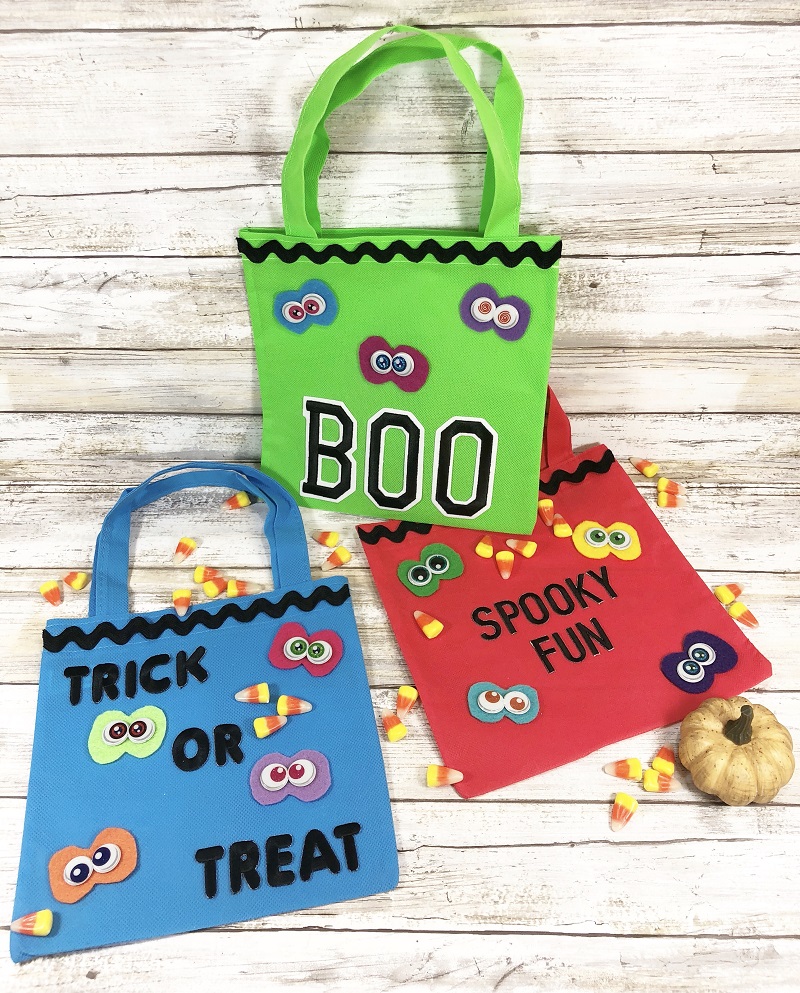
15 Minute Trick or Treat Bags

Beth Watson
|
September 30, 2018

These Trick or Treat Bags go together in 15 minutes with Joy® Embroidered and Iron-On Letters and are fun to make with the kiddos!
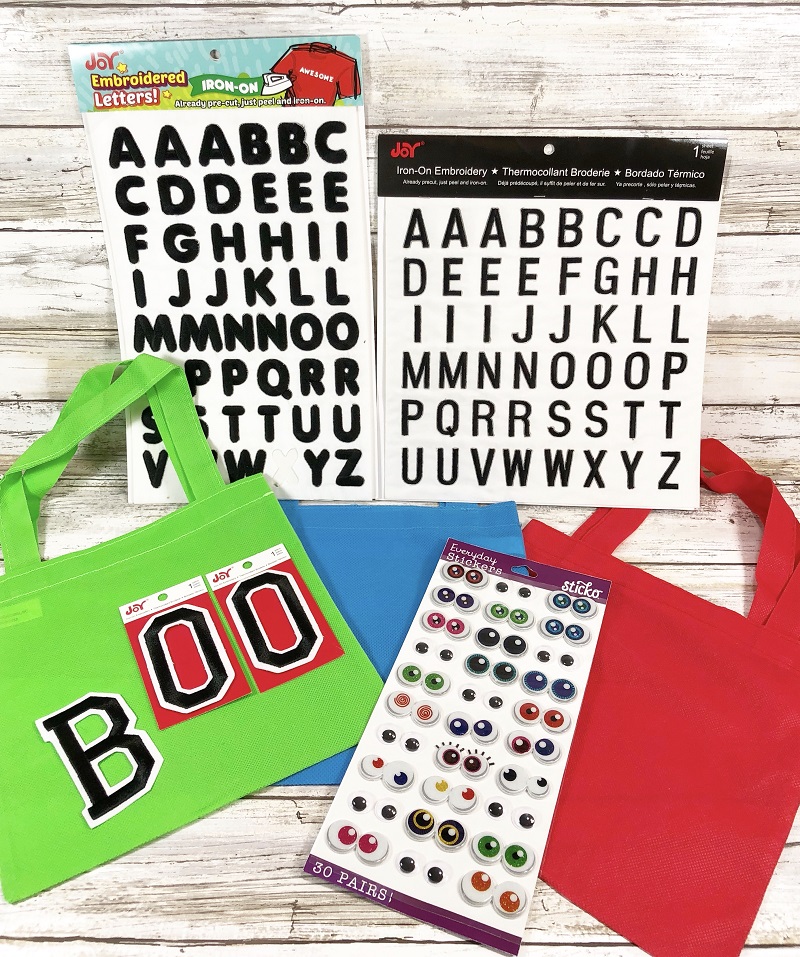
You will need:

  • Joy® Embroidered Iron-On Letters - Black Varsity, Black Bubble and Black Block
  • Tote Bags - assorted colors (Dollar store)
  • Wiggle Eyes - Montster style
  • Kunin® Classic Felt Craft Cuts - assorted colors 
  • Scissors
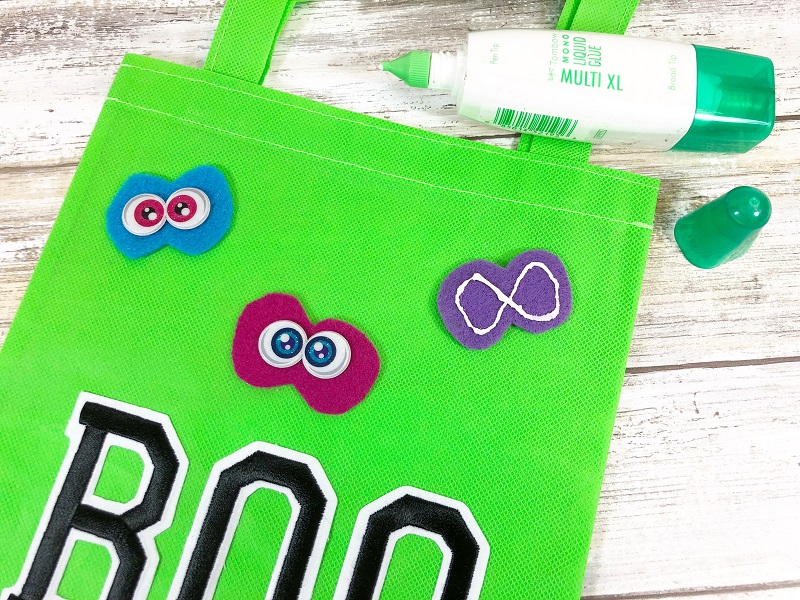
  • Tombow MONO Multi Liquid Glue
  • Expo International - Black Ric Rack

Instructions:

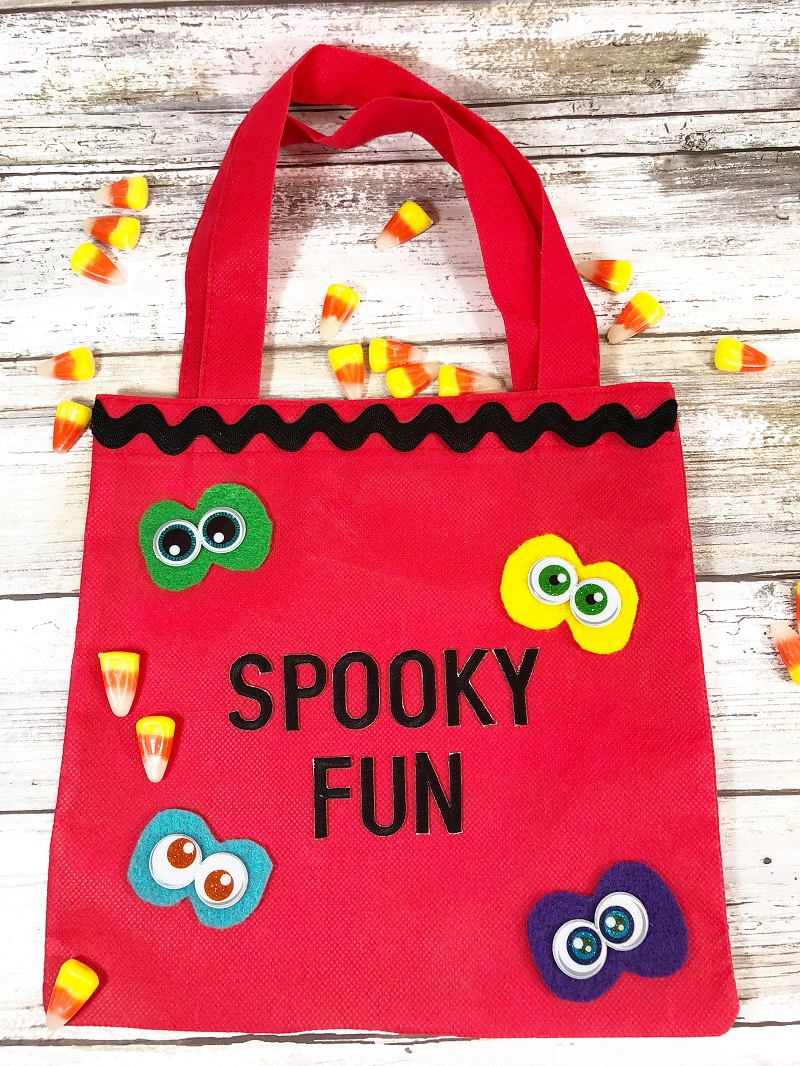
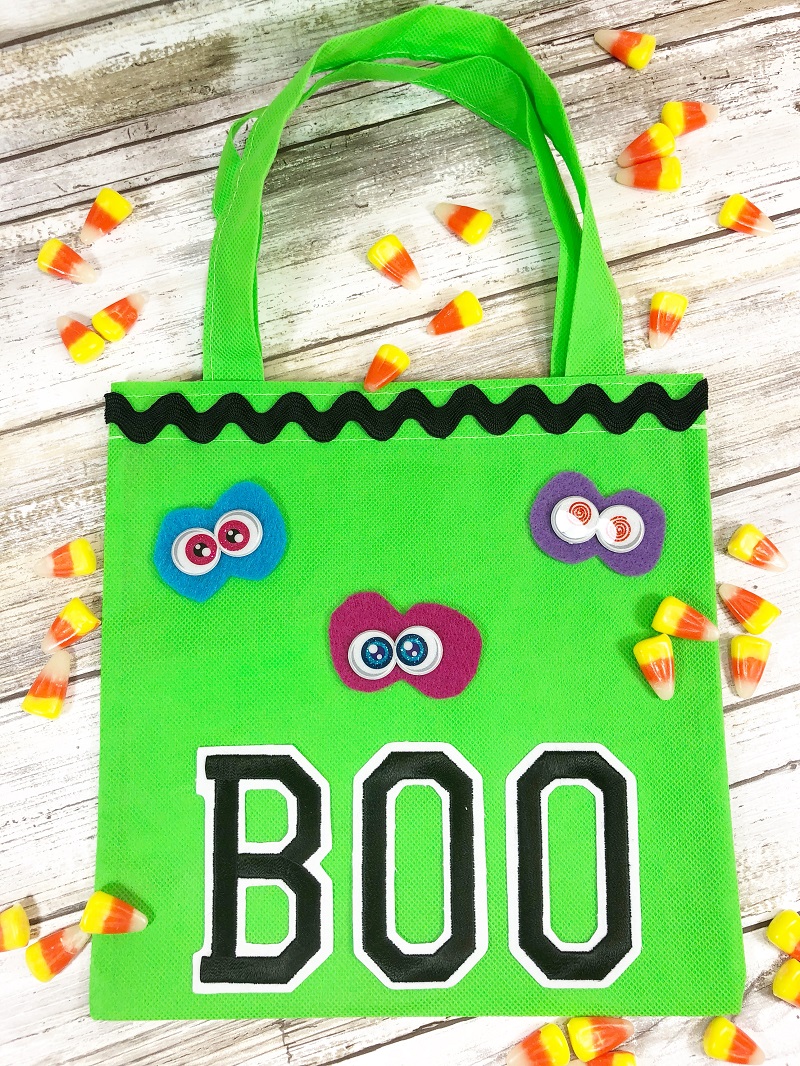
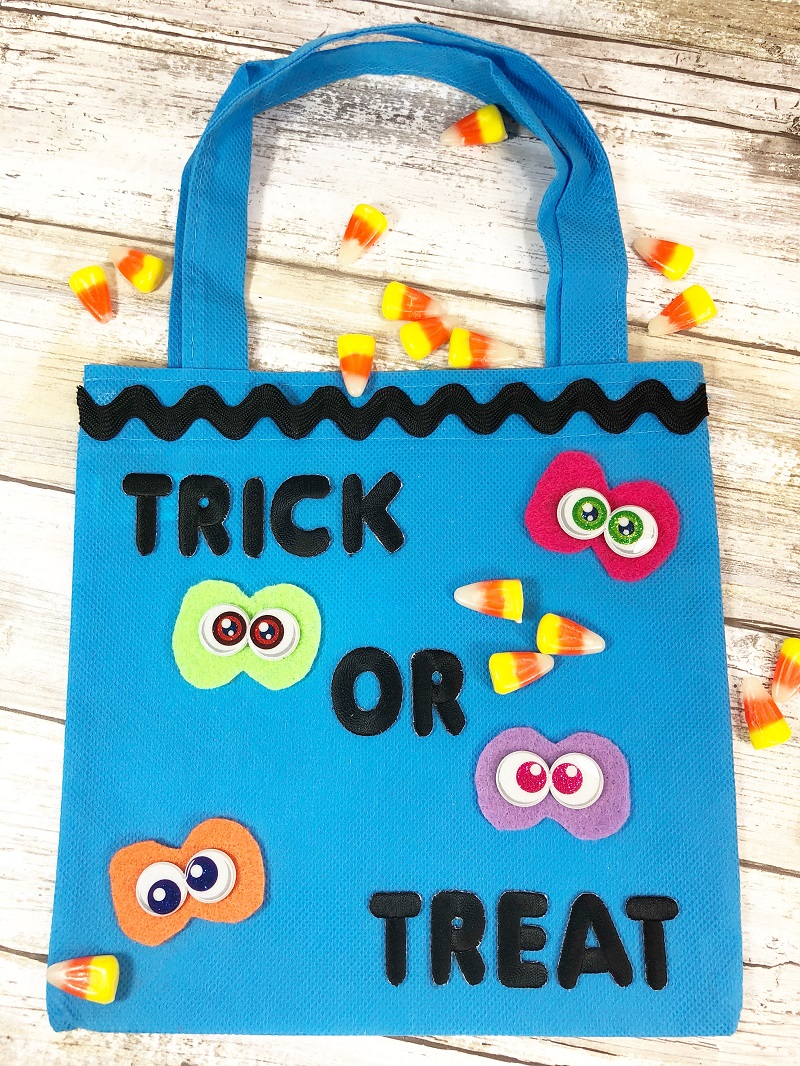
1.  Select the Joy Embroidered Iron-On Letters for each bag.  Black Varsity BOO; Black Bubble TRICK OR TREAT and Black Block SPOOKY FUN.  Dry fit for placement.

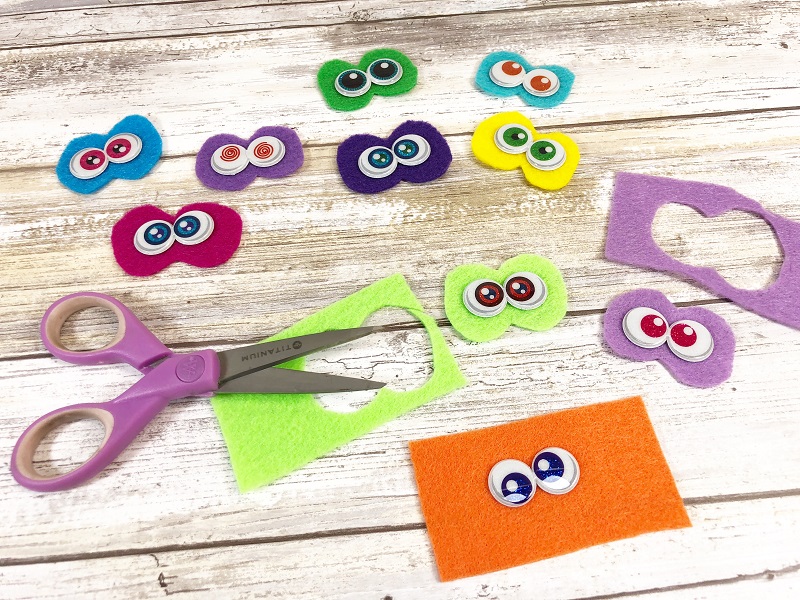
2.  Peel and stick monster wiggle eyes onto Kunin Felt scraps, then cut out around the eyes to create a colorful border.

3.  Peel and stick the BOO letters on the green bag.  Iron on the TRICK OR TREAT and SPOOKY FUN letters on the blue and red bags with an iron, following the directions on the back of the packages.

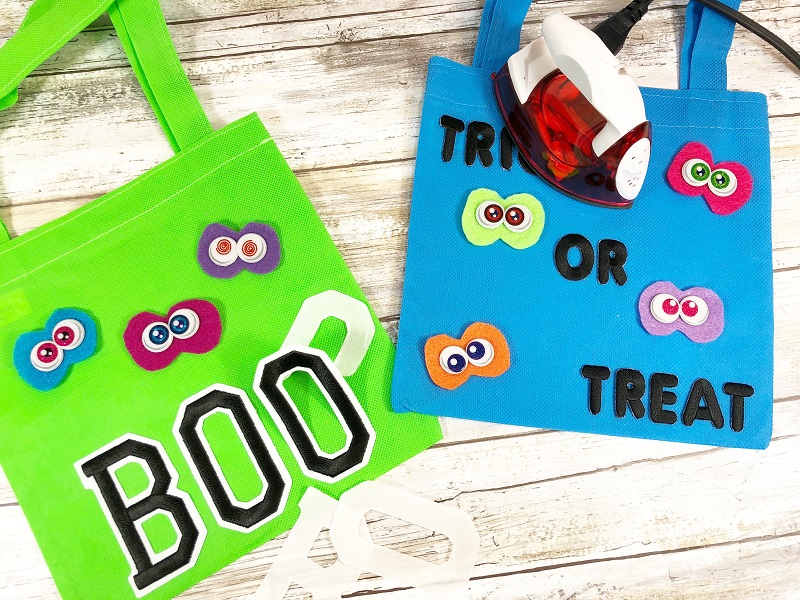
4.  Attach eyes to felt and felt to bags with MONO Multi Liquid Glue, let dry.

5.  Add black ric rack to the top edge of each bag with MONO Multi Liquid Glue, let dry.

Here are a few close-up photos of the finished bags.

Joy® iron-on, embroidered letters and numbers are available in a variety of sizes, colors, and fonts at your local craft stores.

Leave a Reply

Your email address will not be published. Required fields are marked *

Recent Projects

Luck O' the Irish DIY Door Hanger

St. Patrick’s Day is just around the corner!  Celebrate the Luck O' the Irish with this colorful door décor that is a fun alternative to a traditional wreath.  You will need: Joy® Iron On Embroidered Letter sheet - Gold Script Kunin Classics™ Felt 9” x 12” Craft Cuts– Red, Orange, Yellow, Apple Green, Lagoon, Royal Blue, Orchid, Pirate Green, Neon Green, Gold and Goldenrod (one each) Kunin Premium™ Felt 9” x 12” Craft Cuts– White and Black (two each). Expo International – Claudia 2” Fan and Lattice Lace.  Ric Rac assorted Rayon – Red, Orange, Yellow, Green, Light Blue, Royal…

Rustic Happy Fall Y'all Pumpkin Sign

HAPPY FALL Y'ALL! I am always on the look out for cute items that can be upcycled to create one of a kind home decor pieces.  This rustic pallet pumpkin was just calling out to me from the Target dollar spot and with the addition of some Joy® iron-on embroidered letters, it quickly becomes a custom keepsake. Select a combination of white Joy® iron-on embroidered letters to spell out your message. To create the apostrophe, I carefully cut the leg from the capital letter Q with a pair of detail scissors. Place the embroidered letters on an old towel in a cardboard box…

Back to School Welcome Banner

Create a "Back to School" welcome banner for your favorite teacher's classroom! Materials: JOY® Embroidered Letters 9” x 12” sheets of Kunin Classicfelt -Black , Gray, Sandstone, Candy Pink and Gold Craft glue Glitter glue Cardstock Ruler, pencils, scissors 4-foot length of ribbon Instructions: Draw a simple pencil pattern (5 pieces as shown) on cardstock and cut out.   Trace and trim each pattern piece seven times on the appropriate color of felt. Glue the pencil pieces together, overlapping as shown and let dry. 4. Peel back liner paper from the JOY letters and attach to the center of each pencil, spelling…

Scrabble-Inspired Tote Bag

I am all about recycling, but most of the tote bags that the grocery stores sell are not very cute or crafty. So in honor of family game night, I created a Scrabble-inspired bag to tote around town! This project makes the perfect quick and easy handmade gift to create for Mom for Mother's Day! Decide what words you want to spell and how they'll connect, making sure the arrangement will fit on the front of your tote bag. Draw a grid of square tiles on graph paper to fit each of your letters. I selected the Joy 1.5" Cooper Style…

Happiness Pillow

Joy® Iron-on embroidered letters in white are great for creating any color you can imagine! You can use dye, markers and even acrylic paint! To Make this Happiness Pillow you'll need: Joy® Embroidered Iron-on Letters - Letter Shop White  Acrylic Paint and Paintbrush NEW Joy® Iron-on Embroidered Flower Appliqué    Canvas Pillow Blank Pillow Form or Polyfil Iron Instructions: 1. Paint each letter to create a rainbow of H-A-P-P-I-N-E-S-S.  Set aside and let dry. 2.  Insert cardboard into pillow blank then paint the pillow with white and light blue paint.  Let dry. 3. Set iron on cotton setting; approx. 350 degrees,…
closearrow-circle-o-downtagtagsminus-circlefacebook-squaretruckpinterest-squareinstagrammenu
0
    0
    Shopping Cart
    Your cart is emptyReturn to Shop