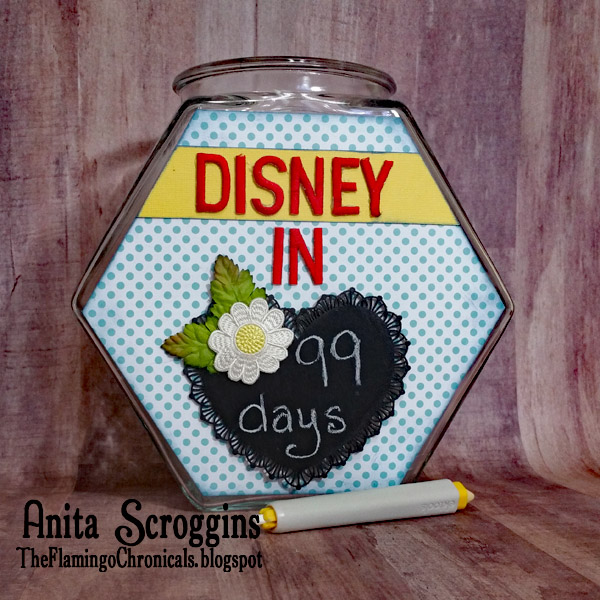
Disney Countdown Jar for Toddler
Use a vintage thrift store find to create a count down calendar for a family trip!
You will need:
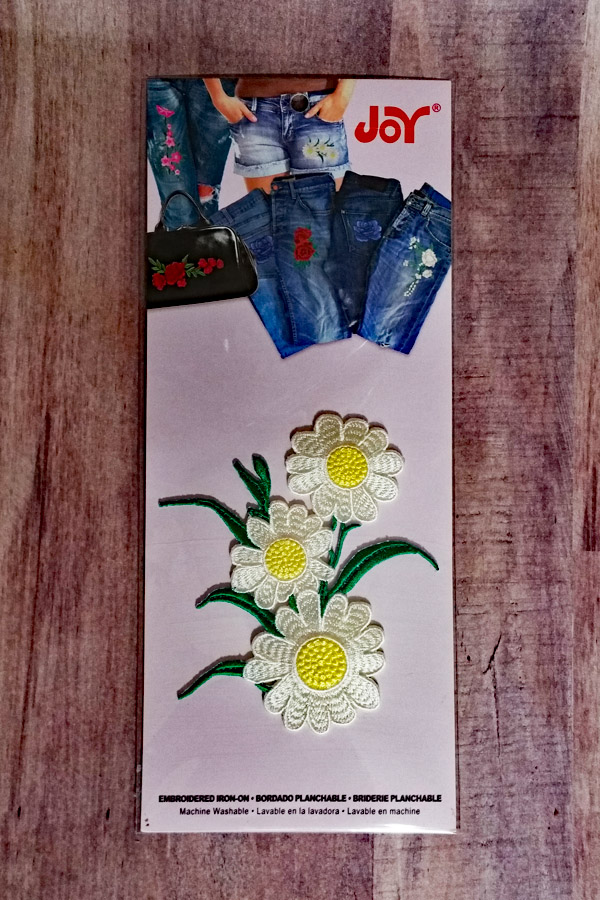
- Joy® iron-on embroidered letters
- Joy® iron on embroidered flower appliqués
- glass cookie jar
- patterned paper and cardstock
- chalkboard paint, paintbrush
- hot glue gun, tape runner
- chipboard heart

Instructions: 1. Trace the jar onto the paper and trim to fit. Adhere the letters to a strip of plain cardstock using low temp hot hot glue then adhere the strip to the patterned paper. Trim to fit. Use a tape runner to adhere to paper to the front of the jar. 2. Paint the chipboard piece with chalkboard paint and let dry. Add the daisy and paper leaves to the chipboard and use hot glue to adhere to front of jar. Use chalk to write message on chipboard.
I am so in love with Joy® iron-on, embroidered line of products,
especially the new floral appliqués!
Be sure to look for them the next time you are shopping at your favorite craft store!