FREE Standard Shipping with $50 Order
|
Minimum Order is $15
10% Discount on $300 Order
|
25% Discount on $600 Order

Easter Wreath

Julie McGuffee
|
March 27, 2018

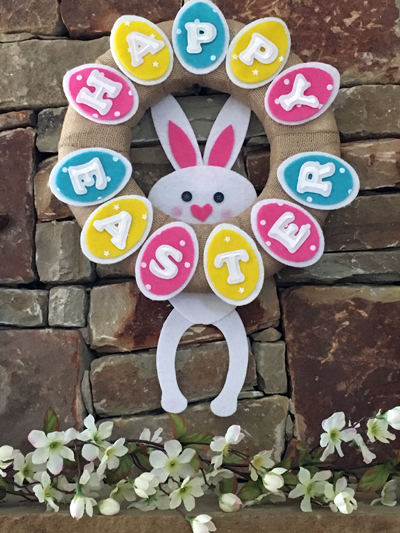
Celebrate the joy of Easter with a Peek-a-Boo bunny wreath!


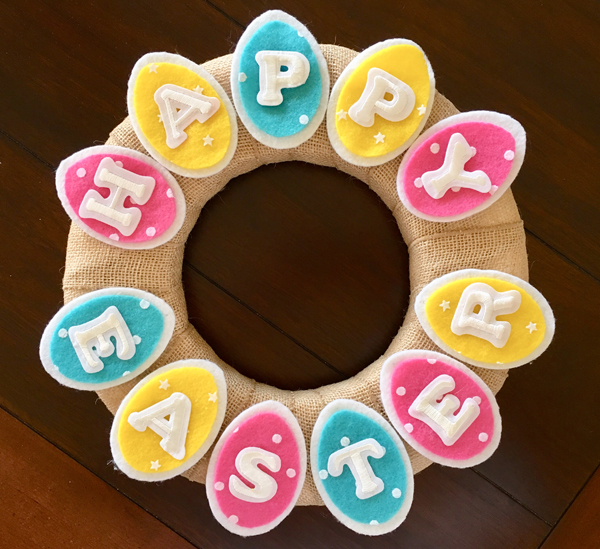
Decorate your home with this bright and cheery, felt Easter egg wreath with (or without) a peek-a-boo bunny.  Hang either inside or outside for all to enjoy this Easter season! You will need:

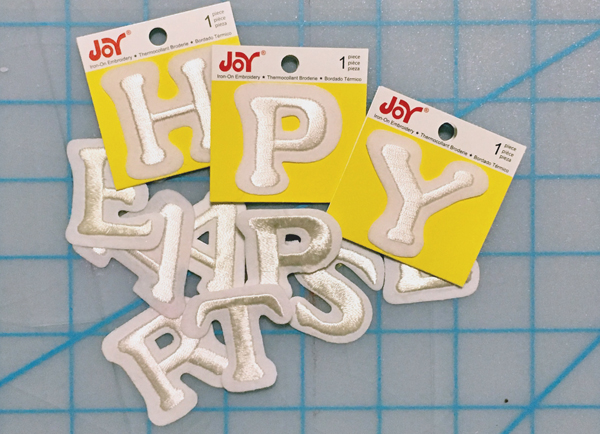
  • Joy® embroidered, iron-on letters - 1" white   A, E, P - 2 each plus H, Y, S, T, R
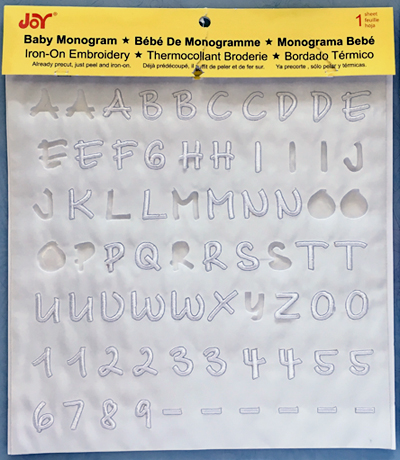
  • Joy® Baby Monogram embroidered, iron-on letter sheet - white
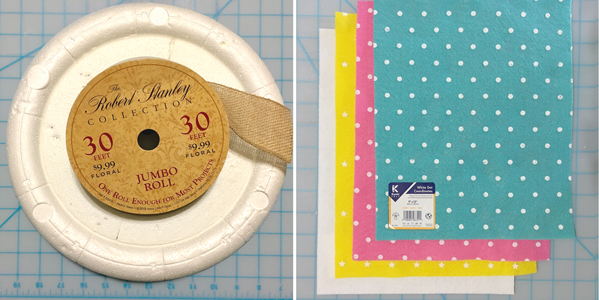
  • Kunin®  Classic White Dot Coordinates felt - 9"x12" Candy Pink, Yellow & Lagoon
  • Kunin®  Classic Glitter, or Premium Felt - 9"x12" white  x 2
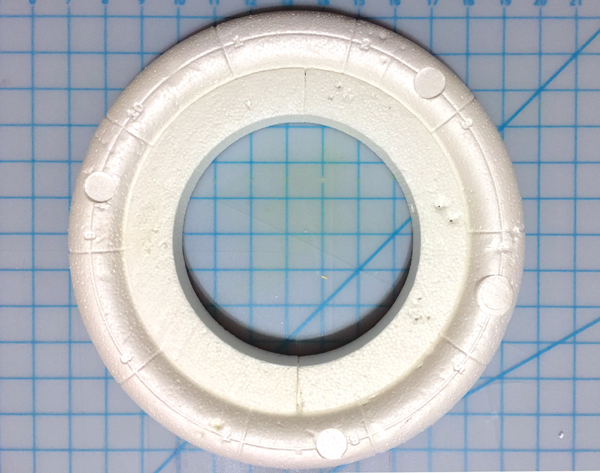
  • Smoothfoam™ Ruled Wreath - 12"
  • Smoothfoam™ 8" ring
  • Small black buttons - 2
  • Tacky glue
  • Ball head quilt pins
  • 2" Burlap ribbon
  • Patterns


1.  Place the wreath on a firm surface then push the ring firmly into the center of the wreath until it rests on the surface underneath.  This will create a level surface on the underside for shapes.  Note: you may need to cut the ring into 2 pieces, then trim about 1/2" from one of the ends for a snug fit.

2.  Wrap the wreath and ring with burlap ribbon.  Secure the end with 2 or 3 ball head quilt pins.

3.  Download then print the patterns.  Cut 4 pink, 4 yellow and 3 blue felt egg shapes.  Glue each colored shape to white felt then cut around the outside about 1/8" from the edge.


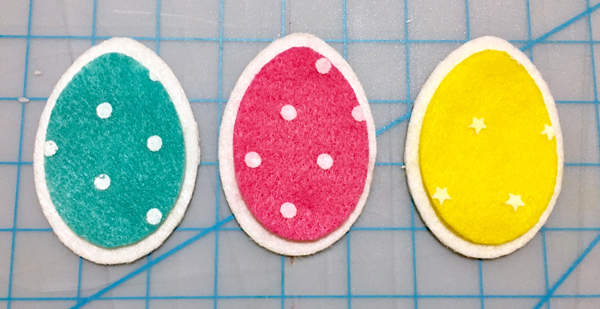
4.  Glue (or pin*) to the wreath.  Remove the backing from each letter then place at the center of each egg shape as shown.  If you choose to pin the egg to the wreath, use regular pins and place where they will be covered by the letter.

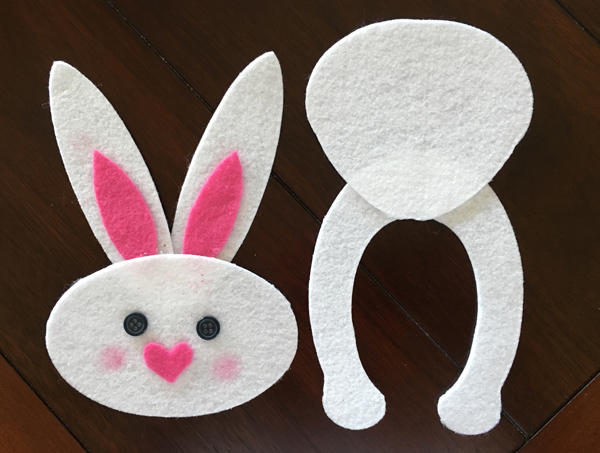
5.  Cut the basic bunny shapes from white felt.  Cut 2 inner ear shapes (smaller) and the simple heart shape from pink felt.  Glue the body and legs, ears and head together, add the buttons for eyes then color the bunny's cheeks with pink chalk (or blush from your cosmetic bag).  Attach to the back of the wreath with quilt pins.


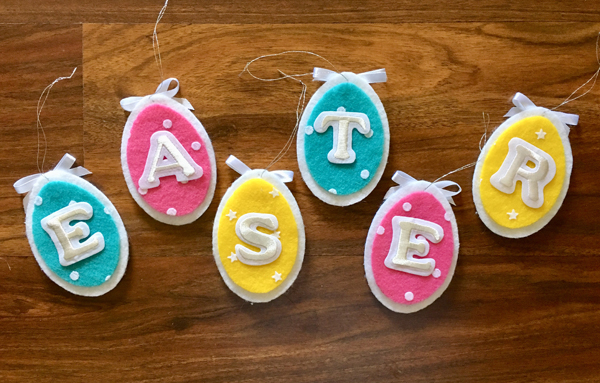
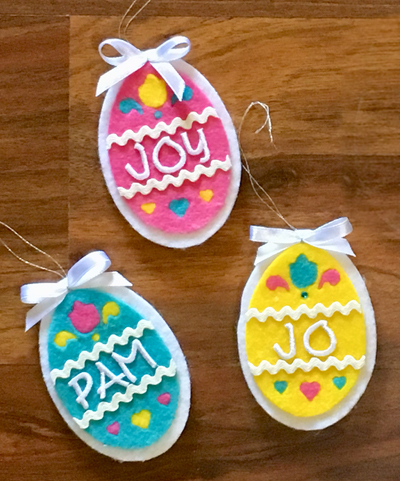
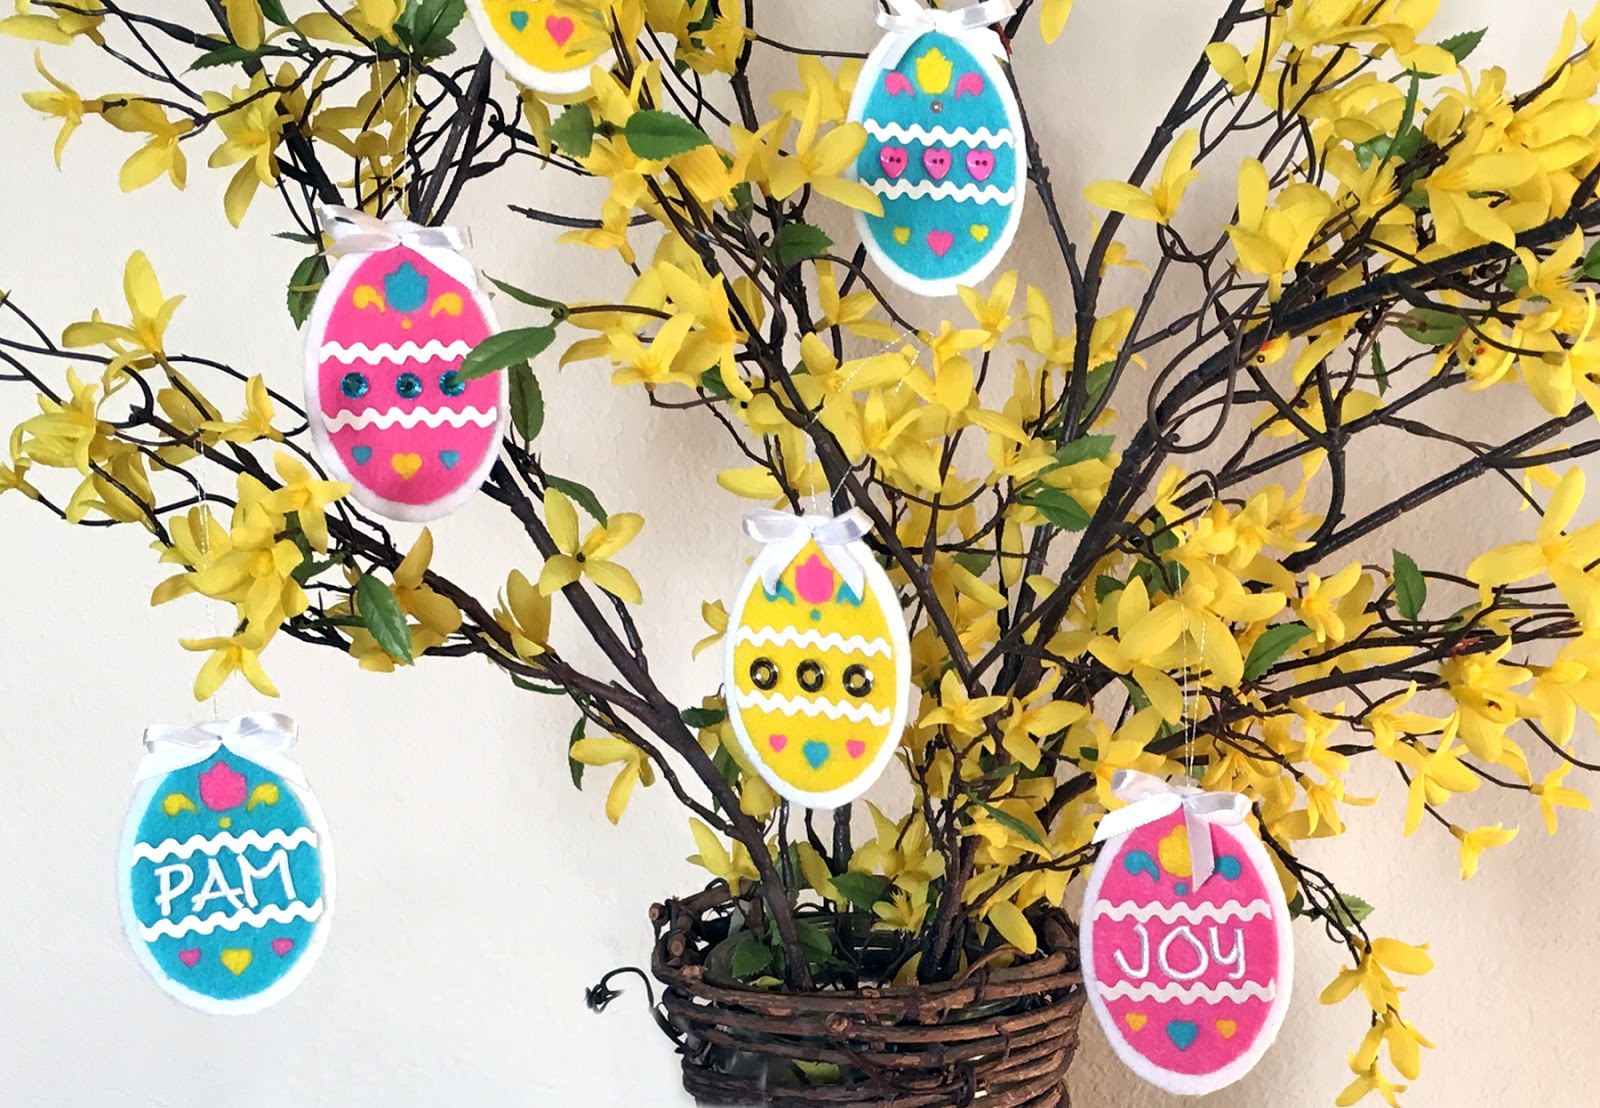
Not just for decorating wreaths, you can also use the felt shapes to create a "HAPPY EASTER" banner,  or ornaments by simply adding a bow and hanger at the top. 


Use the egg shape pattern to create additional egg shapes with leftover felt then glue to the back of the ones with letters.  Decorate this side with trim you have on hand then add small embroidered letters from the Joy® Baby Monogram letter sheet to create a personalized felt ornament to hang on an Easter tree!  Use initials for longer names.


May your Easter weekend be filled with Joy! 

These felt egg ornaments are also featured on the Life in the Craft Lane blog.

You can always find Joy at your local craft store 😜

Leave a Reply

Your email address will not be published. Required fields are marked *

Recent Projects

Luck O' the Irish DIY Door Hanger

St. Patrick’s Day is just around the corner!  Celebrate the Luck O' the Irish with this colorful door décor that is a fun alternative to a traditional wreath.  You will need: Joy® Iron On Embroidered Letter sheet - Gold Script Kunin Classics™ Felt 9” x 12” Craft Cuts– Red, Orange, Yellow, Apple Green, Lagoon, Royal Blue, Orchid, Pirate Green, Neon Green, Gold and Goldenrod (one each) Kunin Premium™ Felt 9” x 12” Craft Cuts– White and Black (two each). Expo International – Claudia 2” Fan and Lattice Lace.  Ric Rac assorted Rayon – Red, Orange, Yellow, Green, Light Blue, Royal…

Rustic Happy Fall Y'all Pumpkin Sign

HAPPY FALL Y'ALL! I am always on the look out for cute items that can be upcycled to create one of a kind home decor pieces.  This rustic pallet pumpkin was just calling out to me from the Target dollar spot and with the addition of some Joy® iron-on embroidered letters, it quickly becomes a custom keepsake. Select a combination of white Joy® iron-on embroidered letters to spell out your message. To create the apostrophe, I carefully cut the leg from the capital letter Q with a pair of detail scissors. Place the embroidered letters on an old towel in a cardboard box…

Back to School Welcome Banner

Create a "Back to School" welcome banner for your favorite teacher's classroom! Materials: JOY® Embroidered Letters 9” x 12” sheets of Kunin Classicfelt -Black , Gray, Sandstone, Candy Pink and Gold Craft glue Glitter glue Cardstock Ruler, pencils, scissors 4-foot length of ribbon Instructions: Draw a simple pencil pattern (5 pieces as shown) on cardstock and cut out.   Trace and trim each pattern piece seven times on the appropriate color of felt. Glue the pencil pieces together, overlapping as shown and let dry. 4. Peel back liner paper from the JOY letters and attach to the center of each pencil, spelling…

Scrabble-Inspired Tote Bag

I am all about recycling, but most of the tote bags that the grocery stores sell are not very cute or crafty. So in honor of family game night, I created a Scrabble-inspired bag to tote around town! This project makes the perfect quick and easy handmade gift to create for Mom for Mother's Day! Decide what words you want to spell and how they'll connect, making sure the arrangement will fit on the front of your tote bag. Draw a grid of square tiles on graph paper to fit each of your letters. I selected the Joy 1.5" Cooper Style…

Happiness Pillow

Joy® Iron-on embroidered letters in white are great for creating any color you can imagine! You can use dye, markers and even acrylic paint! To Make this Happiness Pillow you'll need: Joy® Embroidered Iron-on Letters - Letter Shop White  Acrylic Paint and Paintbrush NEW Joy® Iron-on Embroidered Flower Appliqué    Canvas Pillow Blank Pillow Form or Polyfil Iron Instructions: 1. Paint each letter to create a rainbow of H-A-P-P-I-N-E-S-S.  Set aside and let dry. 2.  Insert cardboard into pillow blank then paint the pillow with white and light blue paint.  Let dry. 3. Set iron on cotton setting; approx. 350 degrees,…
closearrow-circle-o-downtagtagsminus-circlefacebook-squaretruckpinterest-squareinstagrammenu
0
    0
    Shopping Cart
    Your cart is emptyReturn to Shop