FREE Standard Shipping with $50 Order
|
Minimum Order is $15
10% Discount on $300 Order
|
25% Discount on $600 Order

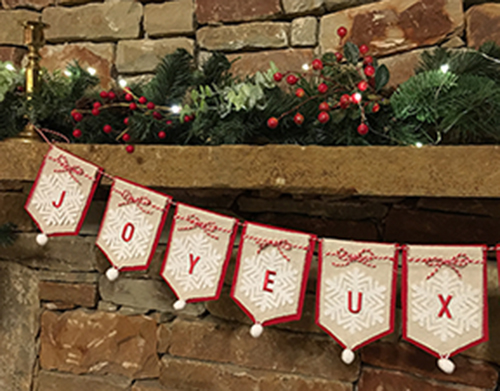
French Country Christmas Garland

Julie McGuffee
|
November 30, 2017

* Feliz Navidad * Frohliche Weihnachten* Joyeux Noel * Buon Natale *

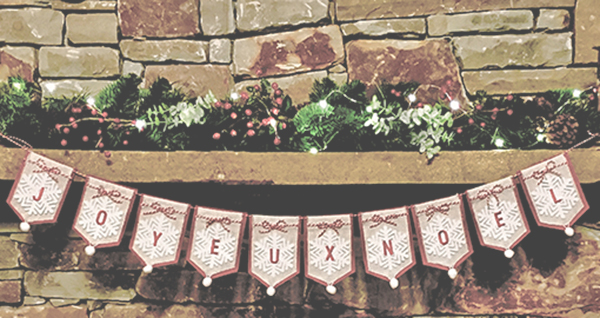
Say "Merry Christmas" in any language with Joy!

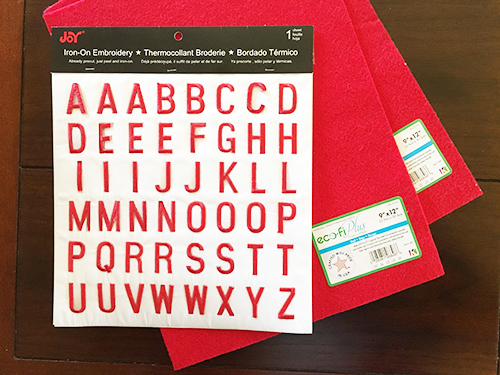
A garland is always on trend whatever your holiday decorating style.  This one is easy to make and can be customized to match any décor. You will need: Joy® Iron-on 3-D Embroidered Letter Sheet Two, 9" x 12" Kunin® Classic Felt - Red 9" x 12" Kunin® Glitterfelt™ - White (or 3" snowflakes) Canvas fabric (a drop cloth used for this project) 12" Pom Pom Trim - White Red/White Bakers Twine Large eye tapestry needle Fabric glue Scissors

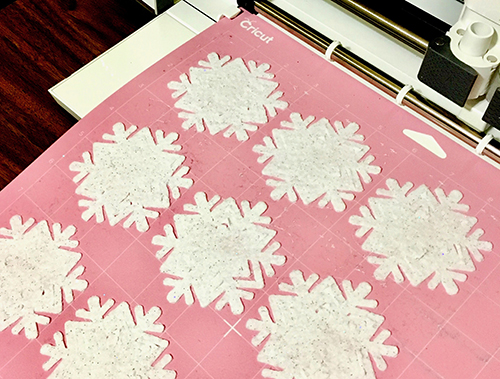
SNOWFLAKES:  I cut my own 3" snowflakes from glitter felt on the Cricut® Maker, an electronic shape cutting machine. If this option is not available, you may be able to purchase packages of 3" snowflakes at your local craft store.  You will need one snowflake per letter. 

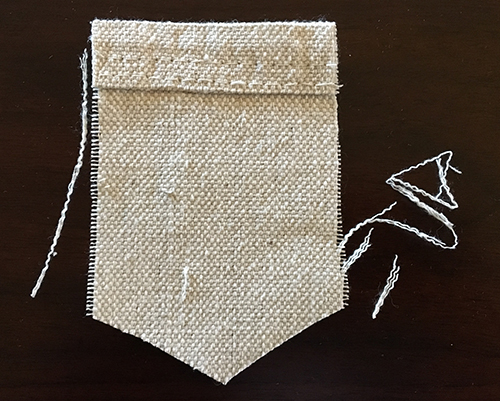
1.  Cut a 3" x 4" canvas rectangle for each letter. Adjust this size if your snowflakes are larger/smaller than 3".  Cut so the top of the rectangle is at the folded and stitched edge at the top of the drop cloth.  If this is not possible, cut the rectangle 1/2" longer. Fold over at the top then secure with glue to create a casement for the twine.

2.  Center the snowflake on one piece of canvas then use as a guide to cut the bottom of the rectangle as shown. Use this piece as your pattern to cut the remaining pieces.

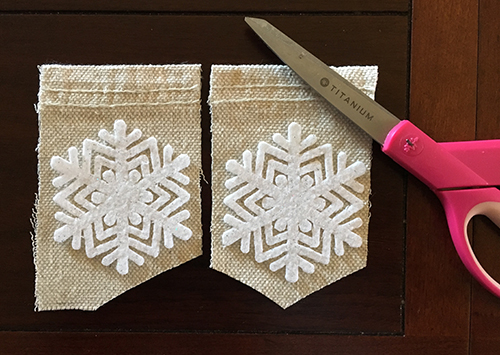
 3.  Fray the side edges of each piece.  Trim if needed.  


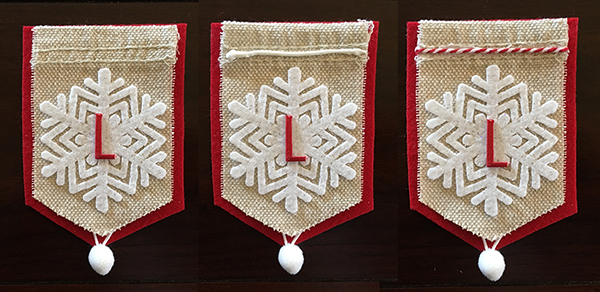
4.  Arrange, then glue the pieces onto the red felt with the top edge of each piece aligned with the edges of the felt.


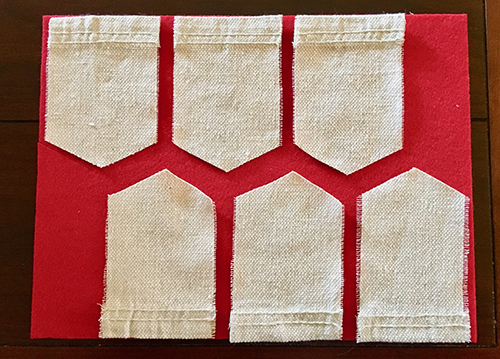
5.  Cut around each piece about 1/8" from the edges of the canvas.

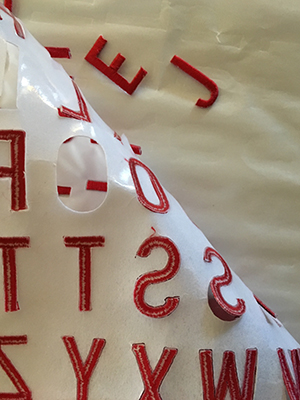
6.  Glue one snowflake to each piece then iron each letter in place following directions on the back of the package.


TIP:  Pull the fabric away from the backing of the letter sheet,  roll inward and the letters will easily release from the fabric.

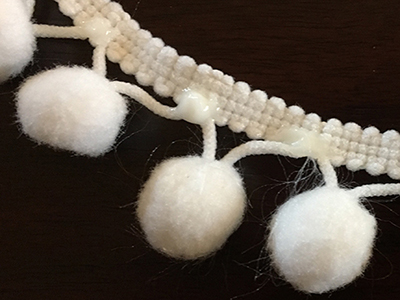
7.  Glue one pom pom to the point at the bottom of each banner between the canvas and the felt.

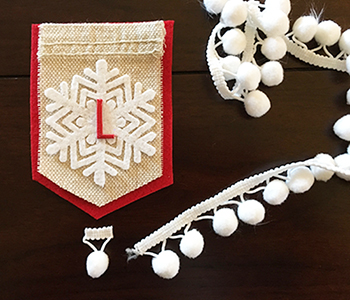
TIP:  Place a spot of glue at the point where the threads meet so the threads won't separate when the trim is cut.

8.   Glue a piece of bakers twine across the top of each piece.

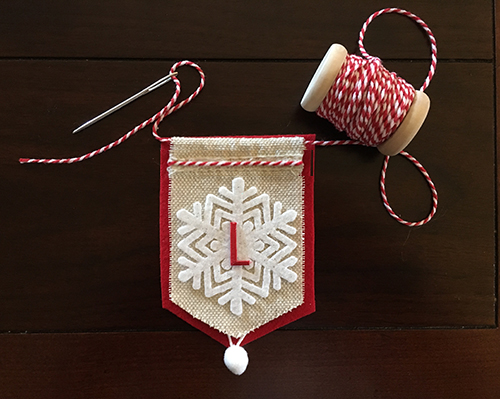
9. To create the garland, thread the end of the bakers' twine onto the needle then pull the twine through the casing at the top of each finished piece.  Leave about 12" of twine at each end of the garland.

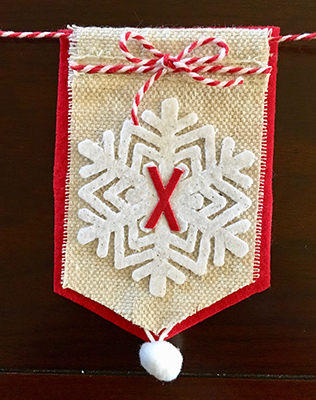
10.  Make a small bow from the bakers twine then glue to the center at the top of each piece to finish.


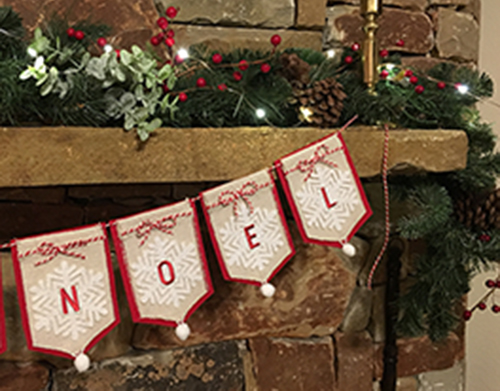
May your home be filled with love, laughter and joy this season and always…..  

Joy embroidered letters and numbers can be found in a variety of colors, fonts and sizes at your favorite craft stores!

Leave a Reply

Your email address will not be published. Required fields are marked *

Recent Projects

Luck O' the Irish DIY Door Hanger

St. Patrick’s Day is just around the corner!  Celebrate the Luck O' the Irish with this colorful door décor that is a fun alternative to a traditional wreath.  You will need: Joy® Iron On Embroidered Letter sheet - Gold Script Kunin Classics™ Felt 9” x 12” Craft Cuts– Red, Orange, Yellow, Apple Green, Lagoon, Royal Blue, Orchid, Pirate Green, Neon Green, Gold and Goldenrod (one each) Kunin Premium™ Felt 9” x 12” Craft Cuts– White and Black (two each). Expo International – Claudia 2” Fan and Lattice Lace.  Ric Rac assorted Rayon – Red, Orange, Yellow, Green, Light Blue, Royal…

Rustic Happy Fall Y'all Pumpkin Sign

HAPPY FALL Y'ALL! I am always on the look out for cute items that can be upcycled to create one of a kind home decor pieces.  This rustic pallet pumpkin was just calling out to me from the Target dollar spot and with the addition of some Joy® iron-on embroidered letters, it quickly becomes a custom keepsake. Select a combination of white Joy® iron-on embroidered letters to spell out your message. To create the apostrophe, I carefully cut the leg from the capital letter Q with a pair of detail scissors. Place the embroidered letters on an old towel in a cardboard box…

Back to School Welcome Banner

Create a "Back to School" welcome banner for your favorite teacher's classroom! Materials: JOY® Embroidered Letters 9” x 12” sheets of Kunin Classicfelt -Black , Gray, Sandstone, Candy Pink and Gold Craft glue Glitter glue Cardstock Ruler, pencils, scissors 4-foot length of ribbon Instructions: Draw a simple pencil pattern (5 pieces as shown) on cardstock and cut out.   Trace and trim each pattern piece seven times on the appropriate color of felt. Glue the pencil pieces together, overlapping as shown and let dry. 4. Peel back liner paper from the JOY letters and attach to the center of each pencil, spelling…

Scrabble-Inspired Tote Bag

I am all about recycling, but most of the tote bags that the grocery stores sell are not very cute or crafty. So in honor of family game night, I created a Scrabble-inspired bag to tote around town! This project makes the perfect quick and easy handmade gift to create for Mom for Mother's Day! Decide what words you want to spell and how they'll connect, making sure the arrangement will fit on the front of your tote bag. Draw a grid of square tiles on graph paper to fit each of your letters. I selected the Joy 1.5" Cooper Style…

Happiness Pillow

Joy® Iron-on embroidered letters in white are great for creating any color you can imagine! You can use dye, markers and even acrylic paint! To Make this Happiness Pillow you'll need: Joy® Embroidered Iron-on Letters - Letter Shop White  Acrylic Paint and Paintbrush NEW Joy® Iron-on Embroidered Flower Appliqué    Canvas Pillow Blank Pillow Form or Polyfil Iron Instructions: 1. Paint each letter to create a rainbow of H-A-P-P-I-N-E-S-S.  Set aside and let dry. 2.  Insert cardboard into pillow blank then paint the pillow with white and light blue paint.  Let dry. 3. Set iron on cotton setting; approx. 350 degrees,…
closearrow-circle-o-downtagtagsminus-circlefacebook-squaretruckpinterest-squareinstagrammenu
0
    0
    Shopping Cart
    Your cart is emptyReturn to Shop