FREE Standard Shipping with $50 Order
|
Minimum Order is $15
10% Discount on $300 Order
|
25% Discount on $600 Order

Paper vacation wreath

Lisa Fulmer
|
May 27, 2017

lisa fulmer paper vacation wreath

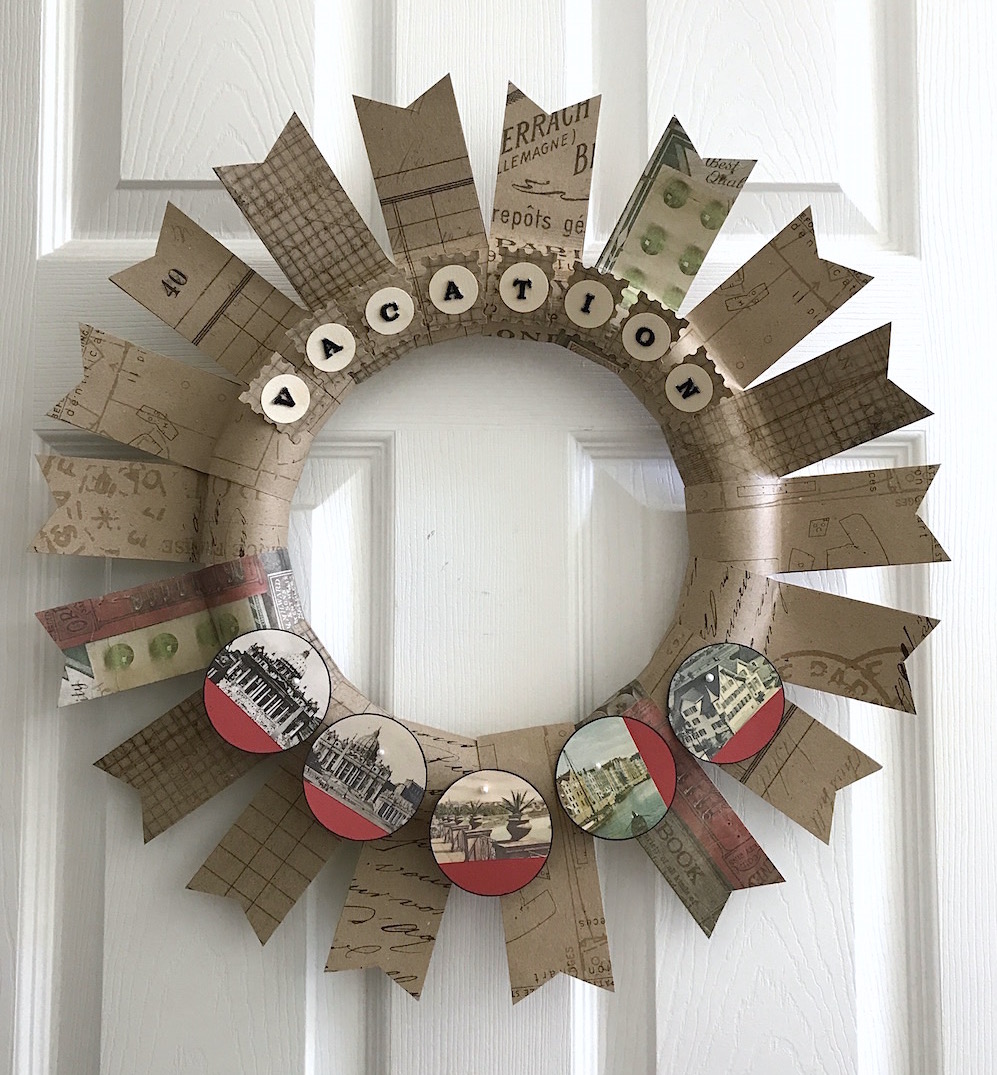
I saw this idea online recently for covering a foam wreath form with strips of paper and I loved it! I thought it would be a great design for commemorating your vacation using your favorite scrapbook papers and photos, along with Joy letters to spell out the place you visited.

joy embroidered iron on letters

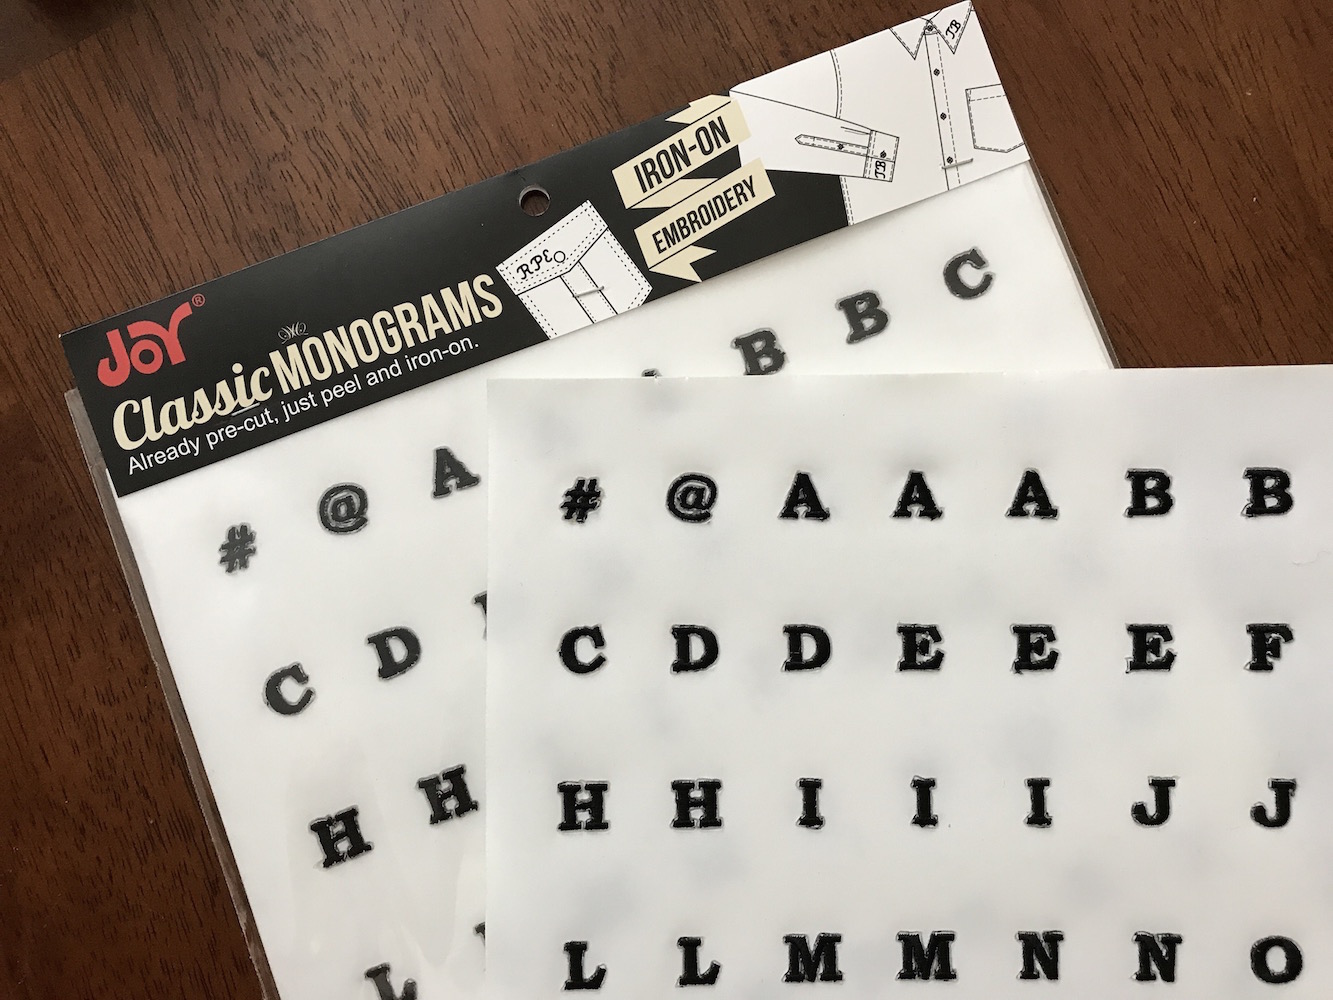
Supplies: - Joy embroidered iron-on letters - Foam wreath form - Scrapbook paper - Paper punches - Adhesive - Straight pins, ribbon - Clothespins - Scissors, paper trimmer

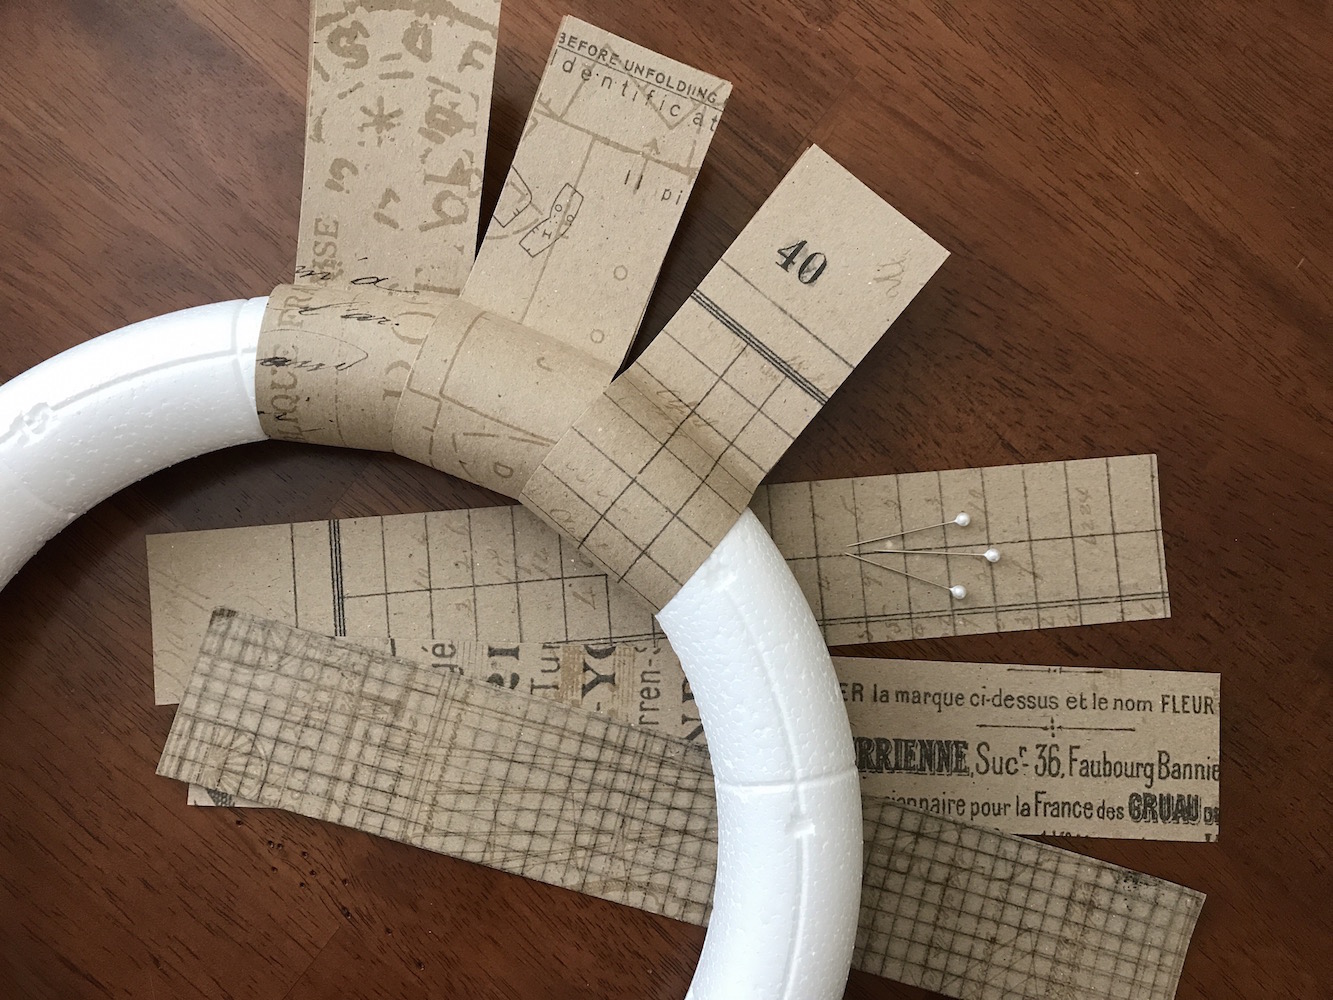
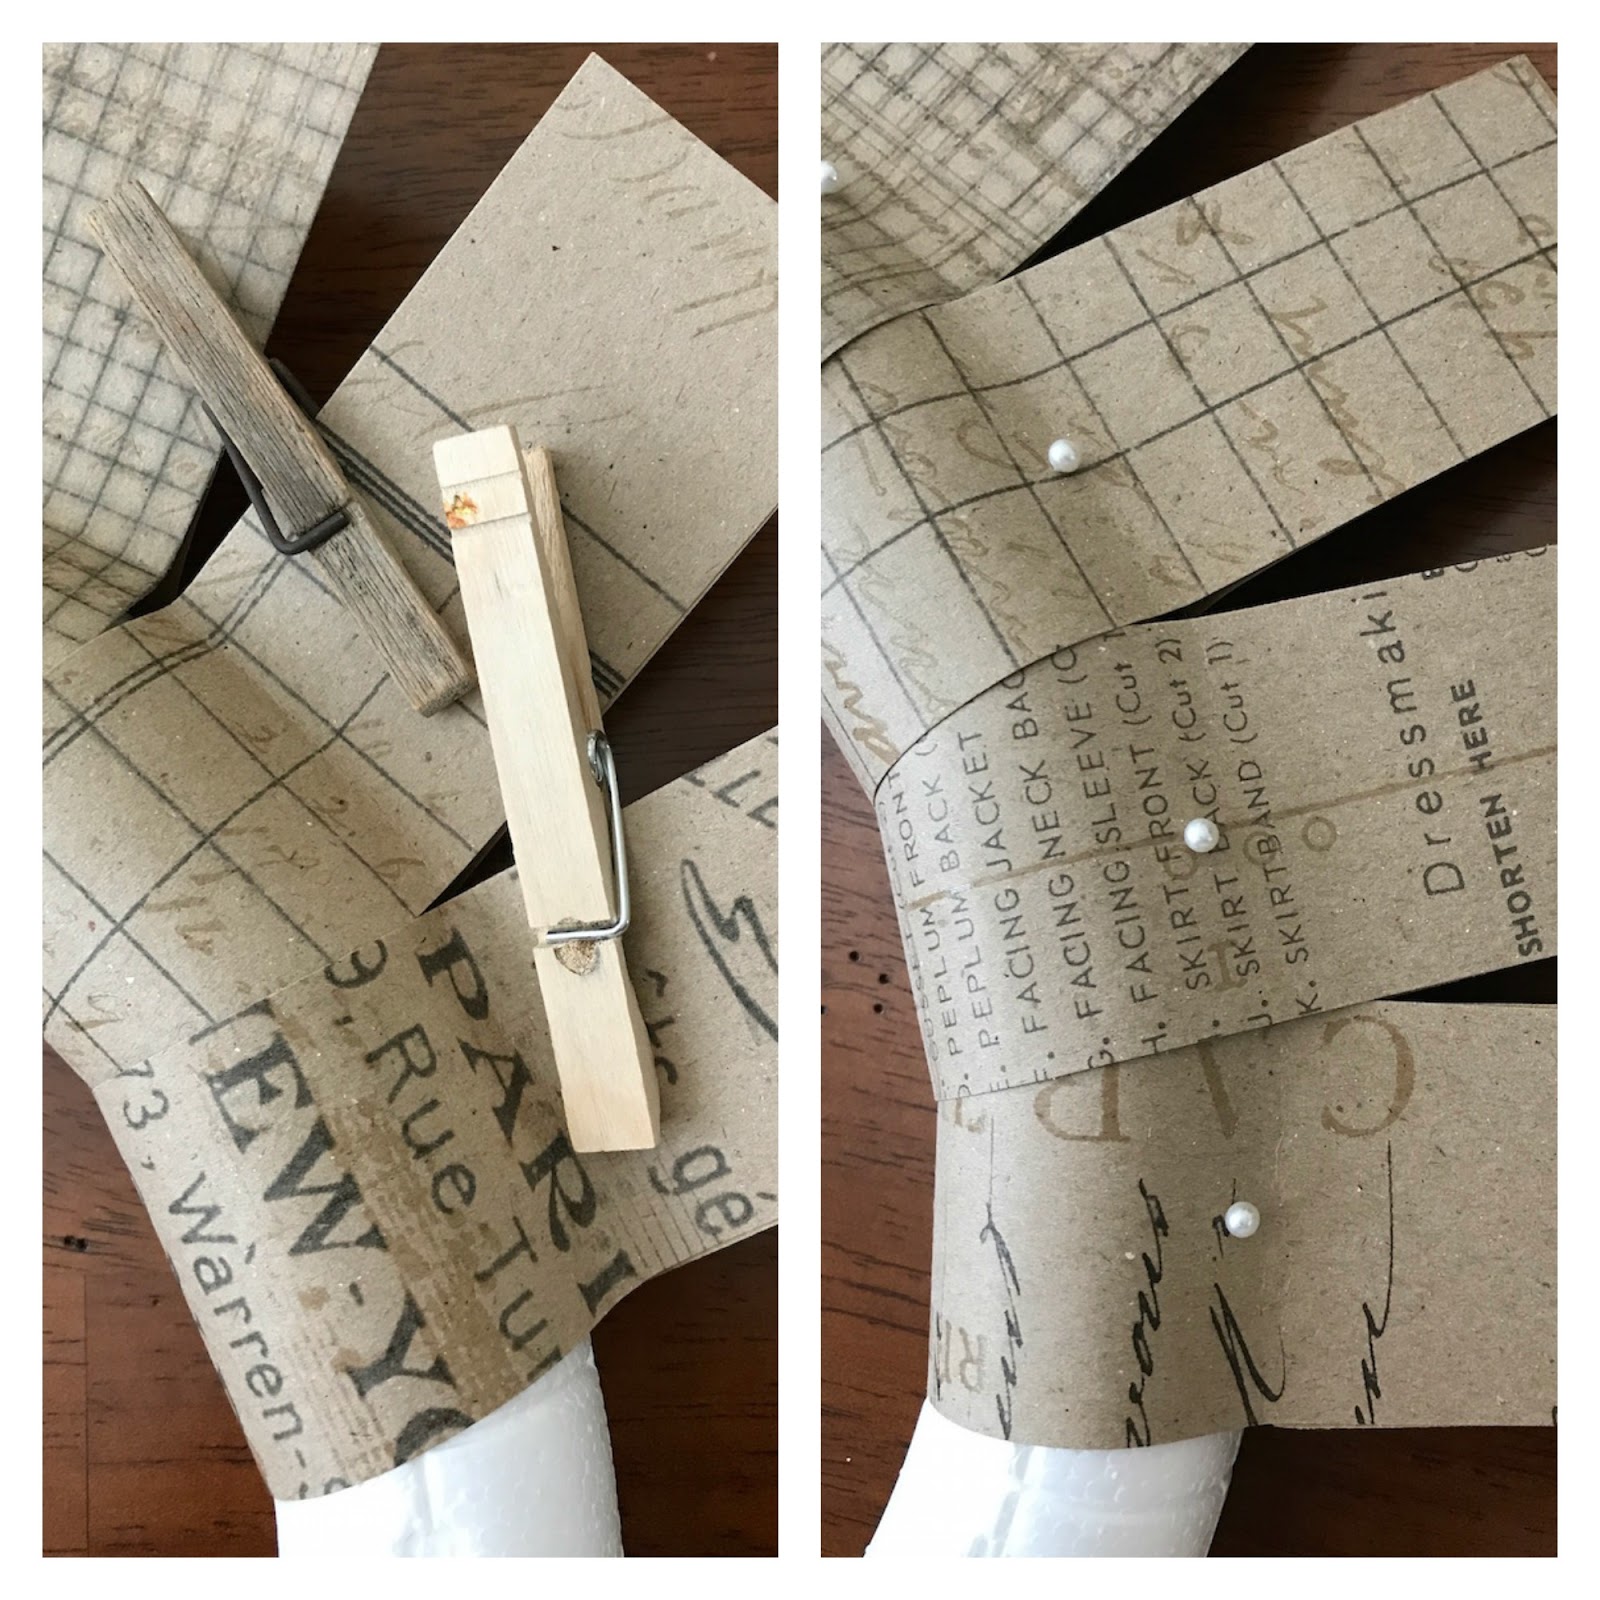
1.  Trim strips of paper to 2"x12" and wrap them around the wreath form to ensure you like the length - trim shorter if desired. 2.  Apply adhesive to the back of each strip and wrap them around the wreath as shown, slightly overlapping. Align and press the edges together first, then rub the strips down toward the wreath form to adhere. 3.  Clip each strip and push a pin into the back to keep it in position as it dries; cover the entire wreath with glued strips.

4.  Crop photos with a large circle punch, trim away one edge and glue to a solid contrasting circle of paper as shown. Use the solid area to write a word or two about the photo if you like. Pin the photos around the wreath.

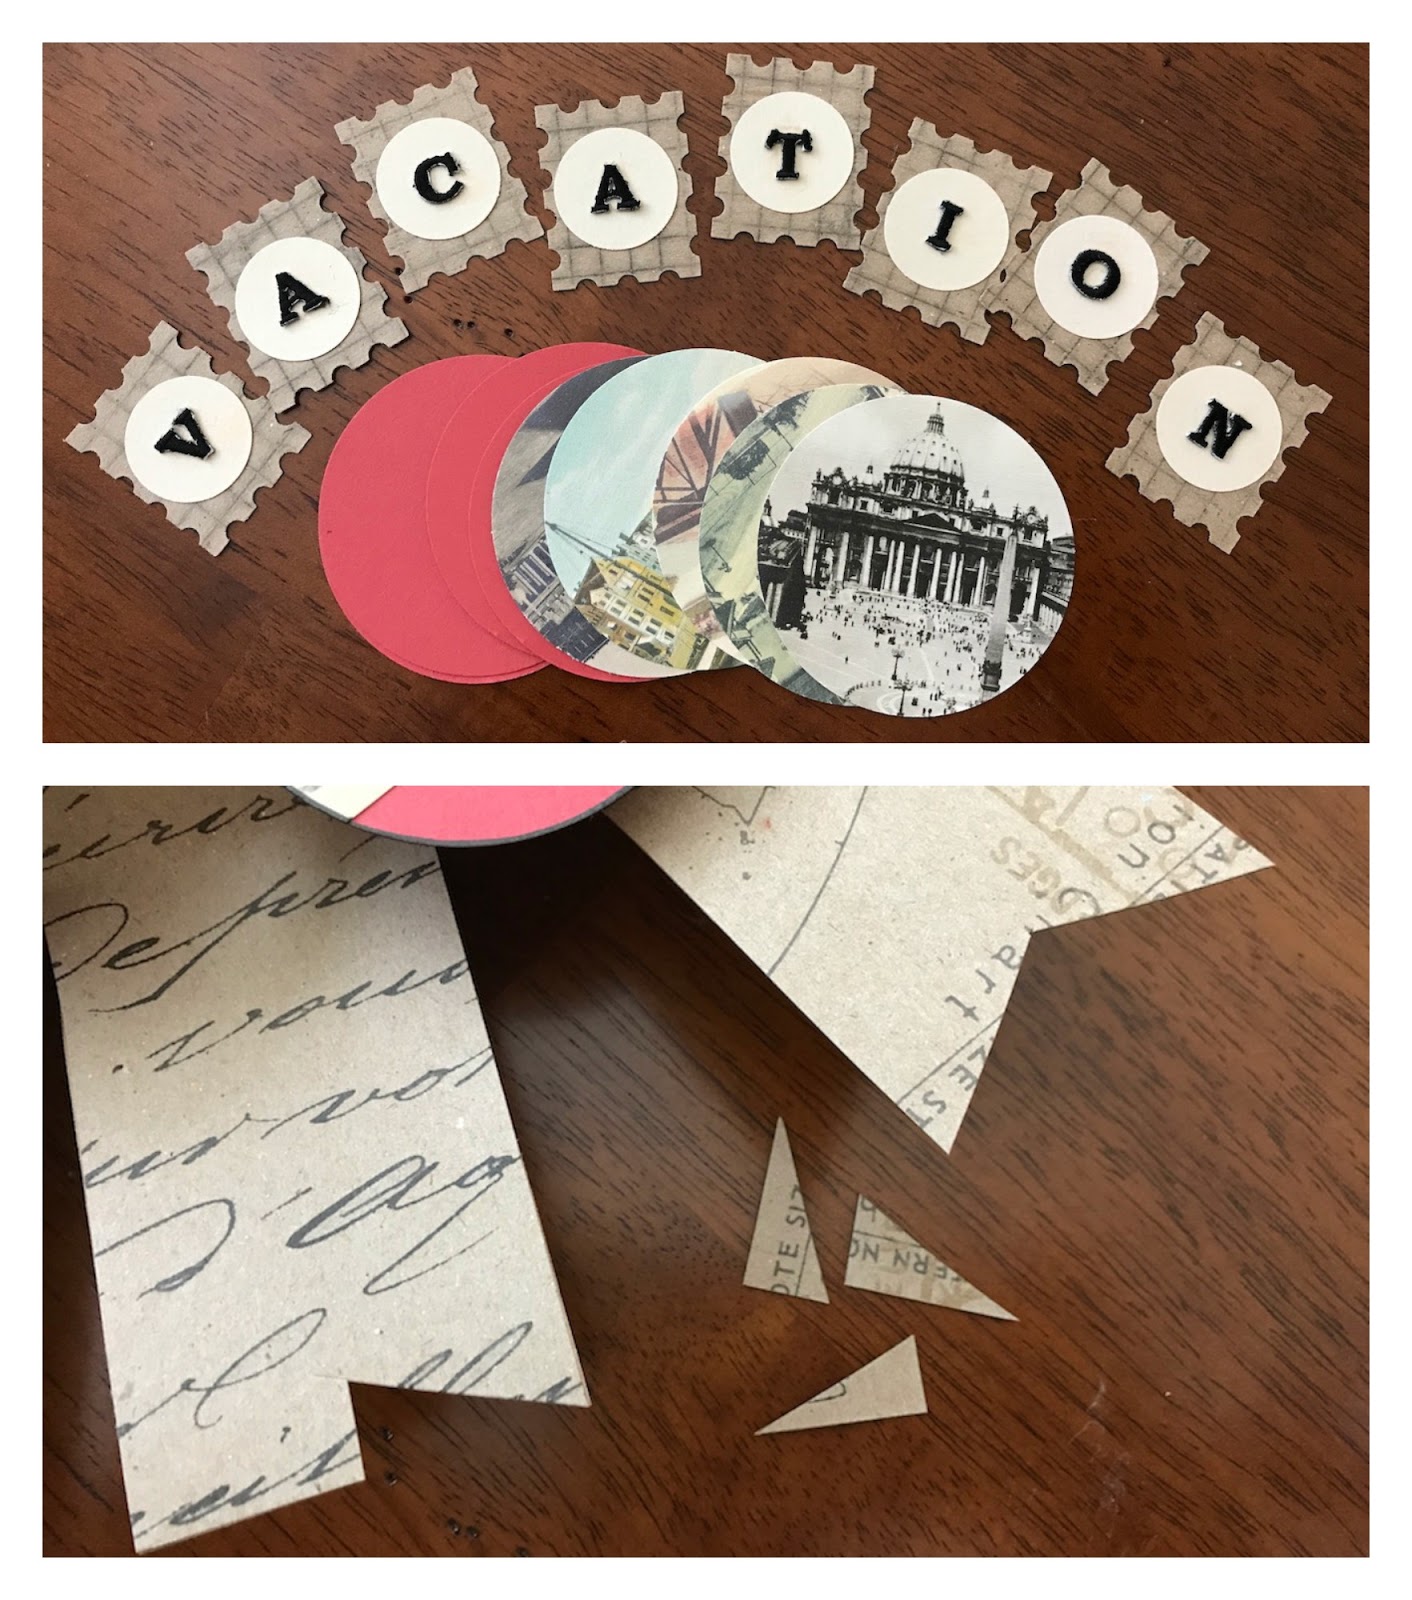
5.  Trim the edges of each glued strip into flag points. 6.  Glue the letters on to small punched shapes - I layered a small circle on top of a postage stamp. Glue your vacation word on to the wreath - I glued just the bottom edges of each stamp so the letters would pop out from the inside of the wreath a bit.

Pin a small length of ribbon into a loop on the back for hanging and enjoy the memories of a great trip!

Leave a Reply

Your email address will not be published. Required fields are marked *

Recent Projects

Luck O' the Irish DIY Door Hanger

St. Patrick’s Day is just around the corner!  Celebrate the Luck O' the Irish with this colorful door décor that is a fun alternative to a traditional wreath.  You will need: Joy® Iron On Embroidered Letter sheet - Gold Script Kunin Classics™ Felt 9” x 12” Craft Cuts– Red, Orange, Yellow, Apple Green, Lagoon, Royal Blue, Orchid, Pirate Green, Neon Green, Gold and Goldenrod (one each) Kunin Premium™ Felt 9” x 12” Craft Cuts– White and Black (two each). Expo International – Claudia 2” Fan and Lattice Lace.  Ric Rac assorted Rayon – Red, Orange, Yellow, Green, Light Blue, Royal…

Rustic Happy Fall Y'all Pumpkin Sign

HAPPY FALL Y'ALL! I am always on the look out for cute items that can be upcycled to create one of a kind home decor pieces.  This rustic pallet pumpkin was just calling out to me from the Target dollar spot and with the addition of some Joy® iron-on embroidered letters, it quickly becomes a custom keepsake. Select a combination of white Joy® iron-on embroidered letters to spell out your message. To create the apostrophe, I carefully cut the leg from the capital letter Q with a pair of detail scissors. Place the embroidered letters on an old towel in a cardboard box…

Back to School Welcome Banner

Create a "Back to School" welcome banner for your favorite teacher's classroom! Materials: JOY® Embroidered Letters 9” x 12” sheets of Kunin Classicfelt -Black , Gray, Sandstone, Candy Pink and Gold Craft glue Glitter glue Cardstock Ruler, pencils, scissors 4-foot length of ribbon Instructions: Draw a simple pencil pattern (5 pieces as shown) on cardstock and cut out.   Trace and trim each pattern piece seven times on the appropriate color of felt. Glue the pencil pieces together, overlapping as shown and let dry. 4. Peel back liner paper from the JOY letters and attach to the center of each pencil, spelling…

Scrabble-Inspired Tote Bag

I am all about recycling, but most of the tote bags that the grocery stores sell are not very cute or crafty. So in honor of family game night, I created a Scrabble-inspired bag to tote around town! This project makes the perfect quick and easy handmade gift to create for Mom for Mother's Day! Decide what words you want to spell and how they'll connect, making sure the arrangement will fit on the front of your tote bag. Draw a grid of square tiles on graph paper to fit each of your letters. I selected the Joy 1.5" Cooper Style…

Happiness Pillow

Joy® Iron-on embroidered letters in white are great for creating any color you can imagine! You can use dye, markers and even acrylic paint! To Make this Happiness Pillow you'll need: Joy® Embroidered Iron-on Letters - Letter Shop White  Acrylic Paint and Paintbrush NEW Joy® Iron-on Embroidered Flower Appliqué    Canvas Pillow Blank Pillow Form or Polyfil Iron Instructions: 1. Paint each letter to create a rainbow of H-A-P-P-I-N-E-S-S.  Set aside and let dry. 2.  Insert cardboard into pillow blank then paint the pillow with white and light blue paint.  Let dry. 3. Set iron on cotton setting; approx. 350 degrees,…
closearrow-circle-o-downtagtagsminus-circlefacebook-squaretruckpinterest-squareinstagrammenu
0
    0
    Shopping Cart
    Your cart is emptyReturn to Shop