FREE Standard Shipping with $50 Order
|
Minimum Order is $15
10% Discount on $300 Order
|
25% Discount on $600 Order

Monogrammed mini photo album

PriMarilynLy Paper
|
February 18, 2017

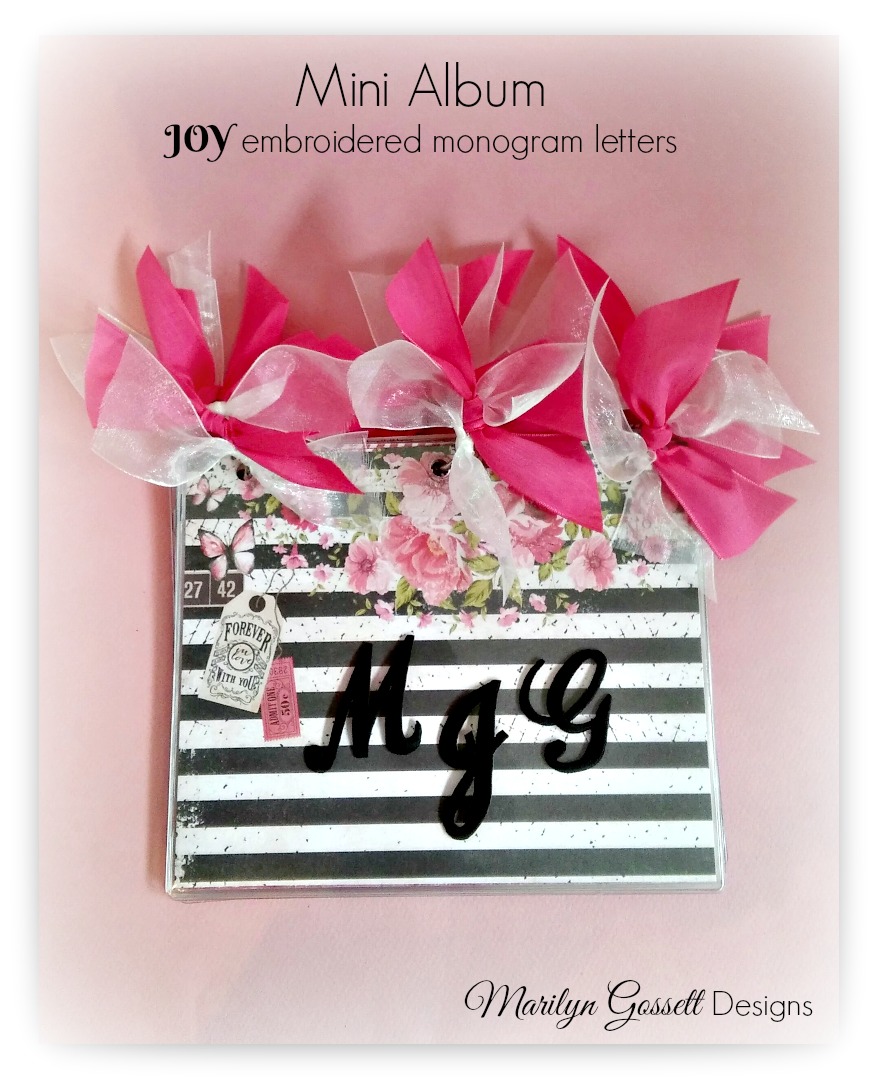
Joy embroidered letters are perfect for adding a personal touch to just about anything. I created a mini album using plastic pouches, memory papers, binder rings and ribbon! The embroidered monogram letters added a touch of class to my album. I liked the papers best in a landscape configuration.

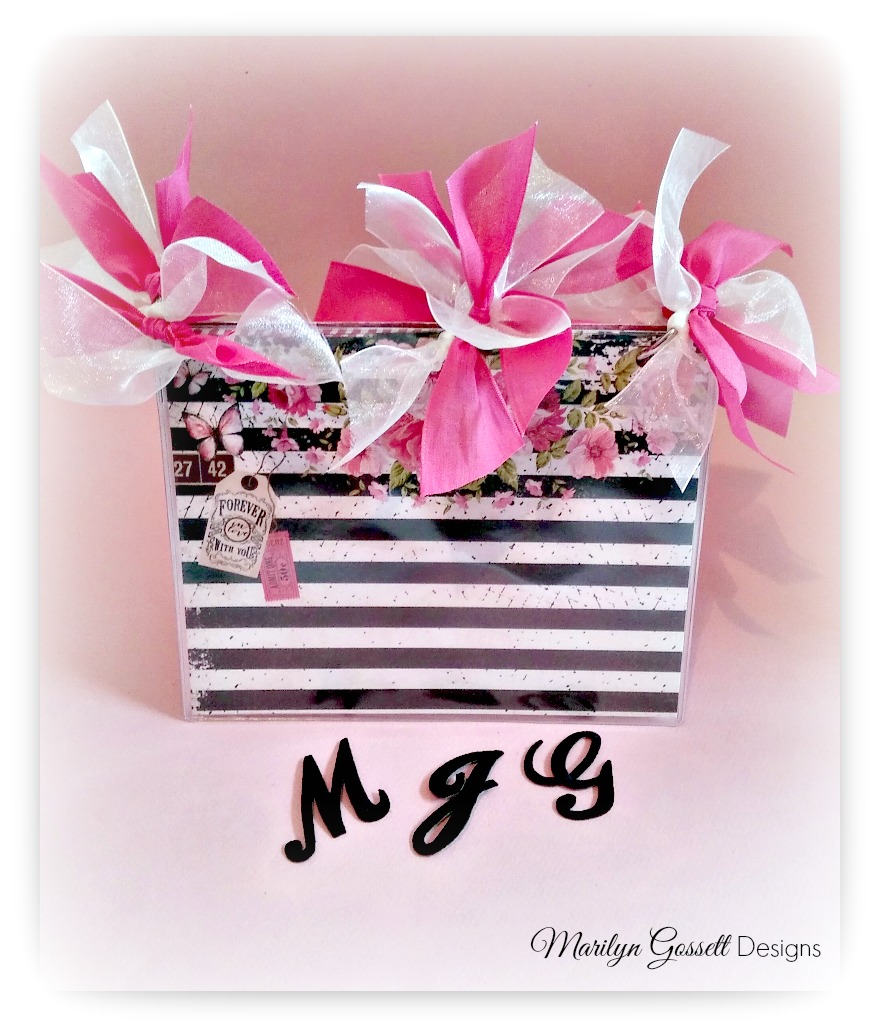
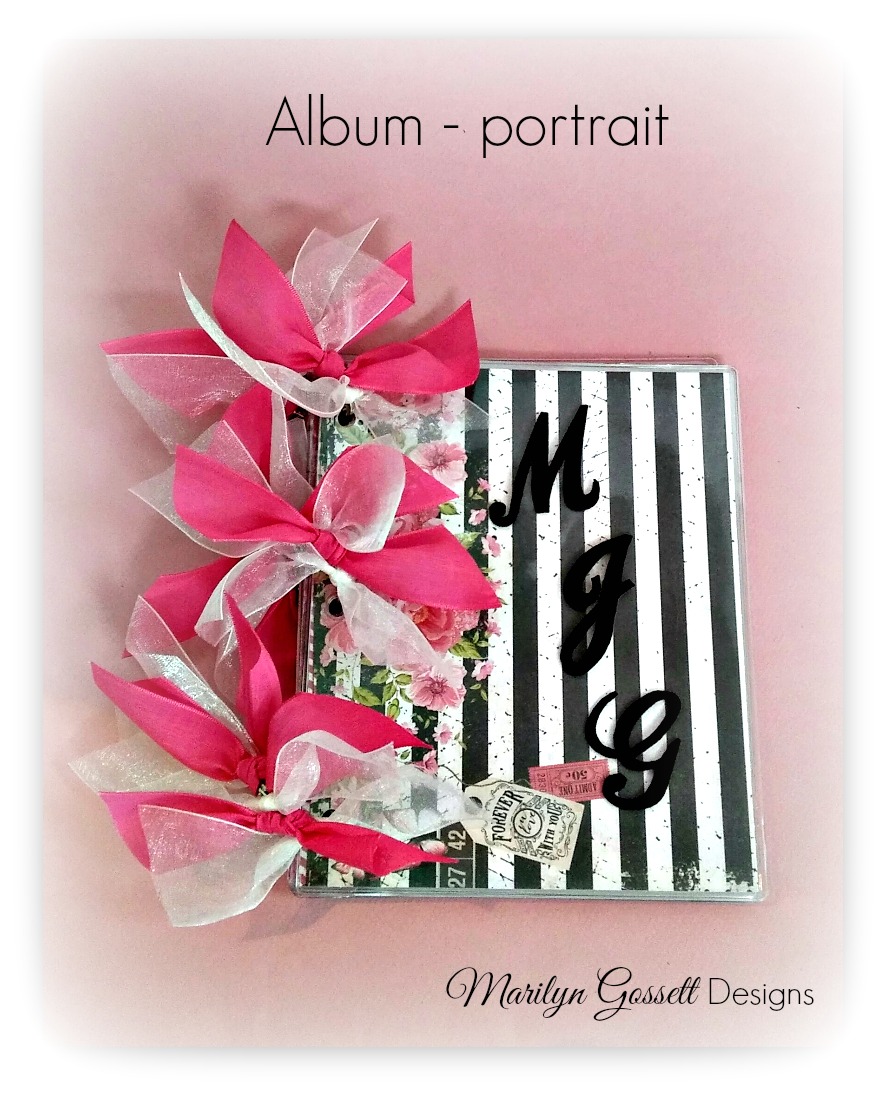
However, portrait looks good too! It is up to you. Your photos and journaling will determine how you want to proceed.

Materials:

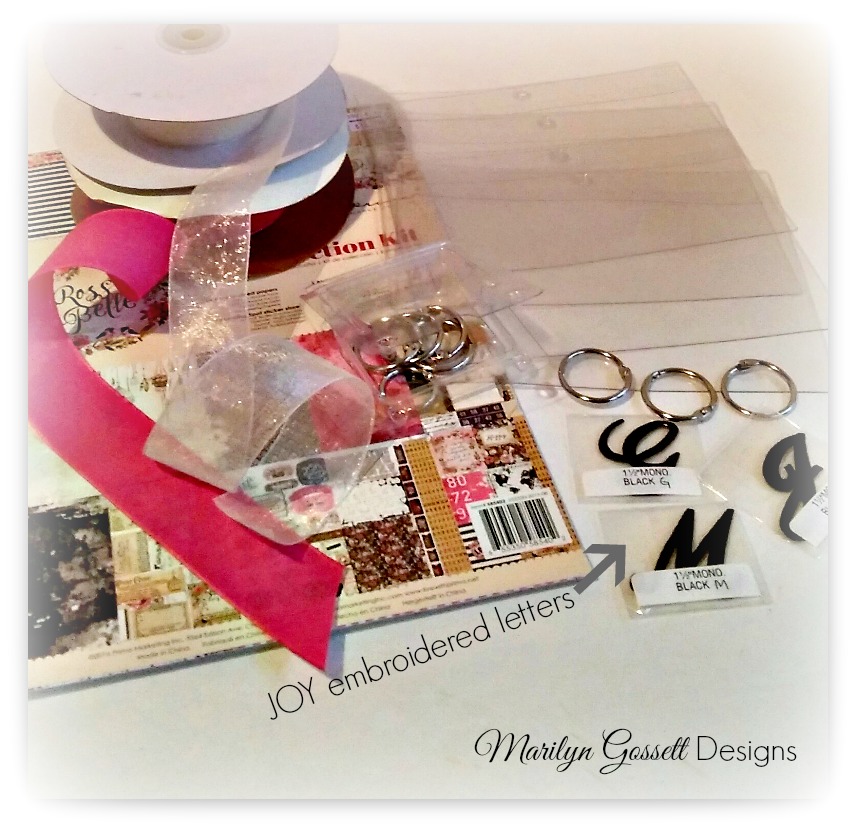
JOY embroidered letters

Coordinated cardstock

plastic pouches - 6" x 7" 

Ribbons

Metal binder rings

Adhesives

Scissors, paper trimmer

Photos and ephemera

Instructions:

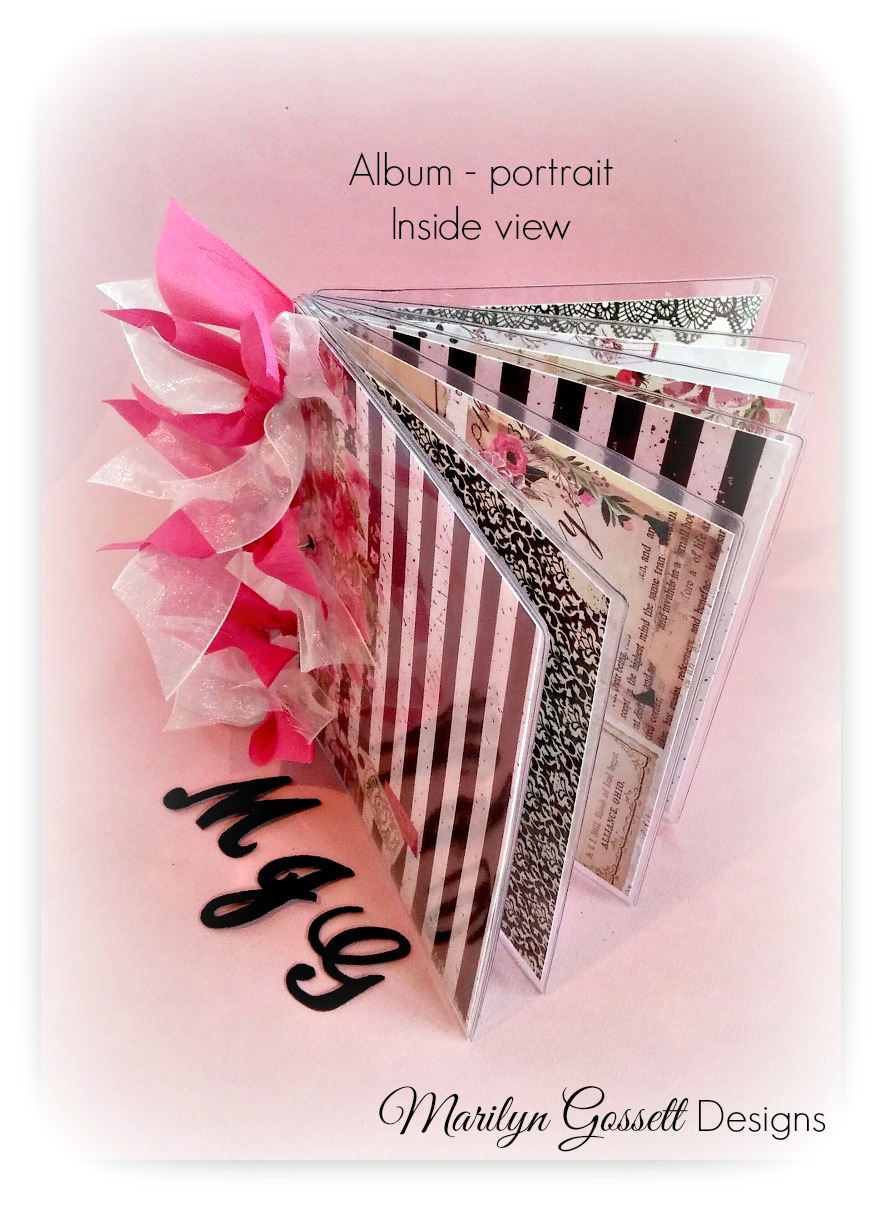
1.  Cut the papers to fit the plastic pouches. Decorate each side of the paper with journaling, ephemera and photos to your satisfaction.

2.  Insert the finished page into a pouch and repeat for each one.

3.  Prepare the pages for binding by punching a hole in the same place on each side of the middle hole. When pouches are all finished; line up the punched holes for binding and insert a binder ring in each one.

4.  Cut ribbon in 3" lengths and tie one pink ribbon around the binder ring. Repeat with the cream sheer ribbon. Rotate colors of ribbon and fill each ring with ribbons.

5.  Adhere the monogrammed letters to the front of the album using an all-purpose glue. Use a toothpick to apply adhesive to the wrong side of each letter and be careful not to get any glue on the plastic pouch!

There are a plethora of paper patterns and matching embellishments.  Have fun choosing patterns and colors to really make your mini album personal!

JOY Embroidered letters can be found at your local craft stores in a variety of sizes, colors, simple and decorative fonts.

Leave a Reply

Your email address will not be published. Required fields are marked *

Recent Projects

Luck O' the Irish DIY Door Hanger

St. Patrick’s Day is just around the corner!  Celebrate the Luck O' the Irish with this colorful door décor that is a fun alternative to a traditional wreath.  You will need: Joy® Iron On Embroidered Letter sheet - Gold Script Kunin Classics™ Felt 9” x 12” Craft Cuts– Red, Orange, Yellow, Apple Green, Lagoon, Royal Blue, Orchid, Pirate Green, Neon Green, Gold and Goldenrod (one each) Kunin Premium™ Felt 9” x 12” Craft Cuts– White and Black (two each). Expo International – Claudia 2” Fan and Lattice Lace.  Ric Rac assorted Rayon – Red, Orange, Yellow, Green, Light Blue, Royal…

Rustic Happy Fall Y'all Pumpkin Sign

HAPPY FALL Y'ALL! I am always on the look out for cute items that can be upcycled to create one of a kind home decor pieces.  This rustic pallet pumpkin was just calling out to me from the Target dollar spot and with the addition of some Joy® iron-on embroidered letters, it quickly becomes a custom keepsake. Select a combination of white Joy® iron-on embroidered letters to spell out your message. To create the apostrophe, I carefully cut the leg from the capital letter Q with a pair of detail scissors. Place the embroidered letters on an old towel in a cardboard box…

Back to School Welcome Banner

Create a "Back to School" welcome banner for your favorite teacher's classroom! Materials: JOY® Embroidered Letters 9” x 12” sheets of Kunin Classicfelt -Black , Gray, Sandstone, Candy Pink and Gold Craft glue Glitter glue Cardstock Ruler, pencils, scissors 4-foot length of ribbon Instructions: Draw a simple pencil pattern (5 pieces as shown) on cardstock and cut out.   Trace and trim each pattern piece seven times on the appropriate color of felt. Glue the pencil pieces together, overlapping as shown and let dry. 4. Peel back liner paper from the JOY letters and attach to the center of each pencil, spelling…

Scrabble-Inspired Tote Bag

I am all about recycling, but most of the tote bags that the grocery stores sell are not very cute or crafty. So in honor of family game night, I created a Scrabble-inspired bag to tote around town! This project makes the perfect quick and easy handmade gift to create for Mom for Mother's Day! Decide what words you want to spell and how they'll connect, making sure the arrangement will fit on the front of your tote bag. Draw a grid of square tiles on graph paper to fit each of your letters. I selected the Joy 1.5" Cooper Style…

Happiness Pillow

Joy® Iron-on embroidered letters in white are great for creating any color you can imagine! You can use dye, markers and even acrylic paint! To Make this Happiness Pillow you'll need: Joy® Embroidered Iron-on Letters - Letter Shop White  Acrylic Paint and Paintbrush NEW Joy® Iron-on Embroidered Flower Appliqué    Canvas Pillow Blank Pillow Form or Polyfil Iron Instructions: 1. Paint each letter to create a rainbow of H-A-P-P-I-N-E-S-S.  Set aside and let dry. 2.  Insert cardboard into pillow blank then paint the pillow with white and light blue paint.  Let dry. 3. Set iron on cotton setting; approx. 350 degrees,…
closearrow-circle-o-downtagtagsminus-circlefacebook-squaretruckpinterest-squareinstagrammenu
0
    0
    Shopping Cart
    Your cart is emptyReturn to Shop