FREE Standard Shipping with $50 Order
|
Minimum Order is $15
10% Discount on $300 Order
|
25% Discount on $600 Order

Decorative Treat Bottle for Halloween

PriMarilynLy Paper
|
October 3, 2016

T'was the night before Halloween...and all through the house...there was a whole lot of stirring....but not by a mouse! We like to "Boo" our friends and neighbors anonymously with treats every year. Here is an inexpensive treat bottle that can be decorated and filled with candies for that special friend to enjoy and display. You will need:

  • Joy Embroidered Letters spelling BOO 
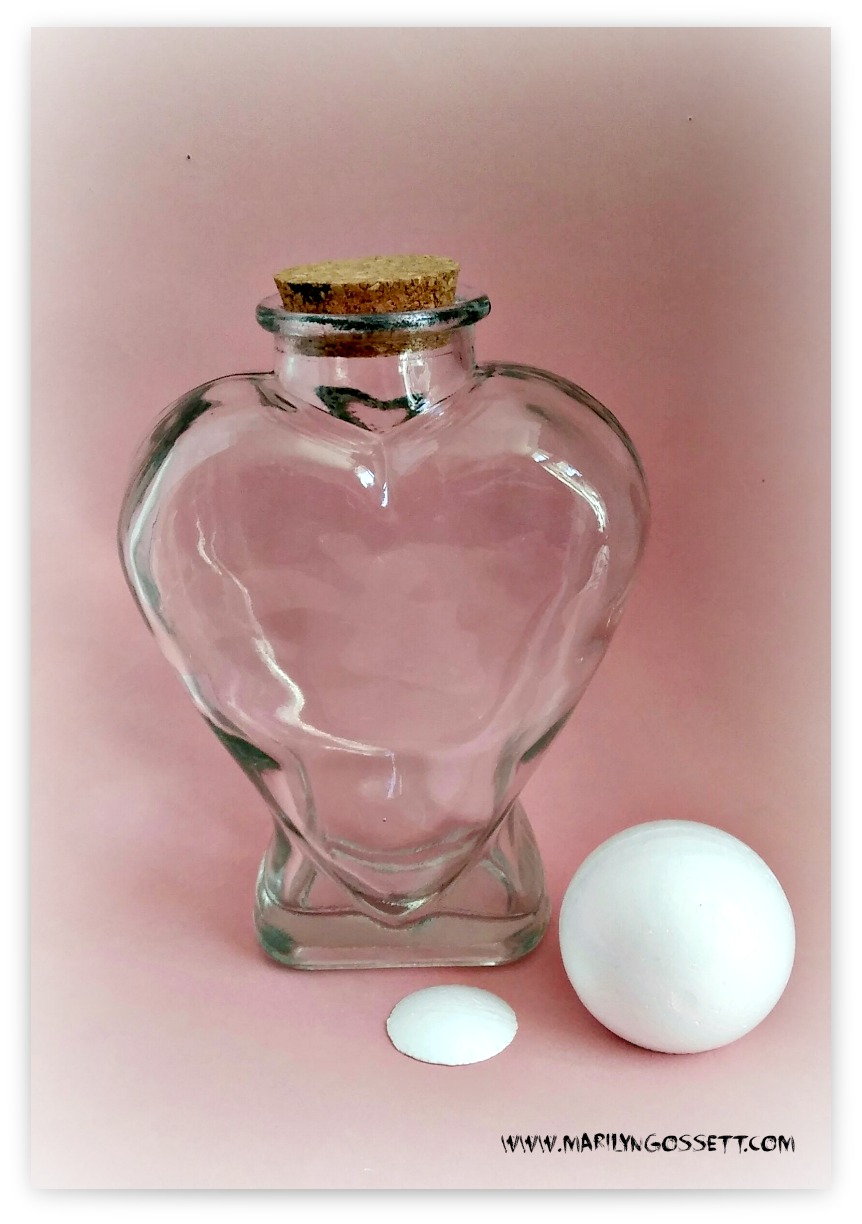
  • Decorative bottle with cork
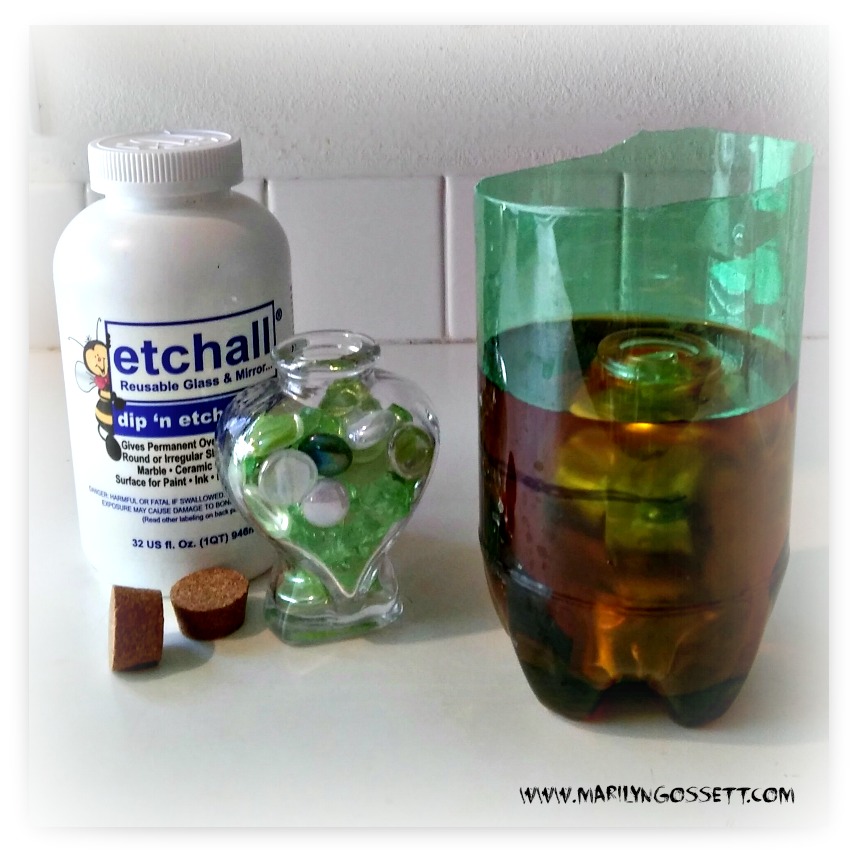
  • Glass etching liquid
  • 1-1/4" Smoothfoam ball
  • Plastic liter bottle (cut off the top)
  • Acrylic craft paints: orange, beige, brown, black, white
  • Paintbrushes: 3/4" flat, #3 round
  • Green cardstock scrap, jute string, green embroidery floss
  • Adhesives, scissors, black fine point marker
  • Paper punches: 1-3/4" circle; 1/2" circle
  • Hot wire foam cutter or knife

Instructions:

1.  For the head, cut a small rounded portion off the bottom of the Smoothfoam ball. Glue the flat side to the top of the bottle cork and set aside to dry.

2.  Follow the directions on the etching liquid packaging to frost the outside of the bottle and let dry.

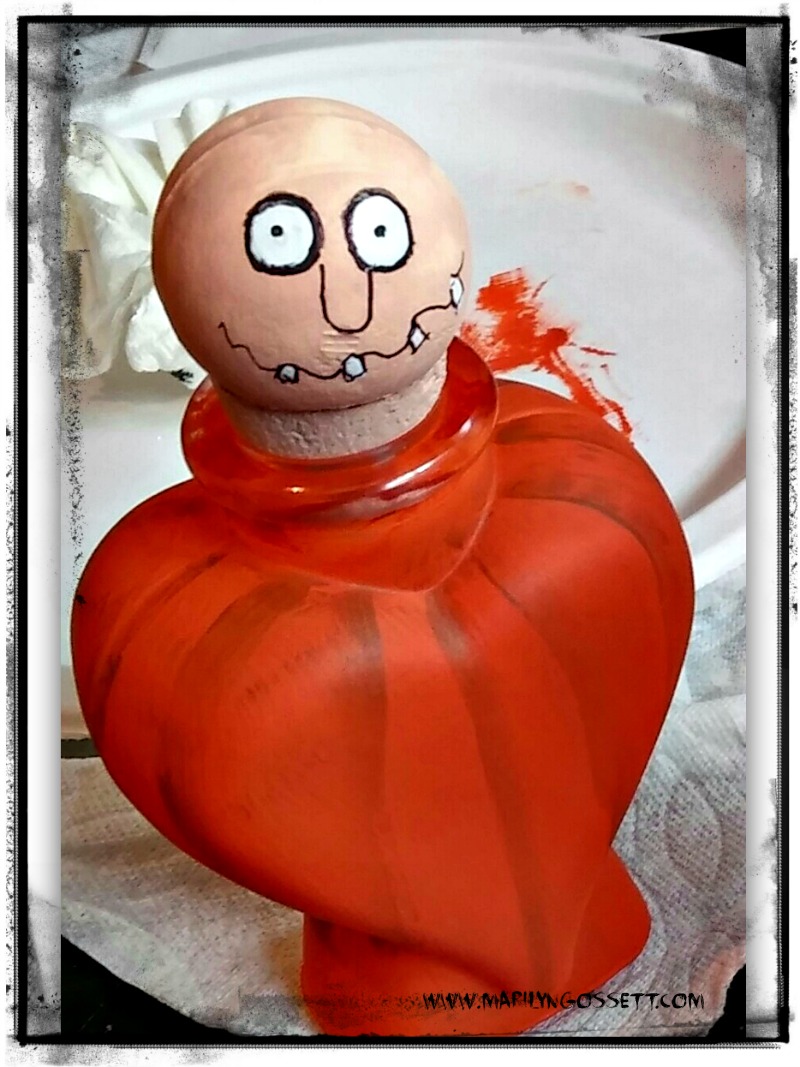
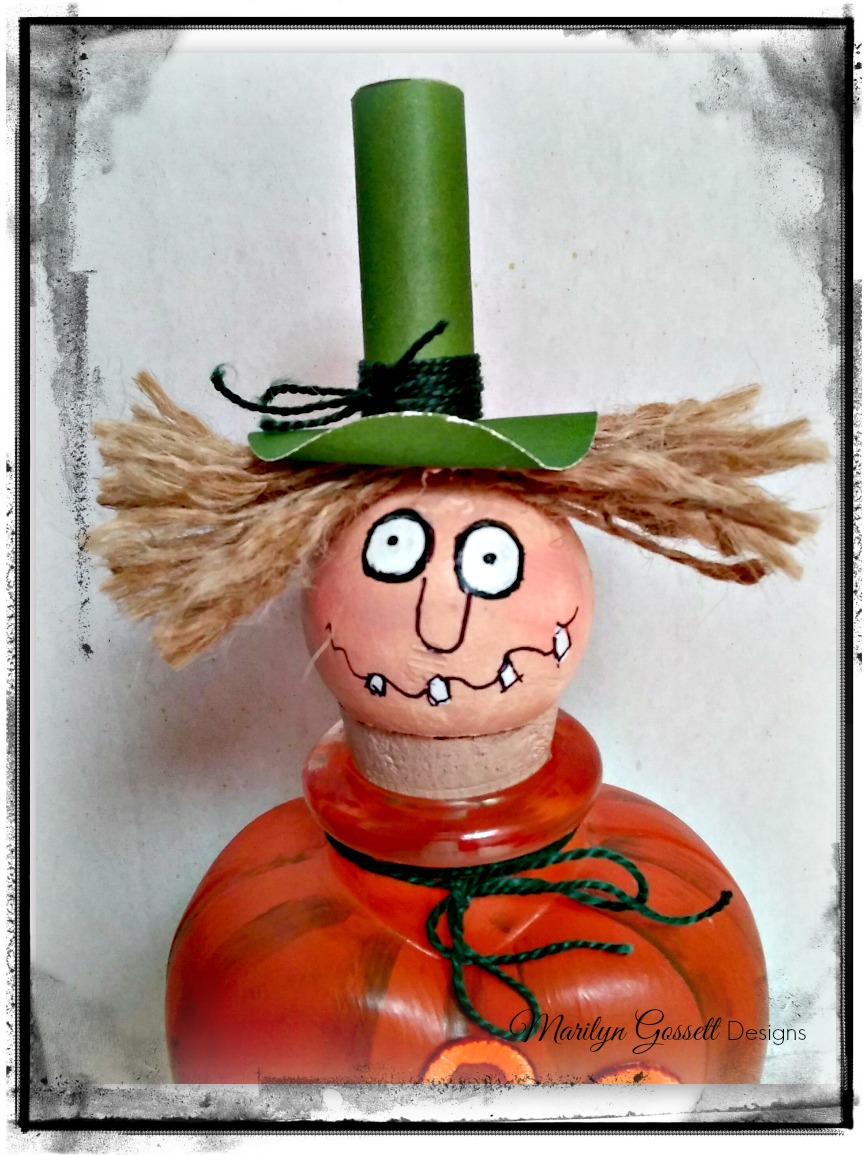
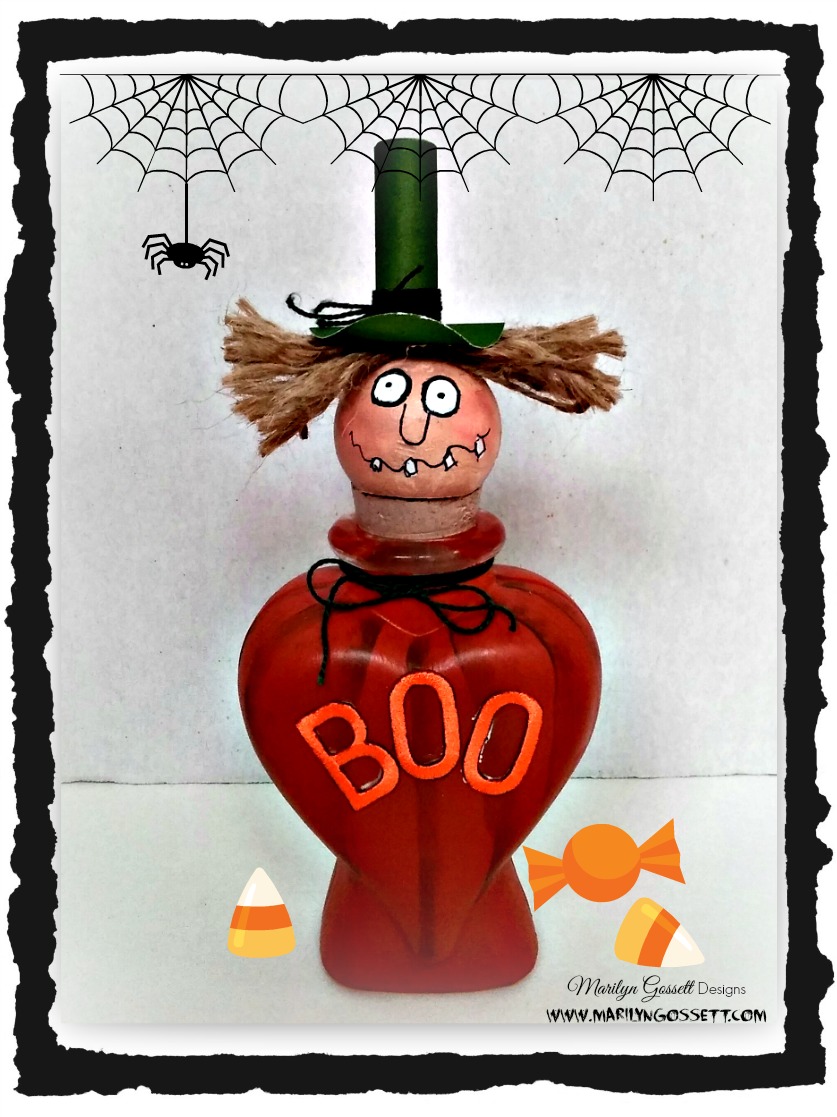
3.  Paint the ball head and cork beige and allow to dry. Refer to the photo and paint 2 small white circles for the eyes. When dry, paint a tiny black dip dot to the center of each eye. Then outline the eyes, draw the nose and the mouth with the marker. Draw the teeth and paint white. Paint the bottle orange, then when it's dry, paint some shading as shown in brown.

4.  To make hair for the head, wrap jute twine around your hand about ten times. Slide it off your hand and cut the loops at each end. Tie an extra piece of twine around the middle and knot to secure. Glue to the top of the head.

5.  To make his hat, Punch a 1-3/4" circle and a 1/2" circle, and cut a 1-1/2" x 3" strip from the green cardstock. Roll the strip into a cylinder and glue the small circle to the top and the large circle to the bottom. Glue the hat to the top of the hair.

6.  Tie embroidery floss around the top of the hat.  Tie another piece around the bottle neck and finish with a shoestring bow. Glue the letters to the front of the bottle.  

Leave a Reply

Your email address will not be published. Required fields are marked *

Recent Projects

Luck O' the Irish DIY Door Hanger

St. Patrick’s Day is just around the corner!  Celebrate the Luck O' the Irish with this colorful door décor that is a fun alternative to a traditional wreath.  You will need: Joy® Iron On Embroidered Letter sheet - Gold Script Kunin Classics™ Felt 9” x 12” Craft Cuts– Red, Orange, Yellow, Apple Green, Lagoon, Royal Blue, Orchid, Pirate Green, Neon Green, Gold and Goldenrod (one each) Kunin Premium™ Felt 9” x 12” Craft Cuts– White and Black (two each). Expo International – Claudia 2” Fan and Lattice Lace.  Ric Rac assorted Rayon – Red, Orange, Yellow, Green, Light Blue, Royal…

Rustic Happy Fall Y'all Pumpkin Sign

HAPPY FALL Y'ALL! I am always on the look out for cute items that can be upcycled to create one of a kind home decor pieces.  This rustic pallet pumpkin was just calling out to me from the Target dollar spot and with the addition of some Joy® iron-on embroidered letters, it quickly becomes a custom keepsake. Select a combination of white Joy® iron-on embroidered letters to spell out your message. To create the apostrophe, I carefully cut the leg from the capital letter Q with a pair of detail scissors. Place the embroidered letters on an old towel in a cardboard box…

Back to School Welcome Banner

Create a "Back to School" welcome banner for your favorite teacher's classroom! Materials: JOY® Embroidered Letters 9” x 12” sheets of Kunin Classicfelt -Black , Gray, Sandstone, Candy Pink and Gold Craft glue Glitter glue Cardstock Ruler, pencils, scissors 4-foot length of ribbon Instructions: Draw a simple pencil pattern (5 pieces as shown) on cardstock and cut out.   Trace and trim each pattern piece seven times on the appropriate color of felt. Glue the pencil pieces together, overlapping as shown and let dry. 4. Peel back liner paper from the JOY letters and attach to the center of each pencil, spelling…

Scrabble-Inspired Tote Bag

I am all about recycling, but most of the tote bags that the grocery stores sell are not very cute or crafty. So in honor of family game night, I created a Scrabble-inspired bag to tote around town! This project makes the perfect quick and easy handmade gift to create for Mom for Mother's Day! Decide what words you want to spell and how they'll connect, making sure the arrangement will fit on the front of your tote bag. Draw a grid of square tiles on graph paper to fit each of your letters. I selected the Joy 1.5" Cooper Style…

Happiness Pillow

Joy® Iron-on embroidered letters in white are great for creating any color you can imagine! You can use dye, markers and even acrylic paint! To Make this Happiness Pillow you'll need: Joy® Embroidered Iron-on Letters - Letter Shop White  Acrylic Paint and Paintbrush NEW Joy® Iron-on Embroidered Flower Appliqué    Canvas Pillow Blank Pillow Form or Polyfil Iron Instructions: 1. Paint each letter to create a rainbow of H-A-P-P-I-N-E-S-S.  Set aside and let dry. 2.  Insert cardboard into pillow blank then paint the pillow with white and light blue paint.  Let dry. 3. Set iron on cotton setting; approx. 350 degrees,…
closearrow-circle-o-downtagtagsminus-circlefacebook-squaretruckpinterest-squareinstagrammenu
0
    0
    Shopping Cart
    Your cart is emptyReturn to Shop