FREE Standard Shipping with $50 Order
|
Minimum Order is $15
10% Discount on $300 Order
|
25% Discount on $600 Order

Your Name in Lights!

Julie McGuffee
|
April 26, 2016


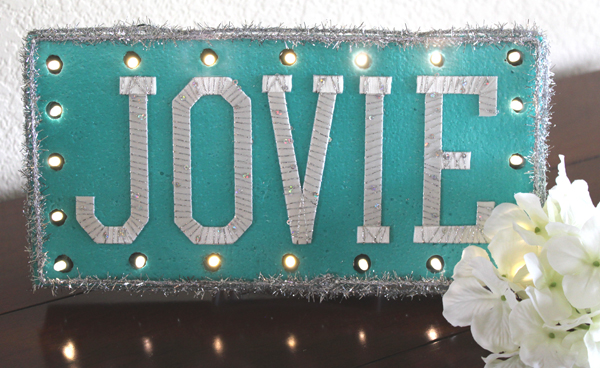
I think everyone would like to see their name in lights and my granddaughter is no exception. Individual letters are easy to find, but not full names, so I decided to make her a personal marquee for her birthday party. It was really quite easy. I think she'll love it...


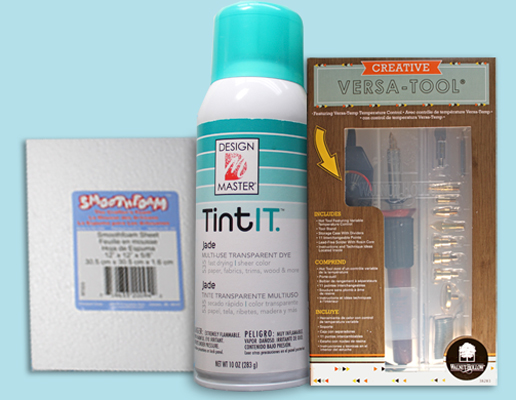
You will need the following tools and supplies: 4" Joy embroidered letters 6" x 12" x 1" Smoothfoam® sheet Walnut Hollow Versa Tool® Design Master Tint It™ spray color 20 light-string of mini LED lights Decorative yarn Tinsel string Sequin pins Tacky glue

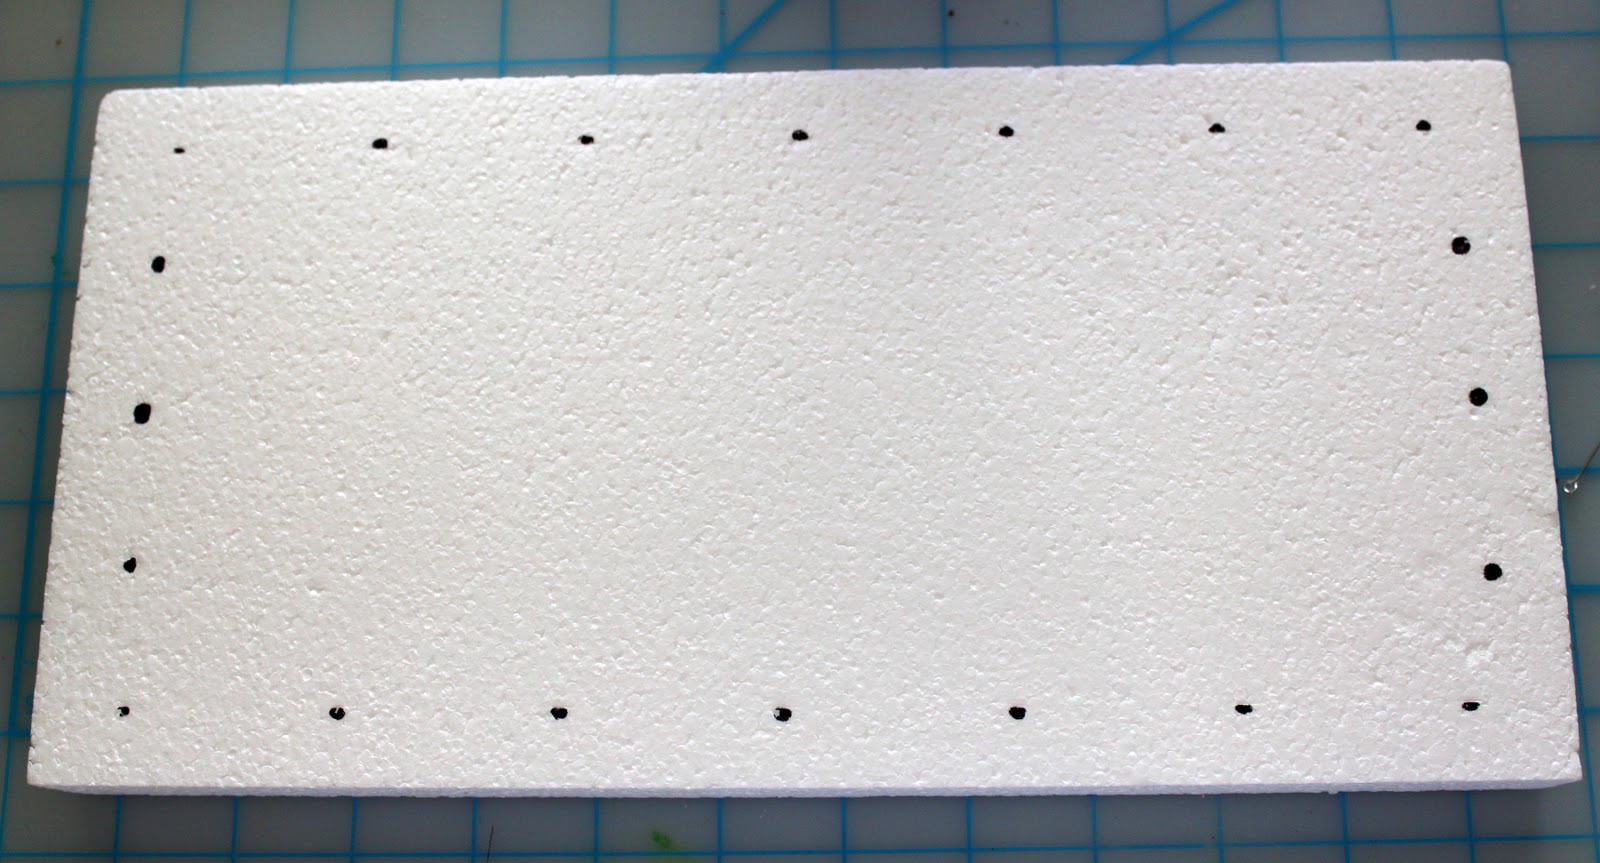
1. Measure and mark where the holes for the lights need to be placed. You can do this either before or after spraying the Smoothfoam with color tint in a well-ventilated area.  Option: Smoothfoam can also be painted with craft paint.


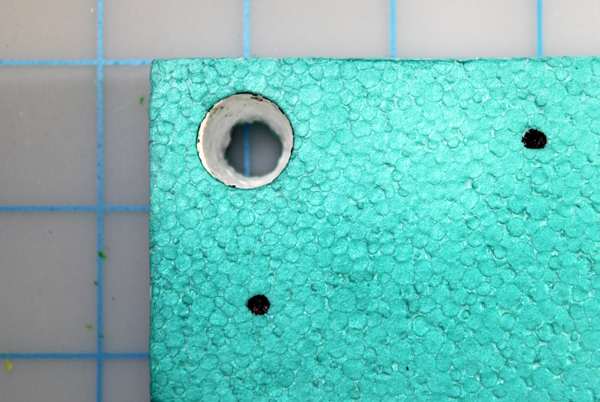
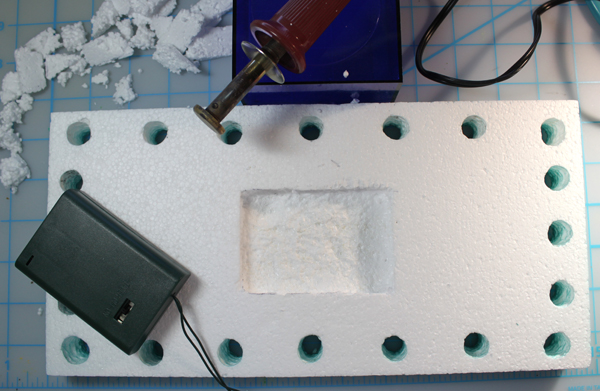
2. Make holes in the Smoothfoam with the Versa Tool. This is a hot tool, so please read all the instructions carefully and practice on a scrap piece of foam before starting your project. After removing the blade, I used the blade holder to make the holes for the lights. It was a good size for the mini lights I had, but there are other tips that can be used. When making each hole, raise the Smoothfoam sheet a few inches up off your work surface then push the heat tool quickly straight up and down from back to front. This step should also be done in a well-ventilated area.

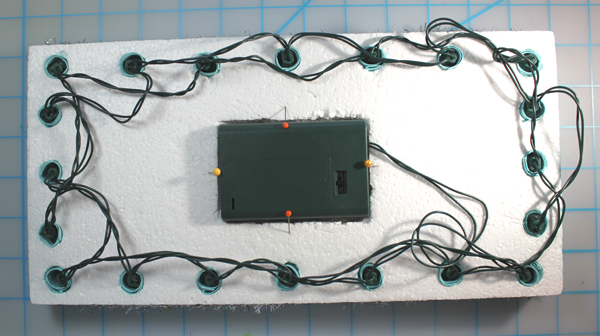
3. Insert one bulb into each hole from the back. Being careful not to go through to the front, I also cut an indented area in the back of the foam sheet for the on-off switch and battery holder. I used a sharp knife to cut the outline of the rectangle, scooped out the center then smoothed the bottom with the heat tool and the round disc tip. With the switch facing outwards, the battery holder can be held in place temporarily with a 3D glue dot. 


TIP:  If the bulbs are loose, wrap the base of each one with a 1/2" wide strip of cardstock before inserting in the hole. The cardstock will act as a shim.

4. Wrap each of the letters with fine, decorative yarn or thread then glue in place. I also outlined the edge of the foam with tinsel, held in place with small sequin pins.


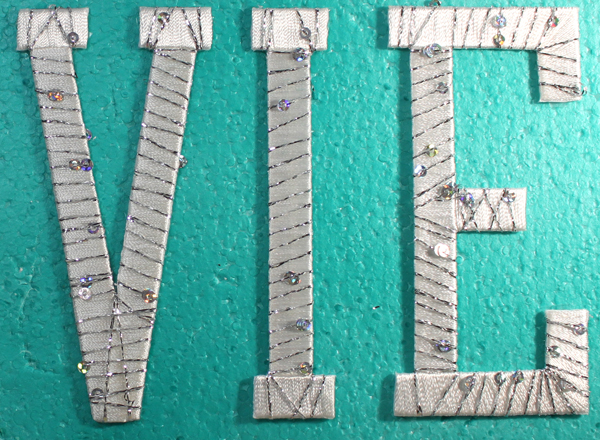
Joy 3-D embroidered letters can be found at your local craft stores.  Enjoy!

Leave a Reply

Your email address will not be published. Required fields are marked *

Recent Projects

Luck O' the Irish DIY Door Hanger

St. Patrick’s Day is just around the corner!  Celebrate the Luck O' the Irish with this colorful door décor that is a fun alternative to a traditional wreath.  You will need: Joy® Iron On Embroidered Letter sheet - Gold Script Kunin Classics™ Felt 9” x 12” Craft Cuts– Red, Orange, Yellow, Apple Green, Lagoon, Royal Blue, Orchid, Pirate Green, Neon Green, Gold and Goldenrod (one each) Kunin Premium™ Felt 9” x 12” Craft Cuts– White and Black (two each). Expo International – Claudia 2” Fan and Lattice Lace.  Ric Rac assorted Rayon – Red, Orange, Yellow, Green, Light Blue, Royal…

Rustic Happy Fall Y'all Pumpkin Sign

HAPPY FALL Y'ALL! I am always on the look out for cute items that can be upcycled to create one of a kind home decor pieces.  This rustic pallet pumpkin was just calling out to me from the Target dollar spot and with the addition of some Joy® iron-on embroidered letters, it quickly becomes a custom keepsake. Select a combination of white Joy® iron-on embroidered letters to spell out your message. To create the apostrophe, I carefully cut the leg from the capital letter Q with a pair of detail scissors. Place the embroidered letters on an old towel in a cardboard box…

Back to School Welcome Banner

Create a "Back to School" welcome banner for your favorite teacher's classroom! Materials: JOY® Embroidered Letters 9” x 12” sheets of Kunin Classicfelt -Black , Gray, Sandstone, Candy Pink and Gold Craft glue Glitter glue Cardstock Ruler, pencils, scissors 4-foot length of ribbon Instructions: Draw a simple pencil pattern (5 pieces as shown) on cardstock and cut out.   Trace and trim each pattern piece seven times on the appropriate color of felt. Glue the pencil pieces together, overlapping as shown and let dry. 4. Peel back liner paper from the JOY letters and attach to the center of each pencil, spelling…

Scrabble-Inspired Tote Bag

I am all about recycling, but most of the tote bags that the grocery stores sell are not very cute or crafty. So in honor of family game night, I created a Scrabble-inspired bag to tote around town! This project makes the perfect quick and easy handmade gift to create for Mom for Mother's Day! Decide what words you want to spell and how they'll connect, making sure the arrangement will fit on the front of your tote bag. Draw a grid of square tiles on graph paper to fit each of your letters. I selected the Joy 1.5" Cooper Style…

Happiness Pillow

Joy® Iron-on embroidered letters in white are great for creating any color you can imagine! You can use dye, markers and even acrylic paint! To Make this Happiness Pillow you'll need: Joy® Embroidered Iron-on Letters - Letter Shop White  Acrylic Paint and Paintbrush NEW Joy® Iron-on Embroidered Flower Appliqué    Canvas Pillow Blank Pillow Form or Polyfil Iron Instructions: 1. Paint each letter to create a rainbow of H-A-P-P-I-N-E-S-S.  Set aside and let dry. 2.  Insert cardboard into pillow blank then paint the pillow with white and light blue paint.  Let dry. 3. Set iron on cotton setting; approx. 350 degrees,…
closearrow-circle-o-downtagtagsminus-circlefacebook-squaretruckpinterest-squareinstagrammenu
0
    0
    Shopping Cart
    Your cart is emptyReturn to Shop