FREE Standard Shipping with $50 Order
|
Minimum Order is $15
10% Discount on $300 Order
|
25% Discount on $600 Order

Monogrammed Monthly Planner

PriMarilynLy Paper
|
September 14, 2015


Do you live by your calendar and daily planner?  I do!

Being inspired by a friend's kind gift; I found an inexpensive planner in the school supply aisles at the Dollar Tree. I brought it home and altered in my studio colors and it is all ready to go for 2016. Here is what you will need to alter one of your own, to make a gift that someone will appreciate.

Supplies:

Joy Embroidered Iron-On Letters and Numbers:  1-1/2" black letters; 1" high numbers

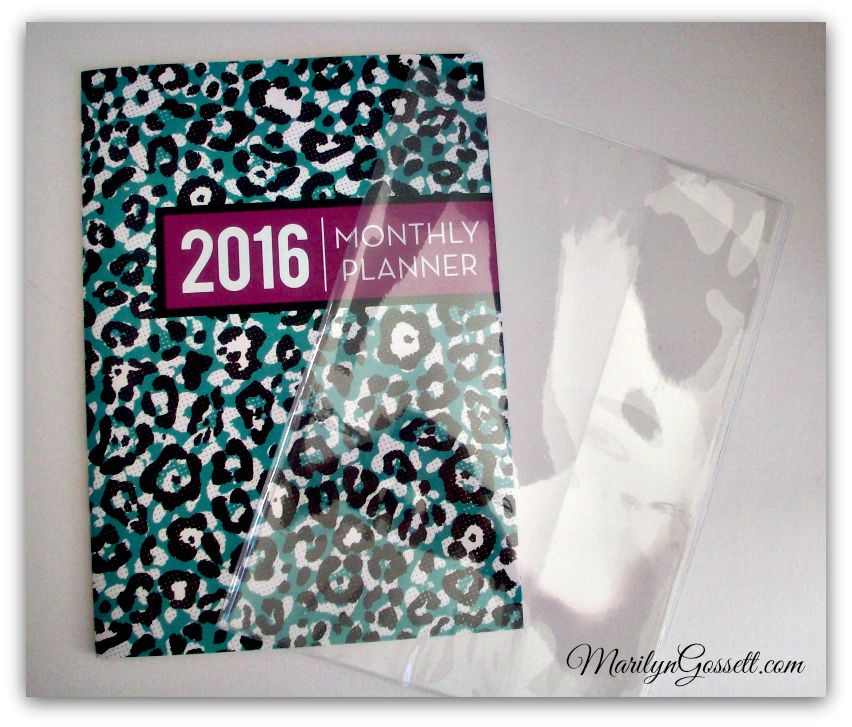
Monthly planner in plastic cover

12" x 12" double sided patterned cardstock in two coordinating colors

Rhinestone flourish

Paper trimmer, scissors

Adhesives

Electronic diecutting machine

Embossing machine (optional)

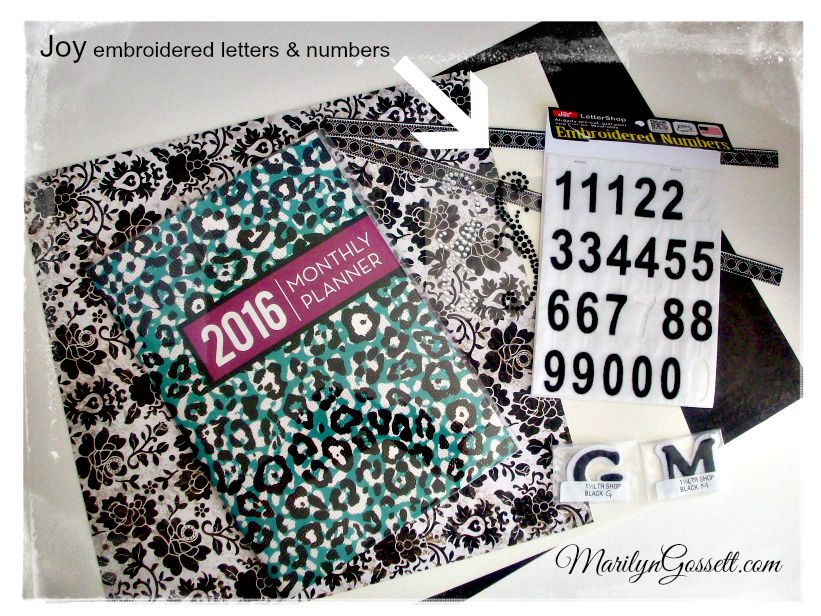
1.  Gather supplies and remove the plastic jacket from the monthly planner.

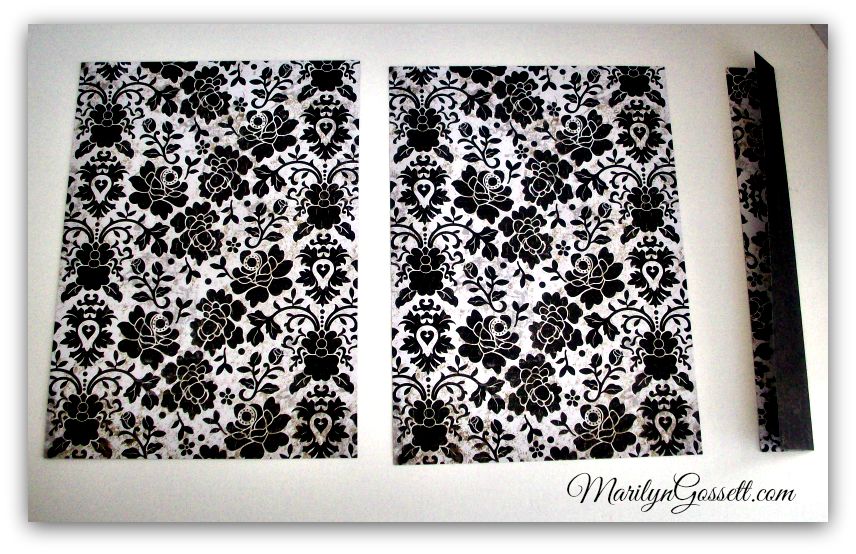
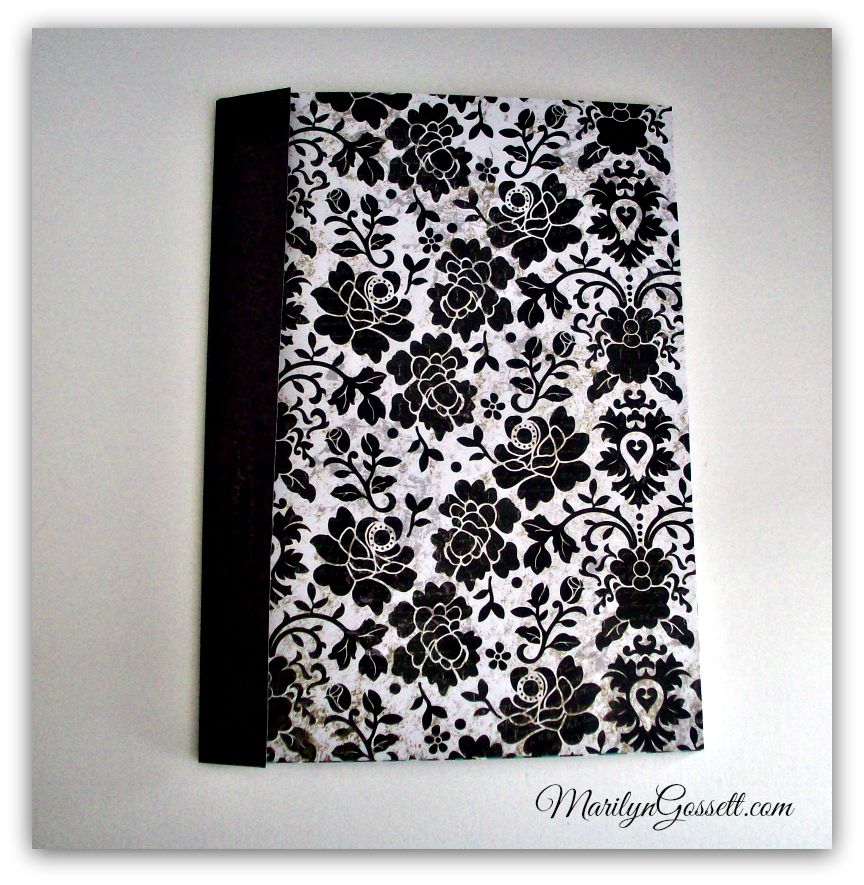
2.  Measure height and width of the planner, then cut out a front, a back and a spine from your cardstock. 

3.  Adhere to the day planner as shown in the photo below.

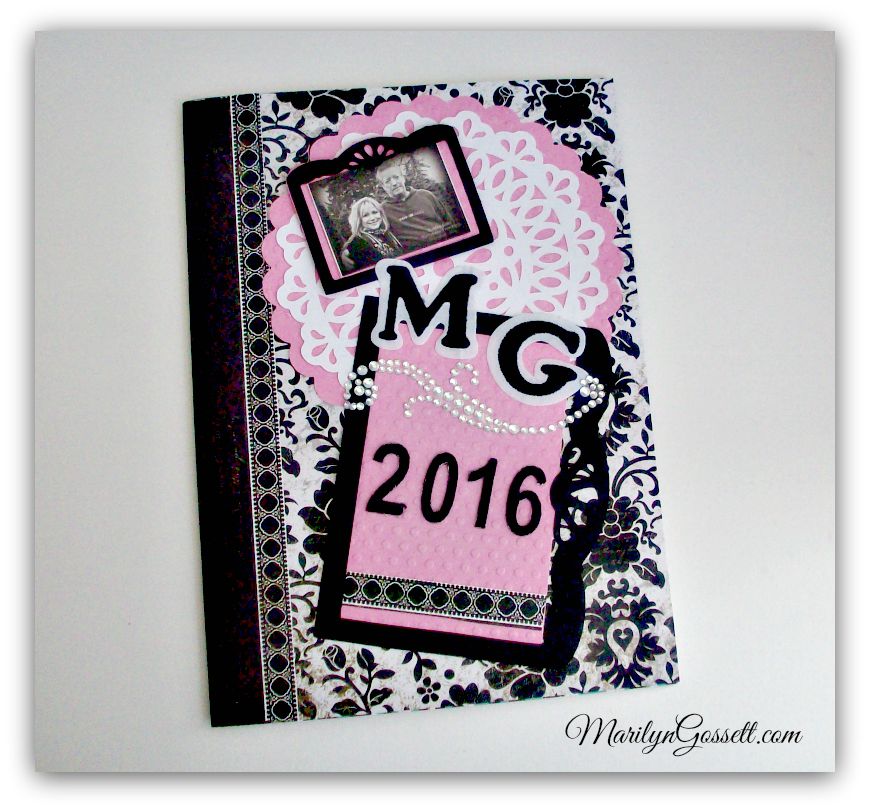
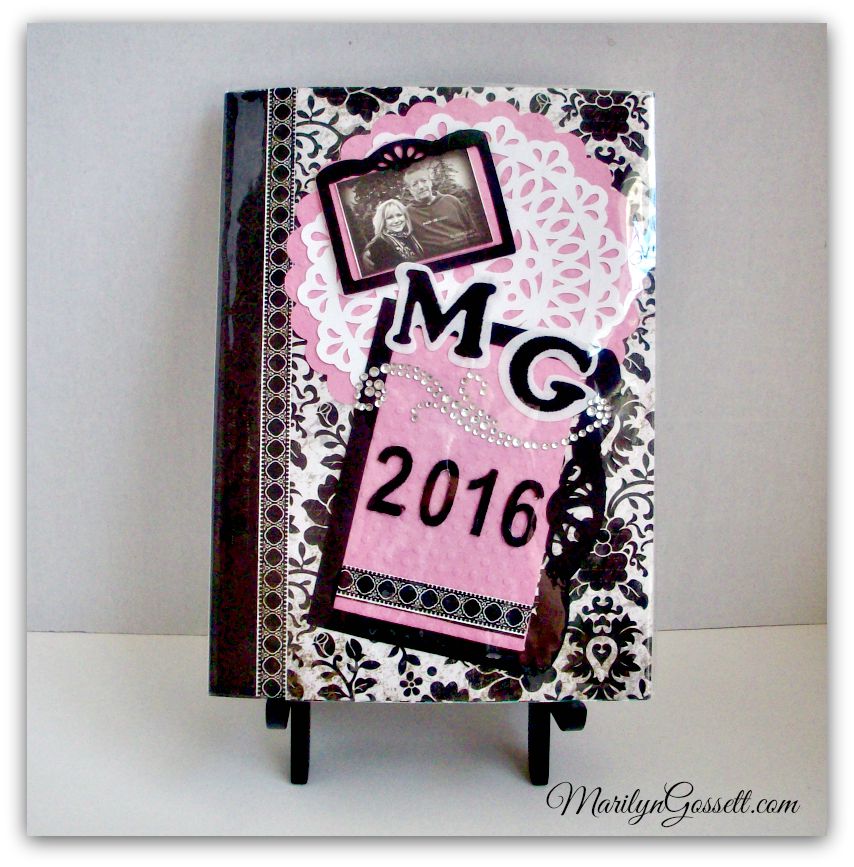
4.  Now comes the fun part.  Embellish the front of the book with die-cuts, embossed papers, rhinestones and the JOY letters. I further embellished the cover with a family photo. This is another opportunity to make it personal. 

5.  Place a dry pressing cloth over the letters and numbers and use an iron on moderate heat to position the embroidered letters and numbers permanently.  I recommend reading the manufacturer's instructions before application.

6.  Once you have attached everything and are happy with the cover; carefully tuck it back into the plastic jacket.  Papers need to be trimmed to exact measurements of the book or it will not fit back in the jacket.

Here it is, back in the jacket.  This will protect all of the beautiful embellishments you have put on your calendar!  

Ready for 2016!  Well, my planner is ready.  MY plan is to enjoy what is remaining of this year and move on to the next inspired project!  Cheers!

Leave a Reply

Your email address will not be published. Required fields are marked *

Recent Projects

Luck O' the Irish DIY Door Hanger

St. Patrick’s Day is just around the corner!  Celebrate the Luck O' the Irish with this colorful door décor that is a fun alternative to a traditional wreath.  You will need: Joy® Iron On Embroidered Letter sheet - Gold Script Kunin Classics™ Felt 9” x 12” Craft Cuts– Red, Orange, Yellow, Apple Green, Lagoon, Royal Blue, Orchid, Pirate Green, Neon Green, Gold and Goldenrod (one each) Kunin Premium™ Felt 9” x 12” Craft Cuts– White and Black (two each). Expo International – Claudia 2” Fan and Lattice Lace.  Ric Rac assorted Rayon – Red, Orange, Yellow, Green, Light Blue, Royal…

Rustic Happy Fall Y'all Pumpkin Sign

HAPPY FALL Y'ALL! I am always on the look out for cute items that can be upcycled to create one of a kind home decor pieces.  This rustic pallet pumpkin was just calling out to me from the Target dollar spot and with the addition of some Joy® iron-on embroidered letters, it quickly becomes a custom keepsake. Select a combination of white Joy® iron-on embroidered letters to spell out your message. To create the apostrophe, I carefully cut the leg from the capital letter Q with a pair of detail scissors. Place the embroidered letters on an old towel in a cardboard box…

Back to School Welcome Banner

Create a "Back to School" welcome banner for your favorite teacher's classroom! Materials: JOY® Embroidered Letters 9” x 12” sheets of Kunin Classicfelt -Black , Gray, Sandstone, Candy Pink and Gold Craft glue Glitter glue Cardstock Ruler, pencils, scissors 4-foot length of ribbon Instructions: Draw a simple pencil pattern (5 pieces as shown) on cardstock and cut out.   Trace and trim each pattern piece seven times on the appropriate color of felt. Glue the pencil pieces together, overlapping as shown and let dry. 4. Peel back liner paper from the JOY letters and attach to the center of each pencil, spelling…

Scrabble-Inspired Tote Bag

I am all about recycling, but most of the tote bags that the grocery stores sell are not very cute or crafty. So in honor of family game night, I created a Scrabble-inspired bag to tote around town! This project makes the perfect quick and easy handmade gift to create for Mom for Mother's Day! Decide what words you want to spell and how they'll connect, making sure the arrangement will fit on the front of your tote bag. Draw a grid of square tiles on graph paper to fit each of your letters. I selected the Joy 1.5" Cooper Style…

Happiness Pillow

Joy® Iron-on embroidered letters in white are great for creating any color you can imagine! You can use dye, markers and even acrylic paint! To Make this Happiness Pillow you'll need: Joy® Embroidered Iron-on Letters - Letter Shop White  Acrylic Paint and Paintbrush NEW Joy® Iron-on Embroidered Flower Appliqué    Canvas Pillow Blank Pillow Form or Polyfil Iron Instructions: 1. Paint each letter to create a rainbow of H-A-P-P-I-N-E-S-S.  Set aside and let dry. 2.  Insert cardboard into pillow blank then paint the pillow with white and light blue paint.  Let dry. 3. Set iron on cotton setting; approx. 350 degrees,…
closearrow-circle-o-downtagtagsminus-circlefacebook-squaretruckpinterest-squareinstagrammenu
0
    0
    Shopping Cart
    Your cart is emptyReturn to Shop