FREE Standard Shipping with $50 Order
|
Minimum Order is $15
10% Discount on $300 Order
|
25% Discount on $600 Order

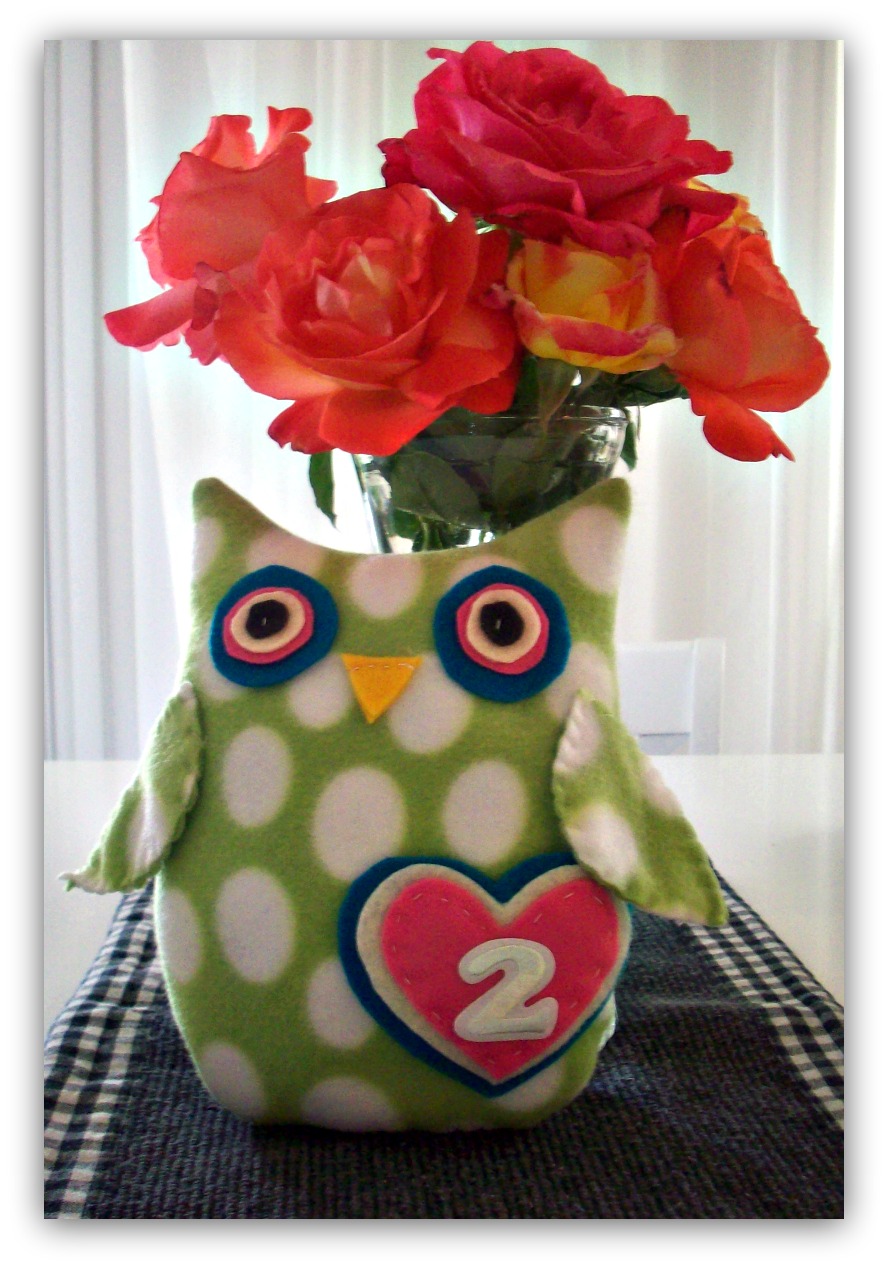
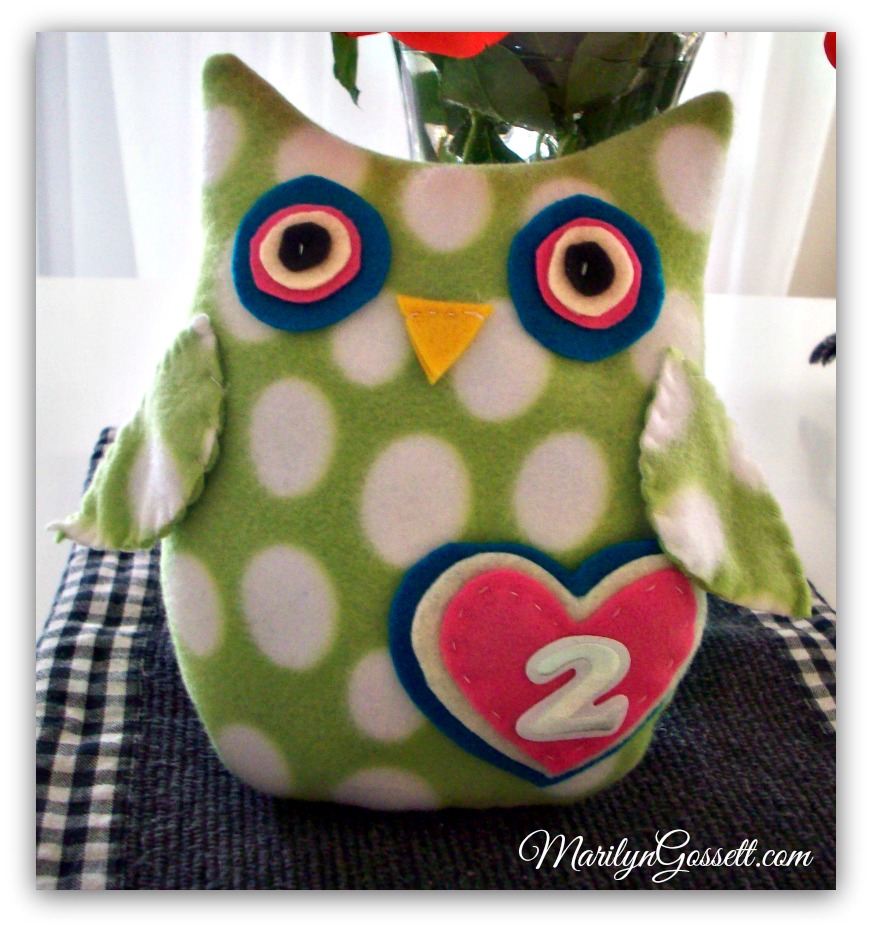
Birthday stuffed owl toy

PriMarilynLy Paper
|
July 6, 2015

Ever wonder what to do with scraps of fleece that are leftover after completing a project?  I had some yardage left and made this baby-friendly plush owl. An iron-on number by JOY reflects the child's age. Alphabet letters for initials work here too!

soft plush owl baby toy

You will need:

Joy iron-on number

12" x 33" piece of fleece

Sewing machine, needle and thread

Tracing pen

Scissors

Felt pieces:  turquoise, pink, cream, brown, yellow

Polyester filling/stuffing

Wood chopstick

Owl pattern - click here to download

1.  Print and cut out my pattern. Cut two 12" square pieces of fleece and lay them down together, right sides facing in. Lay the pattern on top of the layers and trace around it on to the fleece.  Remove the pattern, cut out the owl and pin the fleece together and sew a 3/8" seam around the owl, leaving an opening in the bottom. 

fleece owl pattern

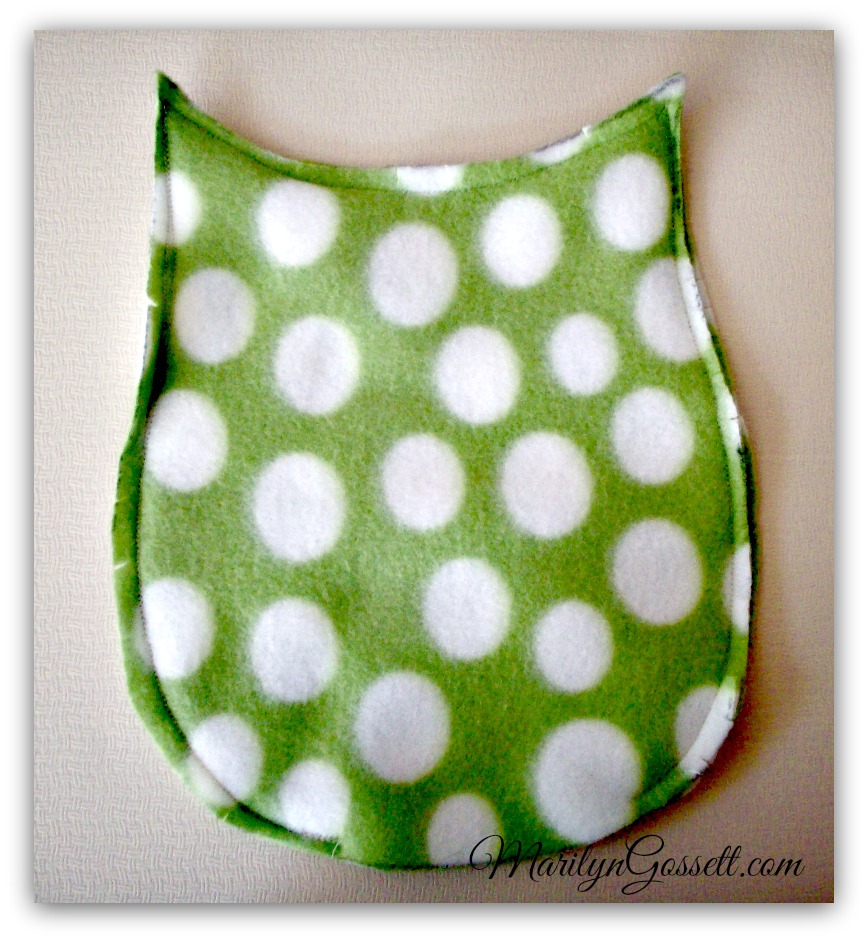
2.  Cut little snips into the seam allowance (careful not to cut through the stitching) around the curves.  Turn the owl right side out, using the chopstick to push out the points in the ears. 

sewing a fleece owl softie

stuffed owl toy

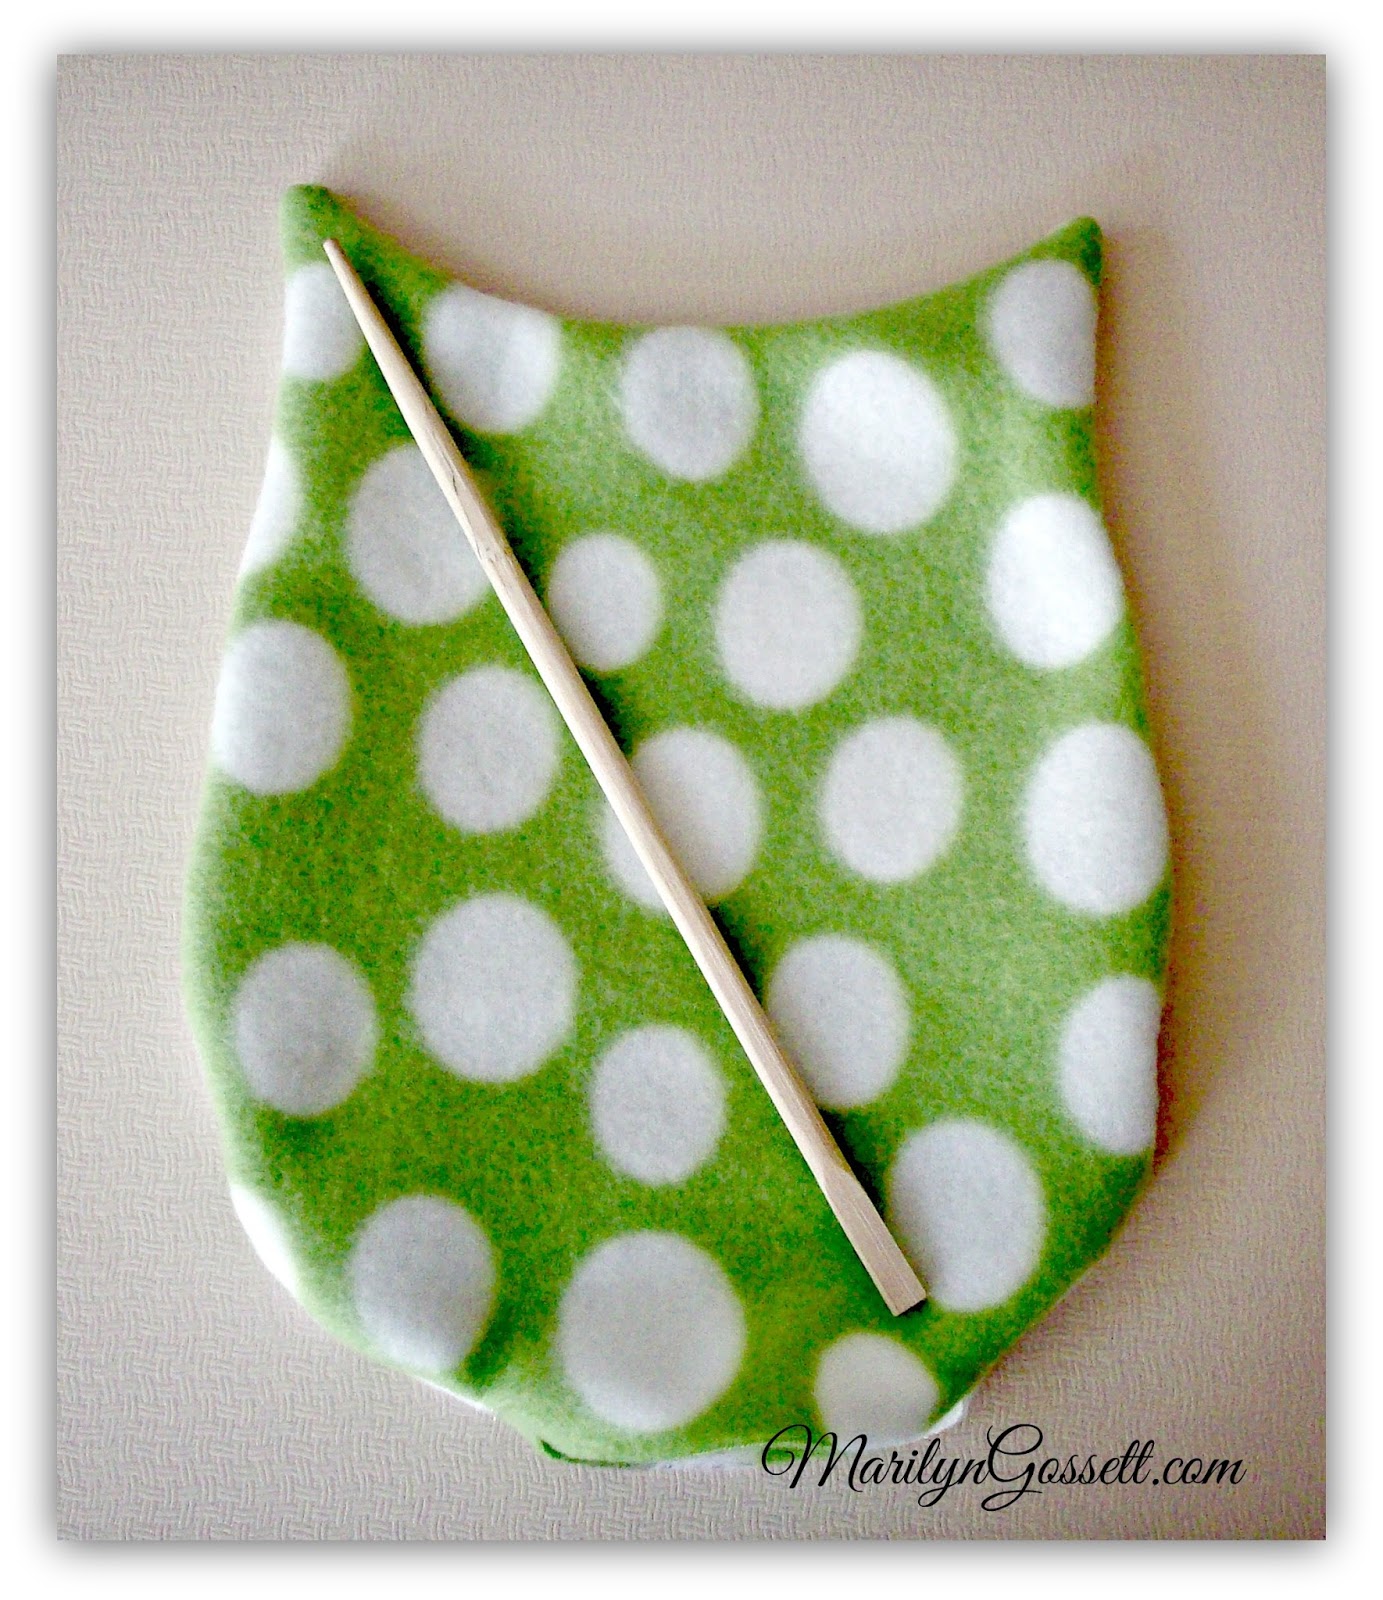
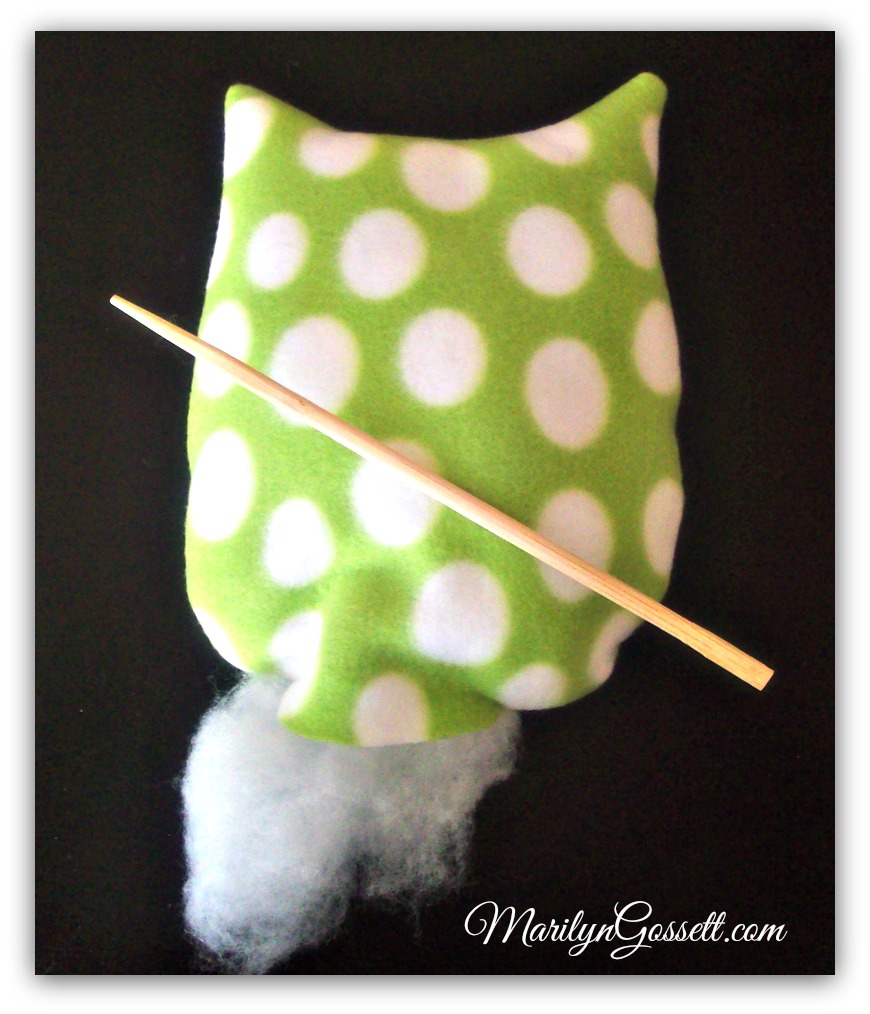
4.  Fill the owl with fiberfill. Use the chopstick to get it into the small areas. Turn in the seam of the opening and whipstitch it closed.

felt toy eyes

5.  For the eyes, cut a pair each of the following sizes of felt circles:  turquoise: 1-3/4"; pink: 1-1/4"; cream: 1"; brown: 1/2".  Stack the circles from largest to smallest and stitch them together.

6.  For the beak, fold a piece of yellow felt in half and cut a small triangle with the fold at the bottom. Stitch along the top edge to attach to the owl as shown.

7.  For the wings, layer two pieces of fleece for each wing and cut out using the pattern. Reverse the pattern and repeat for the second wing. Stitch around each wing using a whipstitch or a blanket stitch and attach the wings to the owl with a couple small stitches.

8.  Cut out three felt hearts:  4" turquoise; 3.5" cream, 3" pink. Layer the hearts as shown and attach by sewing a running stitch around the inside of the pink heart. Attach to the owl with a couple stitches, leaving the middle open for a little pocket.

9.  Follow the manufacturer's directions to iron-on the embroidered number to the heart.

fleece owl stuffed toy

Leave a Reply

Your email address will not be published. Required fields are marked *

Recent Projects

Luck O' the Irish DIY Door Hanger

St. Patrick’s Day is just around the corner!  Celebrate the Luck O' the Irish with this colorful door décor that is a fun alternative to a traditional wreath.  You will need: Joy® Iron On Embroidered Letter sheet - Gold Script Kunin Classics™ Felt 9” x 12” Craft Cuts– Red, Orange, Yellow, Apple Green, Lagoon, Royal Blue, Orchid, Pirate Green, Neon Green, Gold and Goldenrod (one each) Kunin Premium™ Felt 9” x 12” Craft Cuts– White and Black (two each). Expo International – Claudia 2” Fan and Lattice Lace.  Ric Rac assorted Rayon – Red, Orange, Yellow, Green, Light Blue, Royal…

Rustic Happy Fall Y'all Pumpkin Sign

HAPPY FALL Y'ALL! I am always on the look out for cute items that can be upcycled to create one of a kind home decor pieces.  This rustic pallet pumpkin was just calling out to me from the Target dollar spot and with the addition of some Joy® iron-on embroidered letters, it quickly becomes a custom keepsake. Select a combination of white Joy® iron-on embroidered letters to spell out your message. To create the apostrophe, I carefully cut the leg from the capital letter Q with a pair of detail scissors. Place the embroidered letters on an old towel in a cardboard box…

Back to School Welcome Banner

Create a "Back to School" welcome banner for your favorite teacher's classroom! Materials: JOY® Embroidered Letters 9” x 12” sheets of Kunin Classicfelt -Black , Gray, Sandstone, Candy Pink and Gold Craft glue Glitter glue Cardstock Ruler, pencils, scissors 4-foot length of ribbon Instructions: Draw a simple pencil pattern (5 pieces as shown) on cardstock and cut out.   Trace and trim each pattern piece seven times on the appropriate color of felt. Glue the pencil pieces together, overlapping as shown and let dry. 4. Peel back liner paper from the JOY letters and attach to the center of each pencil, spelling…

Scrabble-Inspired Tote Bag

I am all about recycling, but most of the tote bags that the grocery stores sell are not very cute or crafty. So in honor of family game night, I created a Scrabble-inspired bag to tote around town! This project makes the perfect quick and easy handmade gift to create for Mom for Mother's Day! Decide what words you want to spell and how they'll connect, making sure the arrangement will fit on the front of your tote bag. Draw a grid of square tiles on graph paper to fit each of your letters. I selected the Joy 1.5" Cooper Style…

Happiness Pillow

Joy® Iron-on embroidered letters in white are great for creating any color you can imagine! You can use dye, markers and even acrylic paint! To Make this Happiness Pillow you'll need: Joy® Embroidered Iron-on Letters - Letter Shop White  Acrylic Paint and Paintbrush NEW Joy® Iron-on Embroidered Flower Appliqué    Canvas Pillow Blank Pillow Form or Polyfil Iron Instructions: 1. Paint each letter to create a rainbow of H-A-P-P-I-N-E-S-S.  Set aside and let dry. 2.  Insert cardboard into pillow blank then paint the pillow with white and light blue paint.  Let dry. 3. Set iron on cotton setting; approx. 350 degrees,…
closearrow-circle-o-downtagtagsminus-circlefacebook-squaretruckpinterest-squareinstagrammenu
0
    0
    Shopping Cart
    Your cart is emptyReturn to Shop