DIY Candy Basket
Even though my kids are long grown, I still love to give them an Easter Basket every year!
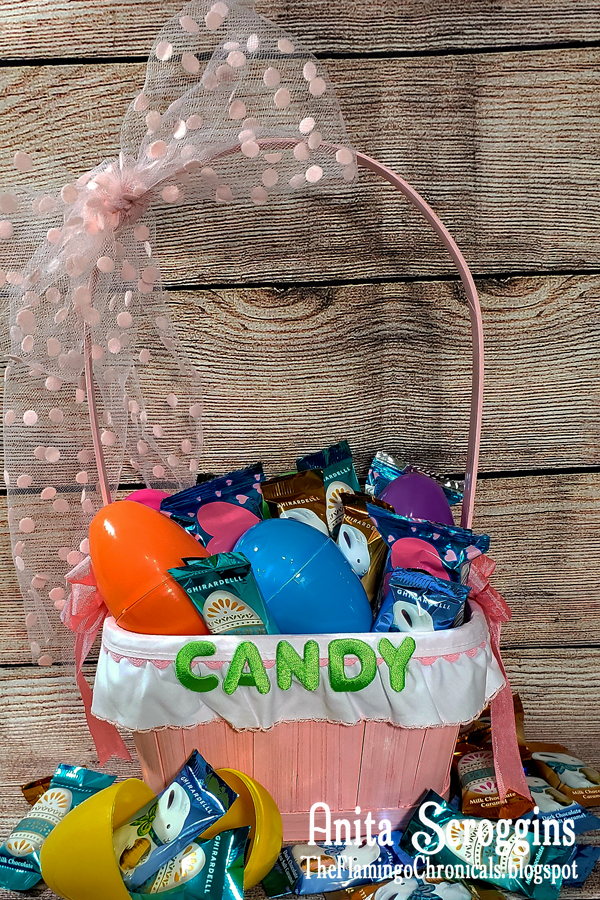
Small is the name of the game since they are over 30, and I really like to personalize them too. Here is a fun way to turn a plain basket into a Candy Basket! This project took a little bit of time to make sure that I got the ribbon glued on straight and even, but it was still pretty easy. I hope my kid loves it! You will need:
- Joy® Iron-on letter sheet
- Small chip wood basket
- 1 yd of lace trim
- Beacon Fabri-Tac glue
- Small, handheld iron
- Ribbons/Seam binding
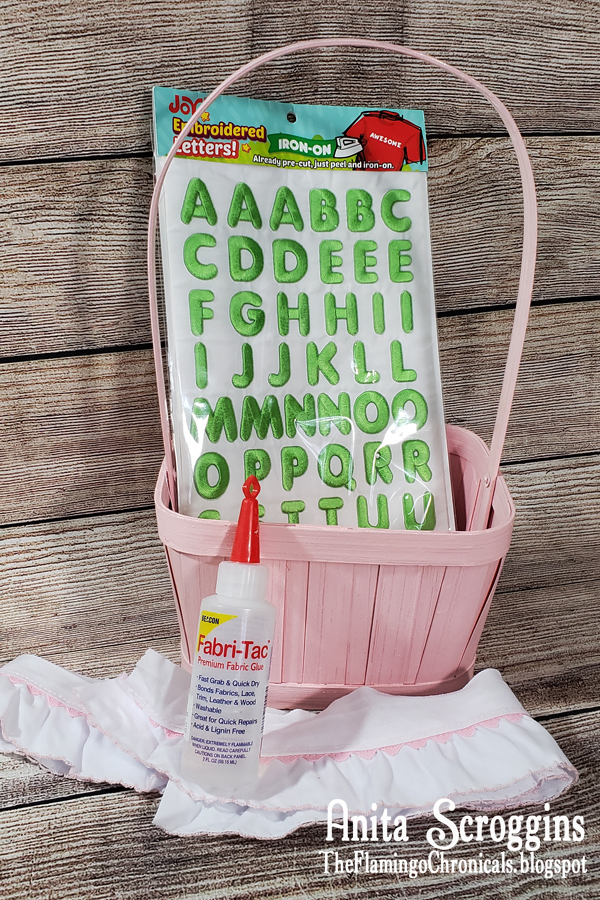
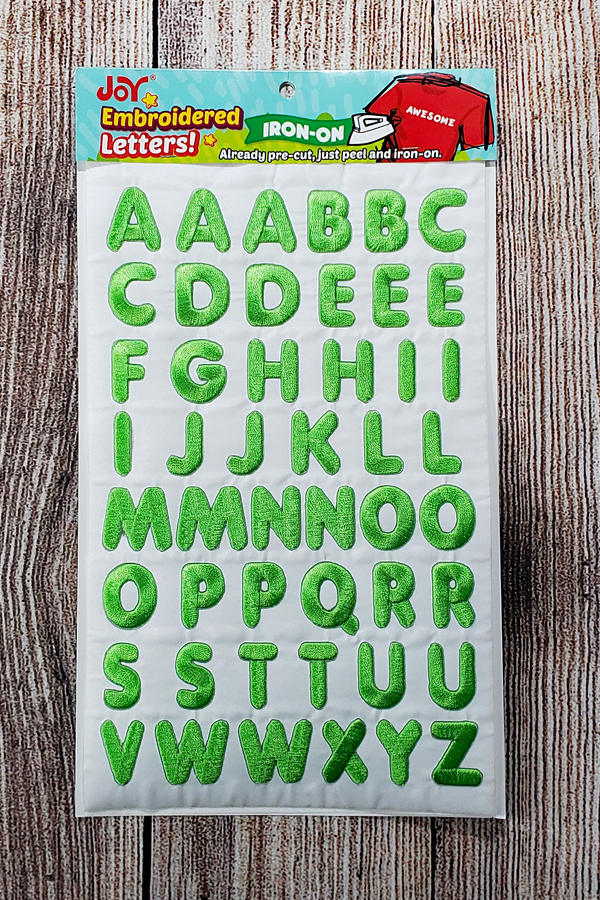
I love this bright green color! It is perfect for spring projects. Since the letters are iron-on, they can be used for pretty much anything!
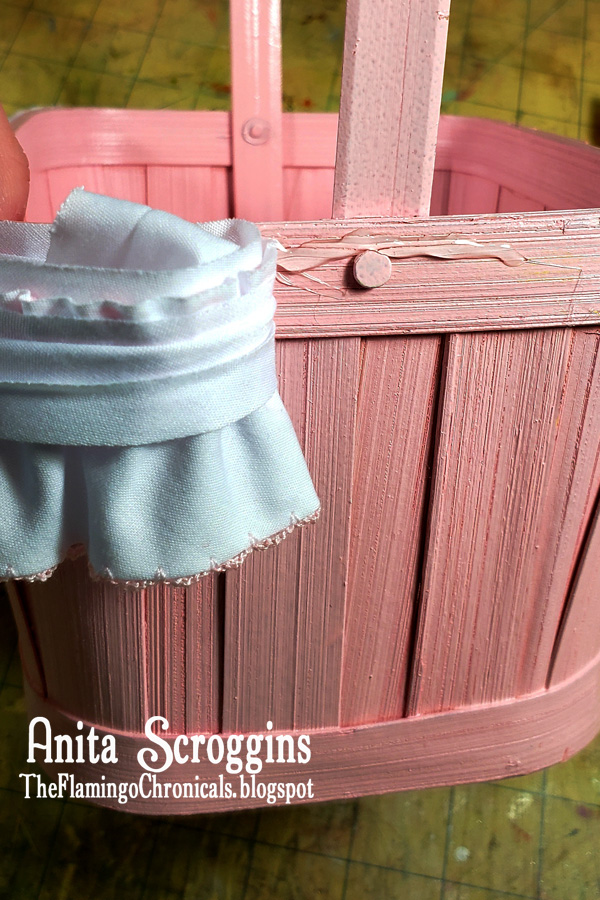
1. Glue the fabric trim around the basket. Because this trim was meant to edge a pillow or blanket it has two raw edges. I glued the back facing layer of the binding to the outside of the basket, then wrapped the front facing layer over the lip of the basket, gluing it in place as well.
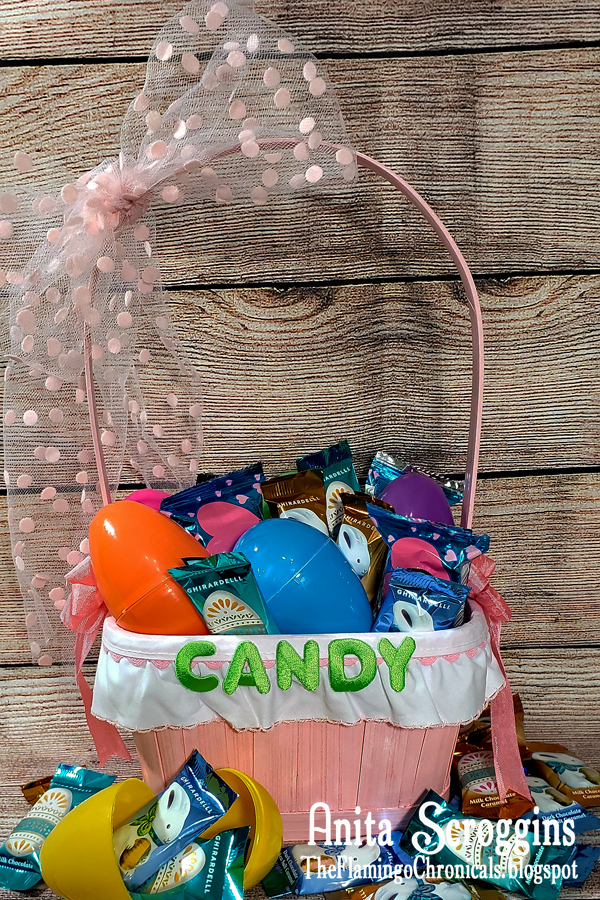
2. After the trim is in place, use a small, handheld iron to adhere the letters, starting from the middle letter and working out to make sure that it is even. You can also glue the letters in place, if that is easier. Make two bows from seam binding then add them to the sides of the handle. 3. To finish, tie a big polka dotted bow on top! Add your candy and treats and you are done!
You can find Joy® iron-on letter sheets in different colors and fonts at your local craft store!
Leave a Reply
Recent Projects
Luck O' the Irish DIY Door Hanger
Rustic Happy Fall Y'all Pumpkin Sign
Back to School Welcome Banner
Scrabble-Inspired Tote Bag
Happiness Pillow
