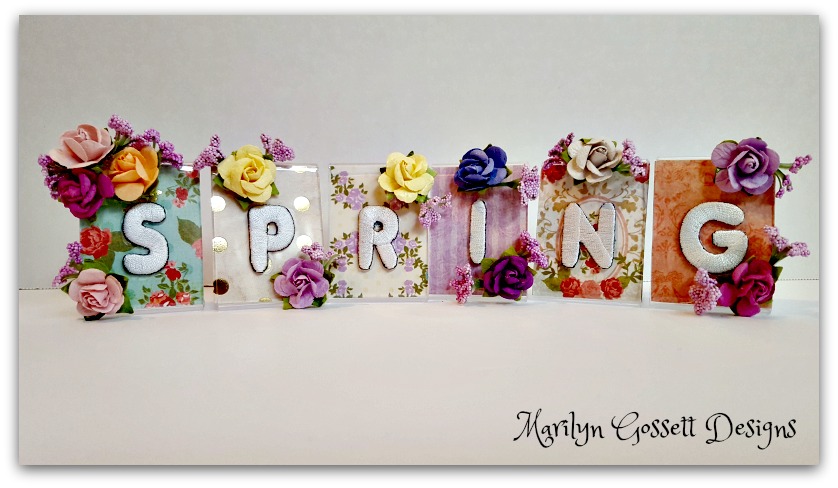
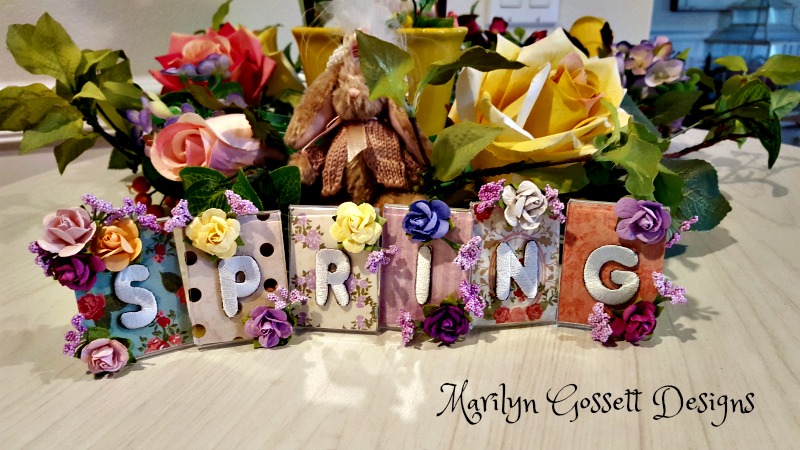
Signs of SPRING!
Spring is a beautiful time of year! Time for some new decor!

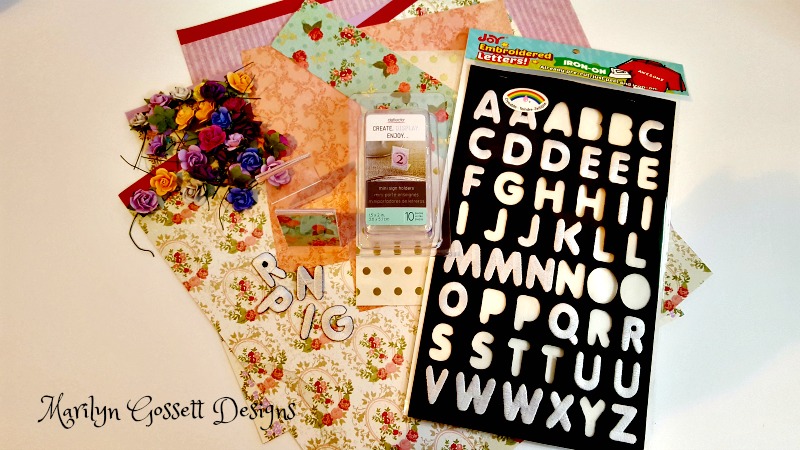
To make the Spring mini signs you'll need:
- Joy® iron-on letter sheet - white
- mini sign holders: 1.5 x 2"; package of 10
- coordinating memory papers (this is a good project to use up scraps)
- mulberry paper flowers: 1.5", multiple colors
- Adhesive
- paper trimmer
- wire cutter

1. Cut one 1-1/2" x 2" rectangle of one memory paper. Slide the paper between the panels of one mini sign with the pattern showing through the front of the frame. Repeat with each of the selected papers.
2. Pick the embroidered letters out of the package to spell SPRING. Adhere one letter at the center of each frame.
3. Cut the excess wire off each of the paper flowers. Arrange and adhere to the frames. I thought they needed a little more so I added some tiny berry sprigs to finish the project.
4. These letters can be colored with dye, paint, markers and more. Check out the instructions on the package to find out how. You can also add glitter by covering each letter with tacky glue then sprinkling with glitter. Shake off excess glitter and let dry.

Look for Joy® iron-on embroidered alphabet letter sheets at your local craft store.
Leave a Reply
Recent Projects
Luck O' the Irish DIY Door Hanger
Rustic Happy Fall Y'all Pumpkin Sign
Back to School Welcome Banner
Scrabble-Inspired Tote Bag
Happiness Pillow
