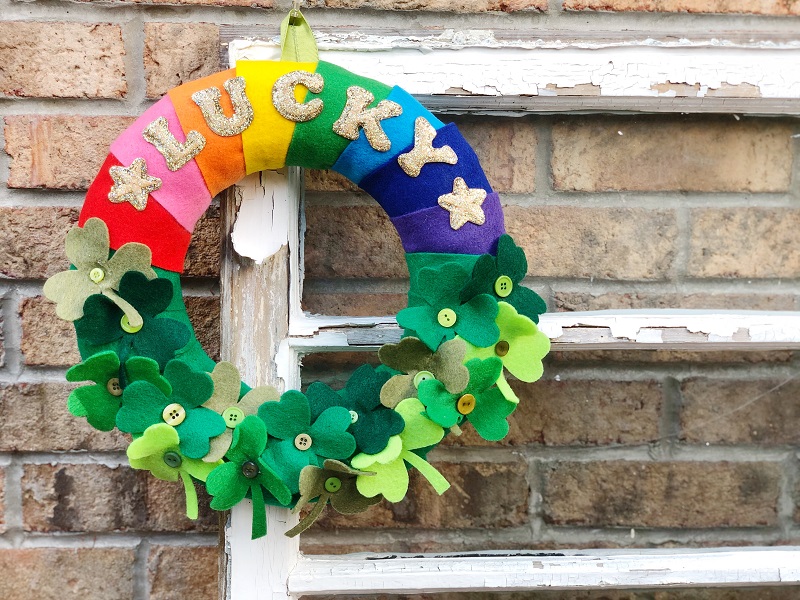
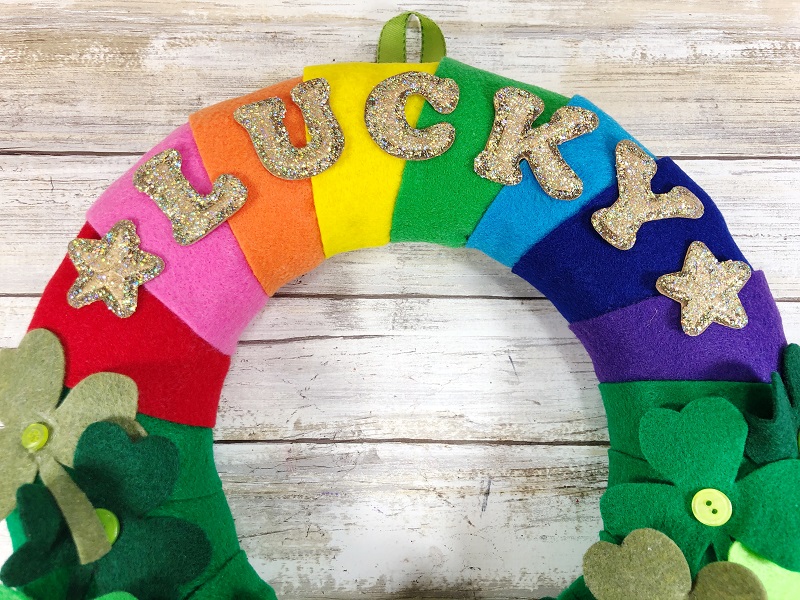
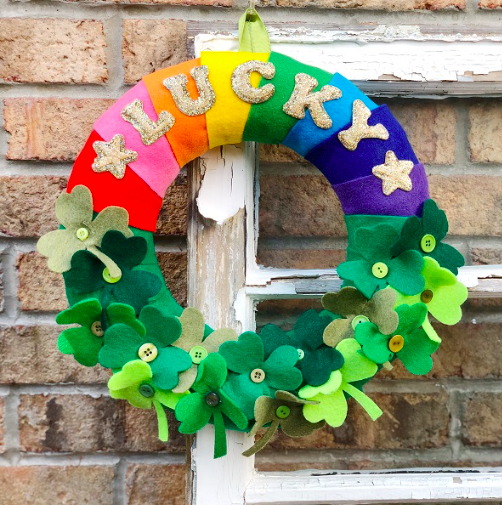
Lucky Rainbow and Shamrock Wreath
Personalizing everything and anything, including a Lucky Rainbow and Shamrock Wreath is quick and easy with Joy® embroidered letters!
You will need:
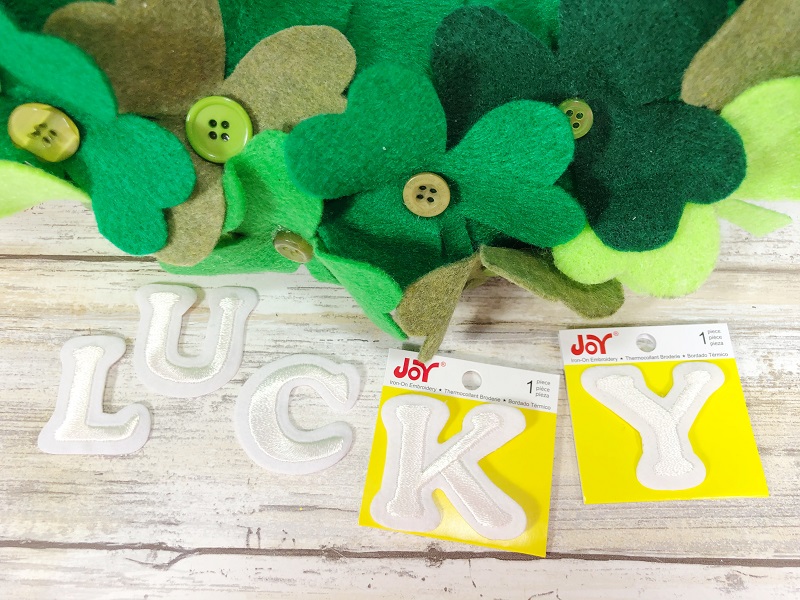
- Joy® Embroidered Letters - 1 1/2" Cooper, White - LUCKY and two STARS
- Rainbow Shamrock Wreath - Tutorial
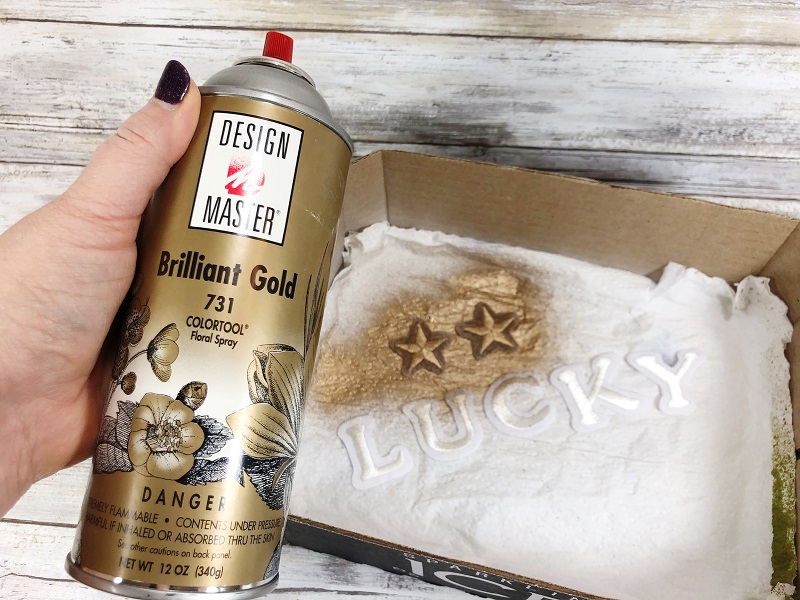
- Spray Paint - Gold
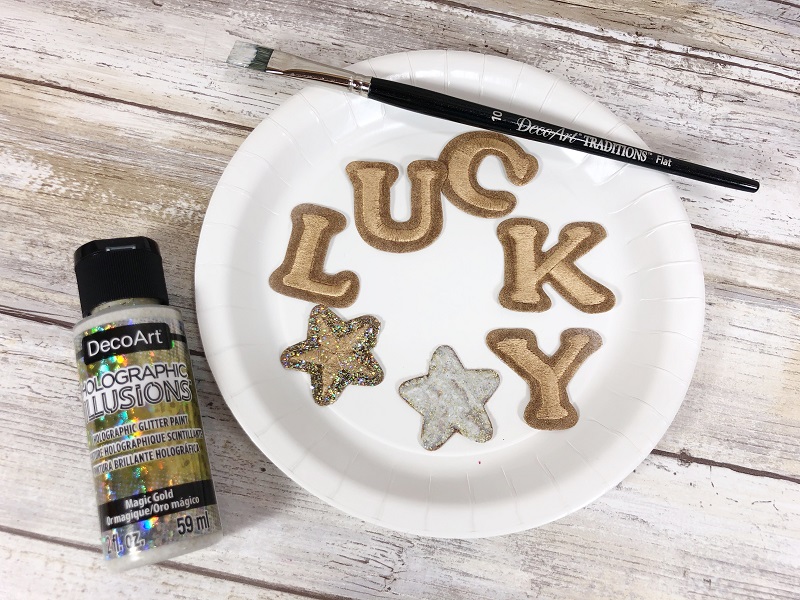
- Craft Paint - Holographic Glitter, Gold
- Paintbrush
- Paper Plate
- Paper Towels
Instructions:
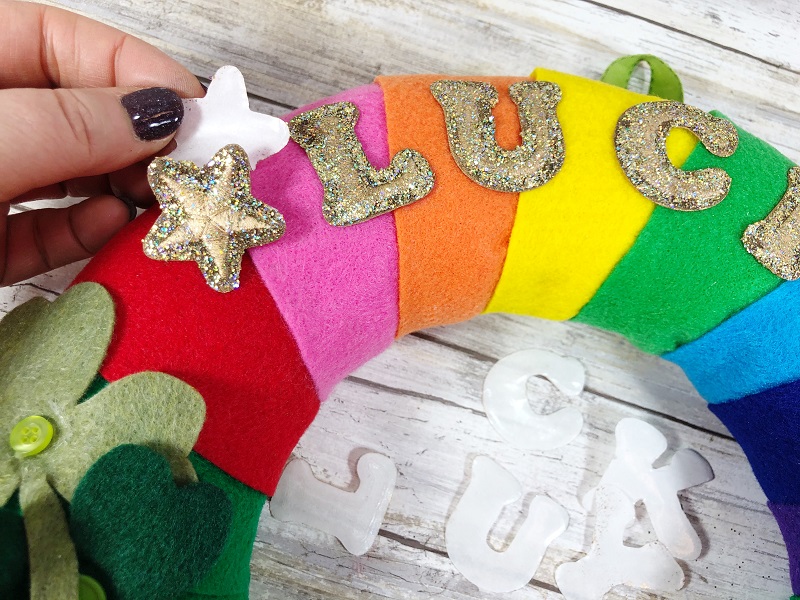
1. In a well-ventilated area (or outside) spray the letters LUCKY and two STARS with gold spray paint. Set aside to dry.
2. Once dry, place gold letters and stars onto a paper plate. Apply a thick coat of gold holographic glitter craft paint to letters and stars with a paintbrush. This paint will be milky white when applied but will dry clear and super glittery!
3. Peel the liner paper from the back of the embroidered letters, starting with the "C" and place it in the center. Apply the remaining letters to spell LUCKY and add a STAR on both ends to finish.
A fun twist would be to add your family name to this wreath with Joy® embroidered letters, the possibilities are endless!
You can find a wide selection of Joy® embroidered iron-on letters and alphabet sheets in different sizes at your local craft stores!
Fun wreath - that gold spray works great!